Can I remove a Delta kitchen faucet myself? Yes, you can! Removing a Delta kitchen faucet is a manageable DIY project for most homeowners. This guide will walk you through each step, ensuring a smooth and successful process. We’ll cover everything from gathering your tools to disconnecting water lines faucet and loosening corroded faucet nuts. We will also touch on kitchen sink faucet repair and replacing delta kitchen faucet.
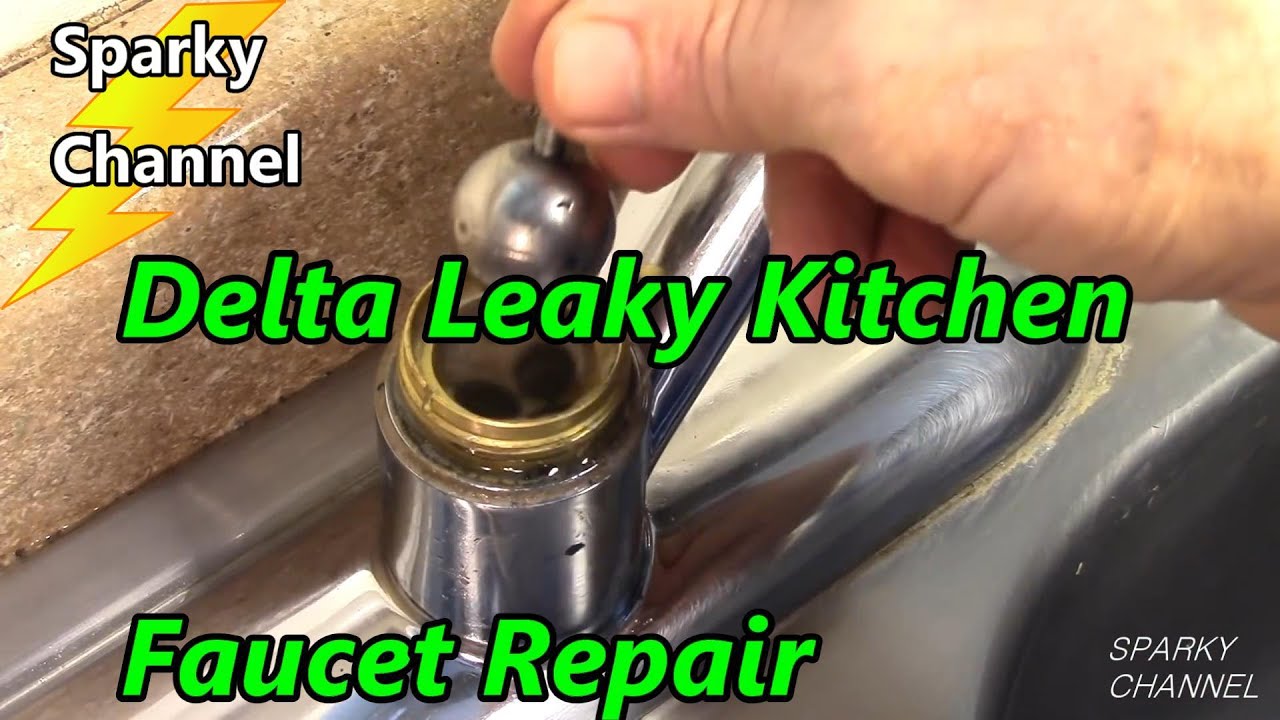
Image Source: i.ytimg.com
Preparing for Delta Kitchen Faucet Removal
Before you begin the delta kitchen faucet removal process, proper preparation is key. This involves gathering the right tools and taking necessary safety precautions.
Assembling Your Tools
Having the right tools on hand will make the job significantly easier. Here’s a list of what you’ll need:
- Basin wrench: Essential for reaching those hard-to-access faucet nuts.
- Adjustable wrench: For general tightening and loosening of connections.
- Pliers: Useful for gripping and maneuvering smaller parts.
- Screwdrivers (Phillips and flathead): Needed for various screws and fasteners.
- Penetrating oil: To help loosen stubborn, corroded nuts and bolts.
- Bucket or container: To catch any water spillage.
- Towels or rags: For cleaning up and protecting surfaces.
- Work light: To illuminate the often-dark space under the sink.
- Safety glasses: To protect your eyes from debris.
- Gloves: To protect your hands.
Safety First: Turning Off the Water Supply
The most important step before starting any plumbing work is to turn off the water supply.
- Locate the shut-off valves: These are usually located under the sink, one for hot water and one for cold water.
- Turn the valves clockwise: This will shut off the water supply to the faucet.
- Test the water: Turn on the faucet to ensure the water is completely shut off. If water continues to flow, you may need to turn off the main water supply to your house. This is typically located in the basement or near the water meter.
Clearing the Workspace
Before you start wrenching, clear out the area under the sink. Remove any items stored there to give yourself plenty of room to work. Place a bucket or container under the faucet connections to catch any residual water.
Step-by-Step Guide: Removing Your Delta Kitchen Faucet
Now that you’re prepared, let’s dive into the actual faucet disassembly and removal process.
Disconnecting the Water Supply Lines
This is usually the first step in physically removing the faucet.
- Place a bucket underneath: Position a bucket or container directly under the water supply connections to catch any remaining water in the lines.
- Loosen the connections: Use an adjustable wrench to carefully loosen the nuts connecting the water supply lines to the faucet tailpieces. Be patient and avoid forcing anything.
- Separate the lines: Once the nuts are loose, carefully disconnect the water supply lines from the faucet. Have a towel handy to wipe up any spills.
- Inspect the lines: Examine the disconnected water supply lines for any signs of wear or damage. If they appear worn, consider replacing them when you install the new faucet.
Detaching the Sprayer Hose (If Applicable)
If your Delta kitchen faucet has a sprayer, you’ll need to disconnect it.
- Locate the sprayer hose connection: This is usually located under the sink, where the sprayer hose connects to the faucet body.
- Disconnect the hose: Depending on the model, the hose may be connected with a clip, a quick-connect fitting, or a threaded connection. Disconnect it carefully, following the manufacturer’s instructions if available.
Removing the Mounting Hardware
This is the crucial step that secures the faucet to the sink. This often involves loosening corroded faucet nuts.
- Identify the mounting nuts: These are located underneath the sink, holding the faucet in place. There are typically one or two large nuts, often made of plastic or metal.
- Use the basin wrench: This tool is designed specifically for reaching and loosening these nuts in tight spaces. Position the jaws of the basin wrench around the nut and turn it counterclockwise to loosen.
- Apply penetrating oil (if needed): If the nuts are heavily corroded or stuck, apply penetrating oil and let it sit for 15-20 minutes before attempting to loosen them again.
- Remove the nuts: Once the nuts are loose, you should be able to unscrew them by hand.
- Detach any additional mounting brackets: Some faucets may have additional brackets or clips that need to be removed.
Lifting Out the Old Faucet
With the water lines, sprayer hose (if applicable), and mounting hardware disconnected, you should now be able to lift the old faucet out of the sink.
- Gently lift the faucet: Carefully lift the faucet straight up, making sure to clear any obstructions.
- Clean the sink surface: Once the faucet is removed, clean the sink surface around the faucet hole to remove any dirt, grime, or old sealant.
Delta Faucet Handle Removal and Cartridge Access
Sometimes, you might not need to replace the entire faucet, but rather just removing kitchen faucet cartridge or replacing the handle. This requires a slightly different approach, focusing on specific parts. Before attempting these procedures, ensure the water supply is turned off.
Delta Faucet Handle Removal
The method for delta faucet handle removal varies slightly depending on the handle style.
- Set Screw Handle: Locate the small set screw on the side or back of the handle (often hidden under a decorative cap). Use an Allen wrench to loosen the set screw, and then pull the handle straight off.
- Threaded Handle: Some handles are threaded onto the faucet stem. Simply grip the handle firmly and turn it counterclockwise to unscrew it.
- Snap-On Handle: These handles are held in place by friction. Gently pry the handle off using a flathead screwdriver, being careful not to damage the handle or the faucet body.
Accessing and Removing the Cartridge
Once the handle is removed, you can access the cartridge. The cartridge is a key component that controls the flow and temperature of the water.
- Remove the retaining clip or nut: There is often a clip or nut holding the cartridge in place. Remove this using pliers or an adjustable wrench.
- Pull out the old cartridge: Once the retaining clip or nut is removed, you should be able to pull the old cartridge straight out. It may require some force, especially if it’s been in place for a long time.
- Inspect the cartridge and valve body: Examine the old cartridge for any signs of damage or wear. Also, inspect the valve body inside the faucet for any debris or corrosion.
- Install the new cartridge: Align the new cartridge with the valve body and push it firmly into place. Ensure it is properly seated.
- Replace the retaining clip or nut: Secure the new cartridge by replacing the retaining clip or nut.
- Reinstall the handle: Follow the reverse of the removal steps to reinstall the faucet handle.
Faucet Installation Troubleshooting
Even with careful preparation, you might encounter some challenges during the faucet installation troubleshooting process. Here are some common issues and how to address them:
- Leaking connections: Ensure all connections are tight and properly sealed. Use Teflon tape on threaded connections.
- Low water pressure: Check for kinks or obstructions in the water supply lines. Clean the aerator on the faucet spout.
- Difficulty tightening nuts: Use a basin wrench for hard-to-reach nuts. Apply penetrating oil to loosen corroded nuts.
- Stripped screw heads: Use a rubber band or steel wool between the screwdriver and the screw head for better grip. If all else fails, use a screw extractor.
Here is a table outlining common issues and possible solutions.
| Problem | Possible Cause | Solution |
|---|---|---|
| Leaking connections | Loose fittings, damaged O-rings, bad teflon tape | Tighten fittings, replace O-rings, re-apply Teflon tape, ensure the correct amount of tape is used and properly applied |
| Low water pressure | Kinked supply lines, clogged aerator | Straighten supply lines, clean or replace the aerator |
| Difficulty tightening nuts | Corroded nuts, inaccessible location | Apply penetrating oil, use a basin wrench, consider professional help if the location is extremely inaccessible |
| Stripped screw heads | Damaged screw head | Use a rubber band or steel wool between the screwdriver and the screw head for better grip, use a screw extractor as a last resort |
Replacing Your Delta Kitchen Faucet
After successfully removing the old faucet, you’re ready for replacing delta kitchen faucet. Follow the manufacturer’s instructions for your new faucet model. The installation process is generally the reverse of the removal process, but pay close attention to the following:
- Apply plumber’s putty: Apply plumber’s putty around the base of the new faucet to create a watertight seal.
- Connect the water supply lines: Ensure the water supply lines are properly connected and tightened.
- Check for leaks: After turning the water supply back on, carefully check for leaks around all connections.
Preventative Maintenance and Care
Regular maintenance can extend the life of your Delta kitchen faucet and prevent future problems. Here are some tips:
- Clean regularly: Wipe down the faucet with a soft cloth and mild soap to prevent buildup of dirt and grime.
- Check for leaks: Periodically check for leaks around the faucet base and connections.
- Replace worn parts: Replace worn O-rings, cartridges, and other parts as needed.
Knowing When to Call a Professional
While removing and replacing a Delta kitchen faucet is a DIY-friendly project, there are times when it’s best to call a professional plumber.
- Extensive corrosion: If the faucet and surrounding plumbing are heavily corroded, it may be difficult to remove the old faucet without damaging other components.
- Complex plumbing: If you have complex plumbing configurations or are uncomfortable working with plumbing, it’s best to leave the job to a professional.
- Persistent leaks: If you’ve tried troubleshooting leaks and are still unable to resolve the problem, a professional plumber can diagnose and fix the issue.
Conclusion
Removing a Delta kitchen faucet is a straightforward project with the right tools and guidance. By following these steps carefully, you can save money and gain valuable DIY experience. Remember to prioritize safety, take your time, and don’t hesitate to seek professional help if needed. Happy kitchen plumbing repair!
Frequently Asked Questions (FAQ)
Q: How long does it take to remove a kitchen faucet?
A: Typically, removing a kitchen faucet takes between 1 to 3 hours, depending on your experience and the condition of the faucet and plumbing.
Q: What is a basin wrench, and why do I need one?
A: A basin wrench is a specialized tool designed to reach and loosen nuts in tight spaces, such as those holding a kitchen faucet in place. It’s essential for most faucet removal projects.
Q: Can I reuse the old water supply lines?
A: It’s generally recommended to replace the water supply lines when replacing a faucet, as they can deteriorate over time and cause leaks.
Q: What do I do if I can’t loosen a corroded nut?
A: Apply penetrating oil and let it sit for 15-20 minutes before attempting to loosen the nut again. You can also try using a basin wrench or adjustable wrench for more leverage. If all else fails, you may need to cut the nut off with a Dremel tool.
Q: How do I prevent leaks after installing a new faucet?
A: Ensure all connections are tight and properly sealed. Use Teflon tape on threaded connections and plumber’s putty around the base of the faucet. After turning the water supply back on, carefully check for leaks around all connections.
Hi, I’m Scott Fischer, the voice behind SliceItRight. My passion for food started in my grandmother’s kitchen, where I learned the art of slicing, dicing, and creating delicious meals. Over the years, I’ve explored everything from the perfect kitchen gadgets to mastering culinary techniques, and I’m here to share all of it with you. Whether you’re a beginner or an experienced home chef, my goal is to make cooking easier, more enjoyable, and a lot more fun. So, let’s slice it right and cook up something amazing together!