Can lights, also known as recessed lights, are a popular choice for kitchen lighting. How do you decide where to put can lights in a kitchen? The best way is to start with a kitchen lighting plan that considers the size of your kitchen, the height of your ceilings, and the tasks you perform in different areas. This guide provides a detailed can light placement guide to help you create a well-lit and functional kitchen space.
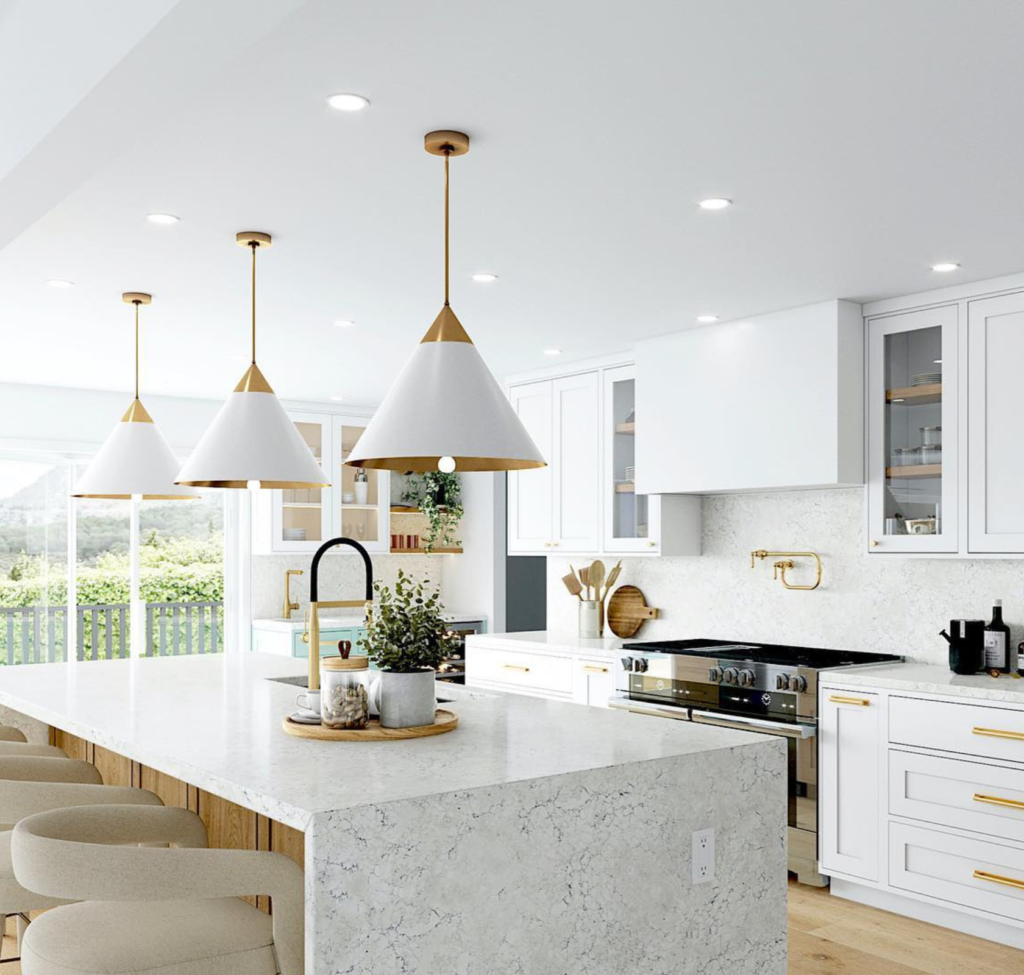
Image Source: blog.1800lighting.com
The Importance of a Well-Lit Kitchen
A well-lit kitchen is more than just aesthetically pleasing; it’s crucial for safety and functionality. Proper kitchen lighting design helps you see clearly while preparing food, reduces shadows that can obscure potential hazards, and creates a welcoming atmosphere. Good kitchen ceiling lights make tasks easier and safer.
Safety First
Poor lighting can lead to accidents in the kitchen. Sharp knives and hot surfaces require clear visibility.
Functionality Matters
Different areas of the kitchen require different levels of light. Task lighting is essential for workspaces, while ambient lighting sets the mood.
Ambiance and Aesthetics
The right kitchen lighting layout can enhance the overall look and feel of your kitchen, making it a more enjoyable space to be in.
Grasping the Basics of Can Lights
Before diving into placement, it’s important to grasp what can lights are and the various types available.
What are Can Lights?
Can lights are light fixtures installed directly into the ceiling, providing a clean, streamlined look. They are also called recessed lights.
Types of Can Lights
- Standard Recessed Lights: These are the most common type and are suitable for general lighting.
- Baffle Trim: Designed to reduce glare, making them ideal for areas where you want softer lighting.
- Gimbal Trim: These have adjustable heads, allowing you to direct light where you need it most.
- Sloped Ceiling Lights: Specifically designed for angled ceilings, ensuring the light shines straight down.
- LED Recessed Lights: Energy-efficient and long-lasting, LED options are a popular choice for modern kitchens.
Understanding Light Output: Lumens
Lumens measure the total amount of visible light emitted by a light source. In a kitchen, you’ll want a combination of lumens for general lighting and focused task lighting. A recessed lighting calculator can assist with estimating lumen requirements.
Planning Your Kitchen Lighting Design
A successful kitchen lighting plan involves careful consideration of several factors. It is very important to have a kitchen lighting plan.
Assessing Your Kitchen Space
Start by measuring your kitchen’s dimensions. Note the length, width, and ceiling height. This information will help determine the number of can lights needed and the appropriate recessed lighting spacing.
Identifying Task Areas
Determine where you perform specific tasks, such as food preparation, cooking, and washing dishes. These areas will require brighter, more focused lighting.
Considering Ceiling Height
- Low Ceilings (8 feet or less): Opt for smaller, shallower can lights to avoid a crowded look.
- Standard Ceilings (8-10 feet): Standard-sized can lights work well.
- High Ceilings (10 feet or more): Use larger, more powerful can lights to ensure adequate illumination.
Layering Your Lighting
Effective kitchen lighting involves layering three types of light:
- Ambient Lighting: Provides overall illumination in the kitchen. Can lights typically serve this purpose.
- Task Lighting: Focuses light on specific work areas. Examples include under cabinet lighting and pendant lights over islands.
- Accent Lighting: Highlights architectural features or décor.
A Detailed Can Light Placement Guide
Now, let’s delve into the specifics of how to place can lights for optimal recessed lighting.
General Guidelines for Recessed Lighting Spacing
- The “Divide by Two” Rule: A common rule of thumb is to divide the ceiling height (in feet) by two. The result is the approximate distance (in feet) between each can light. For example, in an 8-foot ceiling, space the lights about 4 feet apart.
- Spacing from Walls: Position can lights about 2-3 feet away from walls to avoid creating shadows.
Can Light Distance From Cabinets and Appliances
Avoid placing can lights directly above cabinets or appliances. This can create glare and uneven lighting. Instead, position them slightly in front of the cabinets to illuminate the countertop.
Placement Over Kitchen Islands
- Size of the Island: If your kitchen island is large, consider using multiple can lights spaced evenly along its length.
- Pendant Lights: Complement can lights with pendant lights directly above the island for both task and aesthetic lighting.
Placement in Galley Kitchens
In galley kitchens, a single row of can lights down the center of the walkway may suffice. Ensure that the lights are spaced evenly to provide uniform illumination.
Addressing Corners and Dark Areas
Pay special attention to corners and areas that tend to be dark. Add additional can lights in these spots to brighten them up.
Leveraging a Recessed Lighting Calculator
A recessed lighting calculator is a tool that helps you estimate the number of can lights needed based on your kitchen’s dimensions, ceiling height, and desired light level. Many online calculators are available.
Here’s how to use one:
- Enter Room Dimensions: Input the length and width of your kitchen.
- Enter Ceiling Height: Specify the height of your ceiling.
- Select Desired Light Level: Choose the level of brightness you want (e.g., general lighting, task lighting).
- Calculate: The calculator will provide an estimate of the number of can lights required.
Table: Can Light Spacing Based on Ceiling Height
| Ceiling Height (Feet) | Recommended Spacing (Feet) |
|---|---|
| 8 | 4 |
| 9 | 4.5 |
| 10 | 5 |
| 11 | 5.5 |
| 12 | 6 |
Complementary Lighting Options
Can lights are a great starting point, but combining them with other lighting fixtures creates a more versatile and functional kitchen.
Under Cabinet Lighting
Under cabinet lighting is essential for illuminating countertops, providing task lighting for food preparation. LED strip lights are a popular choice.
Pendant Lights
Pendant lights add style and focus light over islands or sinks. Choose fixtures that complement your kitchen’s design.
Track Lighting
Track lighting offers flexibility, allowing you to adjust the direction of the light to highlight specific areas.
Decorative Lighting
Consider adding decorative lighting, such as sconces or chandeliers, to enhance the overall ambiance of your kitchen.
Factors That Affect Can Light Placement
Several factors can influence the optimal placement of can lights.
Natural Light Sources
Take into account the amount of natural light your kitchen receives. If you have large windows, you may need fewer can lights.
Cabinet Layout
The layout of your cabinets will impact where you can install can lights. Avoid placing lights directly above tall cabinets.
Architectural Features
Be mindful of any architectural features, such as beams or soffits, that may affect the placement of can lights.
Desired Ambiance
Consider the overall mood you want to create in your kitchen. Warmer light bulbs create a cozier atmosphere, while cooler bulbs provide brighter illumination.
Installation Tips and Safety Precautions
Installing can lights requires careful planning and adherence to safety guidelines.
Hiring a Professional
If you’re not comfortable working with electrical wiring, it’s best to hire a qualified electrician.
Safety First
- Always turn off the power at the circuit breaker before working on electrical wiring.
- Use appropriate safety gear, such as gloves and eye protection.
- Follow all local electrical codes.
Step-by-Step Installation Guide (General Overview)
- Mark the Locations: Use a pencil to mark the locations where you plan to install the can lights.
- Cut the Holes: Use a drywall saw or hole saw to cut the holes in the ceiling.
- Run the Wiring: Run the electrical wiring to each location, following all safety guidelines.
- Install the Cans: Install the can light housings into the holes, securing them with mounting brackets.
- Connect the Wiring: Connect the wiring to the can light fixtures, making sure to match the wires correctly.
- Install the Bulbs and Trims: Install the light bulbs and trim pieces into the fixtures.
- Test the Lights: Turn on the power at the circuit breaker and test the lights to make sure they are working properly.
Troubleshooting Common Issues
Even with careful planning, you may encounter some common issues when installing can lights.
Flickering Lights
Flickering lights can be caused by loose wiring or a faulty bulb. Check the connections and replace the bulb if necessary.
Dim Lighting
Dim lighting can be due to insufficient wattage or a faulty dimmer switch. Make sure you are using bulbs with the appropriate wattage and check the dimmer switch.
Hot Spots
Hot spots can occur if the can lights are too close together or if the bulbs are too powerful. Adjust the spacing or use lower-wattage bulbs.
Uneven Lighting
Uneven lighting can be caused by improper spacing or placement. Adjust the can light placement to achieve more uniform illumination.
Selecting the Right Bulbs and Trim
Choosing the right bulbs and trim is crucial for achieving the desired look and feel in your kitchen.
Bulb Types
- LED: Energy-efficient, long-lasting, and available in a variety of color temperatures.
- Halogen: Provide bright, white light, but use more energy than LEDs.
- Incandescent: Traditional bulbs that produce a warm, yellowish light.
Color Temperature
Color temperature is measured in Kelvin (K).
- Warm White (2700K-3000K): Creates a cozy, inviting atmosphere.
- Cool White (3500K-4100K): Provides brighter, more focused light.
- Daylight (5000K-6500K): Mimics natural daylight, ideal for task lighting.
Trim Types
- Baffle: Reduces glare.
- Reflector: Maximizes light output.
- Adjustable (Gimbal): Allows you to direct the light.
- Decorative: Adds style and visual interest.
Maintaining Your Can Lights
Regular maintenance will help ensure your can lights continue to perform optimally.
Cleaning
Dust and debris can accumulate on the trim and bulbs, reducing light output. Clean the lights regularly with a soft cloth.
Bulb Replacement
Replace bulbs as needed, following the manufacturer’s instructions.
Checking Wiring
Periodically check the wiring connections to ensure they are secure.
Frequently Asked Questions (FAQ)
Here are some frequently asked questions about can light placement in a kitchen:
-
What is the ideal distance between can lights in a kitchen?
The ideal distance typically ranges from 4 to 6 feet, depending on the ceiling height and desired light level. Use the “divide by two” rule as a starting point and adjust as needed.
* Can I install can lights myself?If you are comfortable working with electrical wiring and have experience with home improvement projects, you may be able to install can lights yourself. However, if you are unsure or inexperienced, it is best to hire a qualified electrician.
* How many can lights do I need for my kitchen?The number of can lights needed depends on the size of your kitchen, the ceiling height, and the desired light level. Use a recessed lighting calculator to estimate the number of lights required.
* Where should I place can lights in relation to my kitchen cabinets?Avoid placing can lights directly above cabinets. Instead, position them slightly in front of the cabinets to illuminate the countertop.
* What type of bulb should I use in my can lights?LED bulbs are a popular choice for can lights due to their energy efficiency, long lifespan, and variety of color temperatures.
* Do I need a dimmer switch for my can lights?A dimmer switch allows you to adjust the brightness of your can lights, providing greater control over the ambiance of your kitchen. Consider installing a dimmer switch if you want to create a more versatile lighting scheme.
* How does under cabinet lighting improve my kitchen?Under cabinet lighting provides focused task lighting for countertops, making food preparation easier and safer. It also enhances the overall aesthetics of your kitchen.
* What is the optimal recessed lighting placement for sloped ceilings?Use can lights specifically designed for sloped ceilings. These fixtures have adjustable heads that allow you to direct the light straight down, ensuring optimal illumination.
By following this comprehensive guide, you can create a well-lit and functional kitchen space with strategically placed can lights. Remember to consider your kitchen’s unique characteristics and prioritize safety during the installation process. A thoughtfully designed kitchen lighting layout will enhance both the beauty and usability of your kitchen for years to come.
Hi, I’m Scott Fischer, the voice behind SliceItRight. My passion for food started in my grandmother’s kitchen, where I learned the art of slicing, dicing, and creating delicious meals. Over the years, I’ve explored everything from the perfect kitchen gadgets to mastering culinary techniques, and I’m here to share all of it with you. Whether you’re a beginner or an experienced home chef, my goal is to make cooking easier, more enjoyable, and a lot more fun. So, let’s slice it right and cook up something amazing together!