Can you make butter in a KitchenAid? Yes, you absolutely can! Making butter at home with your KitchenAid stand mixer is surprisingly easy and rewarding. This guide will show you how to churn butter KitchenAid style, from start to finish, and answer any questions you might have about making butter from cream KitchenAid.
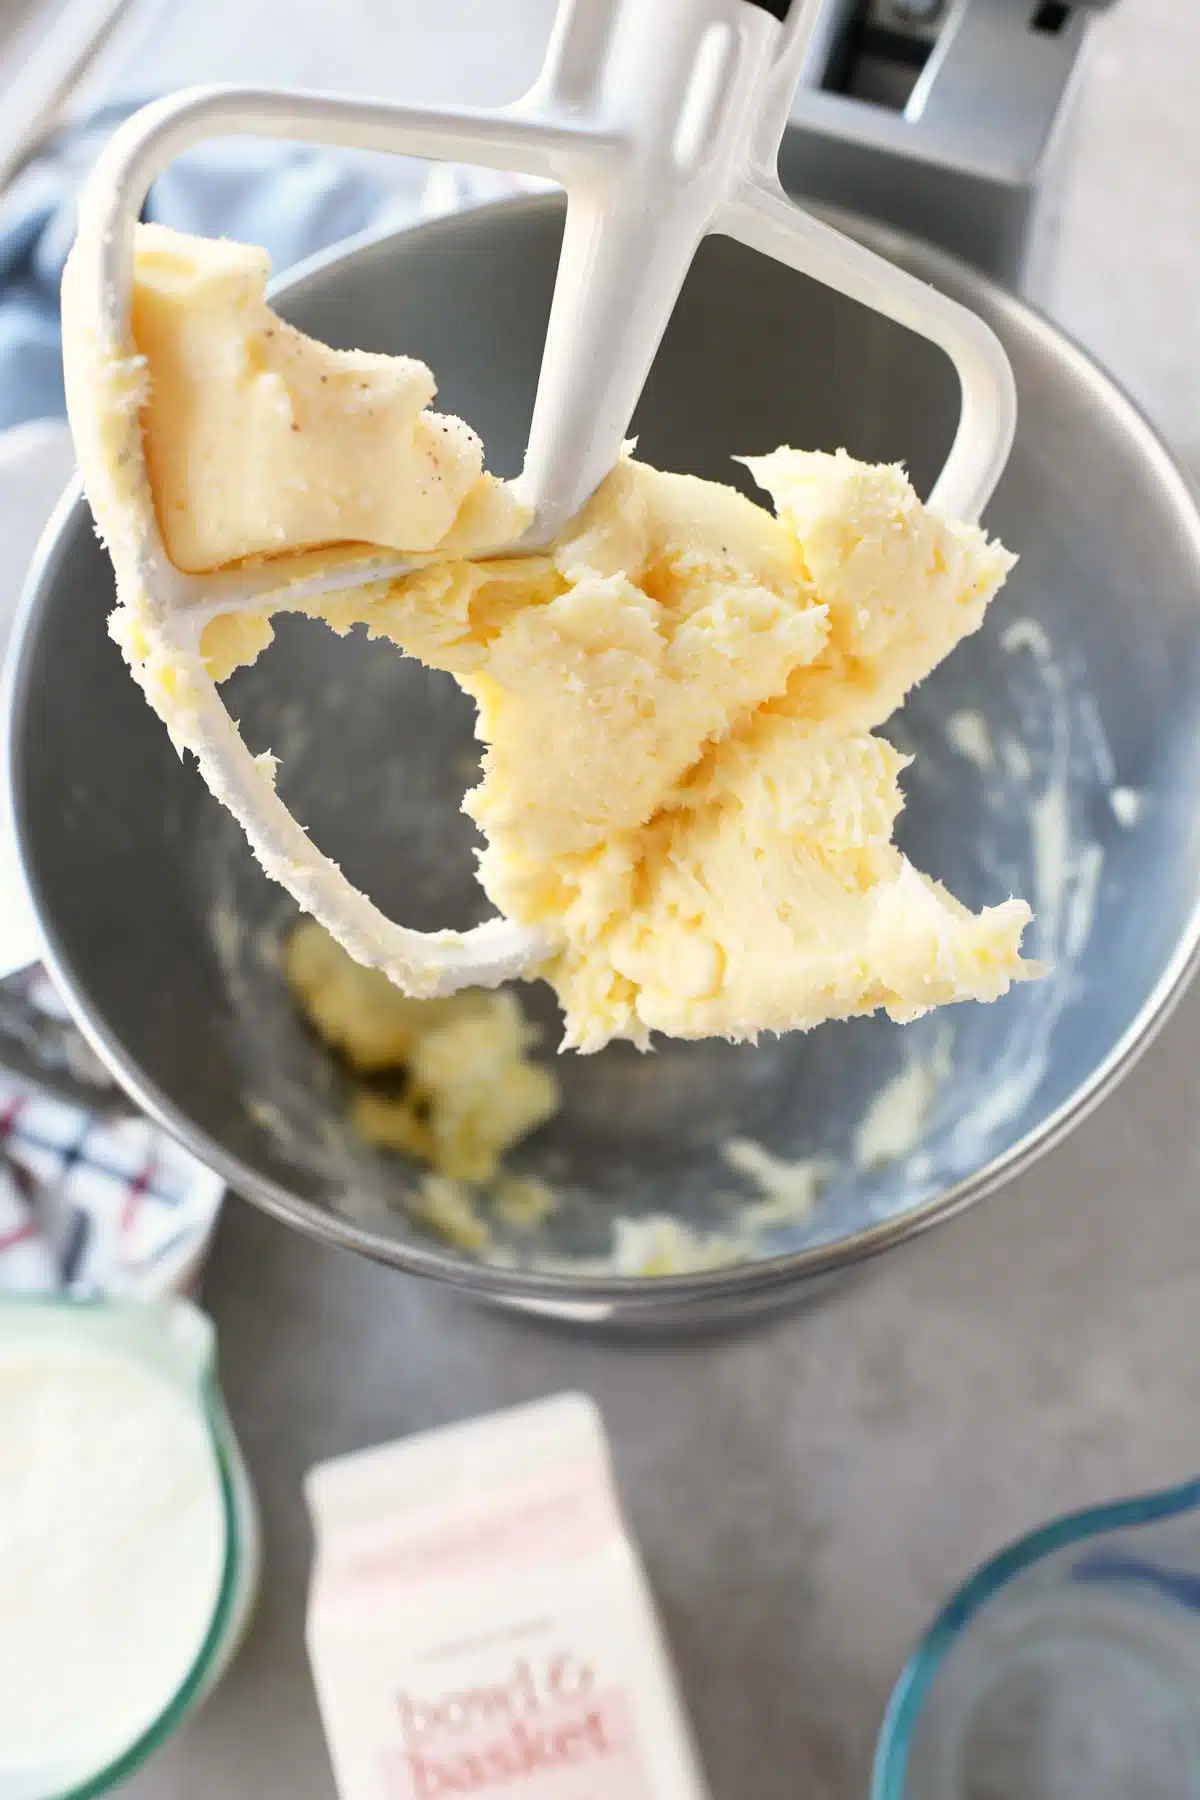
Image Source: www.savvysavingcouple.net
Why Make Butter at Home?
Making your own butter offers several advantages:
- Freshness: Homemade butter is incredibly fresh, often tasting significantly better than store-bought versions.
- Control: You control the ingredients, ensuring no unwanted additives or preservatives. You know exactly what’s in your butter.
- Flavor: You can customize the flavor with herbs, spices, or even honey to create unique butters.
- Cost-Effective: Depending on cream prices in your area, making butter can sometimes be more economical than buying high-quality butter.
- It’s Fun! The process is fascinating, and seeing the transformation from cream to butter is very satisfying.
What You Need to Make Butter with a KitchenAid
Here’s what you’ll need for your KitchenAid butter recipe:
- KitchenAid Stand Mixer: Any model will work, but a larger bowl capacity is helpful when working with larger quantities of cream.
- KitchenAid Butter Attachment (Optional): While not essential, a specialized butter churn attachment for KitchenAid can streamline the process.
- Mixing Bowl: The bowl that comes with your stand mixer.
- Whisk Attachment: This is crucial for whipping the cream.
- Heavy Cream: Use pasteurized, heavy cream with a high-fat content (at least 30%). Ultra-pasteurized cream can work, but it may take longer to churn.
- Fine-Mesh Sieve or Cheesecloth: For separating the buttermilk from the butter.
- Bowl of Ice Water: This helps to wash the butter and remove any remaining buttermilk.
- Spatula or Wooden Spoon: For working the butter.
- Salt (Optional): To season your butter.
Choosing the Right Cream: Best Cream for KitchenAid Butter
The most important ingredient is, of course, the cream. The best cream for making butter in a KitchenAid is heavy cream with a high-fat content. Look for cream labeled “heavy cream” or “heavy whipping cream,” with a fat content of at least 30%. The higher the fat content, the better the yield and the richer the flavor of your butter.
| Cream Type | Fat Content (Approximate) | Suitability for Butter Making | Notes |
|---|---|---|---|
| Heavy Cream | 36-40% | Excellent | Produces the best yield and flavor. |
| Whipping Cream | 30-35% | Good | Will work, but the yield may be slightly lower, and the churning time might be longer. |
| Half-and-Half | 10-12% | Not Recommended | The fat content is too low to produce butter. |
| Ultra-Pasteurized Cream | 36-40% | Can Work | May take longer to churn. Some find the flavor slightly different compared to non-ultra-pasteurized cream. |
Step-by-Step: KitchenAid Butter Making Guide
Here’s how to make homemade butter with a KitchenAid mixer:
Step 1: Chill Your Equipment
Place your mixing bowl and whisk attachment in the freezer for at least 30 minutes before you start. This helps to keep the cream cold, which is essential for proper butter formation. Cold equipment facilitates the separation of fat molecules.
Step 2: Pour in the Cream
Pour the cold heavy cream into the chilled mixing bowl. Don’t fill the bowl too full; leave enough room for the cream to expand as it whips. Filling the bowl about halfway is usually a good starting point.
Step 3: Start Whipping (Whipping Cream into Butter KitchenAid)
Attach the whisk attachment to your KitchenAid stand mixer and start on medium speed. Cover the mixer with a clean kitchen towel, as this prevents splattering. Gradually increase the speed to medium-high.
Step 4: Observe the Transformation
Initially, the cream will thicken and form whipped cream. This is the first stage. Continue whipping, and you’ll notice the whipped cream becoming thicker and stiffer. At this point, the mixture might look curdled or separated. This is normal!
Step 5: The Separation
Keep whipping! The mixture will eventually separate into solid butter and liquid buttermilk. This process can take anywhere from 5 to 20 minutes, depending on the fat content and temperature of your cream. You’ll hear a sloshing sound as the butter separates.
Step 6: Strain the Butter
Once the butter has separated, pour the entire contents of the bowl through a fine-mesh sieve or a cheesecloth-lined colander. This will separate the butter from the buttermilk. Save the buttermilk! It can be used in baking for added flavor and moisture.
Step 7: Wash the Butter
This is a crucial step for improving the flavor and shelf life of your butter. Place the butter in a bowl of ice water. Use a spatula or wooden spoon to knead the butter, pressing out any remaining buttermilk. The water will become cloudy as the buttermilk is released.
Step 8: Repeat Washing
Drain the cloudy water and repeat the washing process with fresh ice water. Continue washing until the water remains clear. This ensures that most of the buttermilk is removed, preventing the butter from spoiling quickly.
Step 9: Salt (Optional)
If you want salted butter, now is the time to add salt. Sprinkle fine sea salt over the butter and knead it in thoroughly. Start with a small amount (about 1/4 teaspoon per cup of butter) and adjust to your taste.
Step 10: Shape and Store
Shape the butter into a log or place it in a butter dish. Store the butter in the refrigerator for up to two weeks. You can also freeze it for longer storage (up to three months). Wrap the butter tightly in plastic wrap and then in aluminum foil to prevent freezer burn.
Using a KitchenAid Butter Attachment
The KitchenAid butter attachment is a specialized accessory designed to simplify the butter-making process. It typically consists of a dasher and a scraper. Here’s how to use it:
- Attach the Butter Attachment: Replace the whisk attachment with the butter attachment.
- Follow the Same Steps: Pour the heavy cream into the bowl and follow steps 3-8 as described above.
- Advantages: The butter attachment can help to speed up the churning process and may result in a smoother, more consistent butter texture. It also reduces the amount of splattering.
Tips for Success
- Keep Everything Cold: Cold cream and equipment are essential for proper butter formation.
- Don’t Overfill the Bowl: Leave enough room in the bowl for the cream to expand as it whips.
- Be Patient: The churning process can take time, so don’t be discouraged if it doesn’t happen immediately.
- Wash Thoroughly: Washing the butter thoroughly removes buttermilk, improving flavor and shelf life.
- Experiment with Flavors: Once you’ve mastered the basic recipe, try adding herbs, spices, honey, or other flavorings to create your own unique butters.
Troubleshooting
- Cream Isn’t Separating: Make sure your cream has a high-fat content (at least 30%). Also, ensure your cream and equipment are cold. Ultra-pasteurized cream may take longer to churn.
- Butter is Soft: This could be due to warm temperatures. Make sure to wash the butter in ice water and store it in the refrigerator.
- Butter Tastes Sour: This usually means that not enough buttermilk was removed. Be sure to wash the butter thoroughly in ice water until the water runs clear.
Variations: Getting Creative with Your Homemade Butter
Once you’ve mastered making plain butter, explore different variations to add flavor and excitement:
Salted Butter
As described above, simply add salt to your butter after washing it. Adjust the amount of salt to your liking.
Herb Butter
Add fresh herbs like chives, parsley, dill, or rosemary to your butter. Chop the herbs finely and knead them into the butter after washing.
Garlic Butter
Add minced garlic or roasted garlic to your butter for a savory flavor.
Honey Butter
Stir in honey to your butter for a sweet and delicious spread. Start with a small amount and adjust to your taste.
Cinnamon Sugar Butter
Combine cinnamon and sugar and knead it into your butter for a warm and comforting flavor.
Lemon Zest Butter
Add lemon zest to your butter for a bright and citrusy flavor.
| Flavor | Ingredients | Instructions |
|---|---|---|
| Herb Butter | Fresh herbs (chives, parsley, dill, etc.) | Chop herbs finely and knead into butter after washing. |
| Garlic Butter | Minced garlic or roasted garlic | Knead garlic into butter after washing. |
| Honey Butter | Honey | Stir honey into butter after washing. |
| Cinnamon Butter | Cinnamon, sugar | Combine cinnamon and sugar and knead into butter after washing. |
| Lemon Butter | Lemon zest | Add lemon zest to butter after washing. |
| Chili Butter | Chili flakes, Smoked Paprika | Add spices into butter after washing. |
Deciphering Common Questions: FAQ
- Can I use a food processor instead of a KitchenAid? Yes, you can! The process is similar. However, a KitchenAid stand mixer is often more convenient for larger batches.
- How long does homemade butter last? Homemade butter typically lasts up to two weeks in the refrigerator and up to three months in the freezer.
- What can I do with the buttermilk? Buttermilk is great for baking! Use it in pancakes, waffles, biscuits, cakes, and more. It adds a tangy flavor and tender texture.
- My butter is grainy. What did I do wrong? This can happen if the butter wasn’t washed thoroughly enough or if the cream wasn’t cold enough. Be sure to wash the butter well and keep your ingredients cold.
- How much butter will I get from one quart of cream? Generally, one quart (four cups) of heavy cream will yield about one pound (two cups) of butter.
- Can I make butter with goat cream or sheep cream? Yes! The process is the same, but the flavor will be different. Goat butter has a tangy flavor, while sheep butter is rich and creamy.
- Is homemade butter healthier than store-bought butter? Homemade butter is generally healthier because you control the ingredients and avoid artificial additives. However, the nutritional content is similar.
- What is the best KitchenAid stand mixer for making butter? Any KitchenAid stand mixer will work. However, if you plan to make butter frequently or in large quantities, a larger bowl capacity (5 quarts or more) is recommended. The KitchenAid Professional 600 Series is a popular choice.
- Is the KitchenAid butter attachment worth buying? If you make butter frequently, the butter attachment can be a worthwhile investment. It simplifies the process and may result in a better texture. However, it’s not essential, as the whisk attachment works perfectly well.
- Can I use pasteurized cream? Yes, you can use pasteurized cream to make butter.
- Can I use ultra-pasteurized cream? Yes, you can use ultra-pasteurized cream, but it can sometimes take longer to turn into butter and may give a slightly different taste.
Making butter in your KitchenAid is a simple and rewarding experience. With this comprehensive guide, you’ll be churning out delicious, homemade butter in no time! Enjoy!
Hi, I’m Scott Fischer, the voice behind SliceItRight. My passion for food started in my grandmother’s kitchen, where I learned the art of slicing, dicing, and creating delicious meals. Over the years, I’ve explored everything from the perfect kitchen gadgets to mastering culinary techniques, and I’m here to share all of it with you. Whether you’re a beginner or an experienced home chef, my goal is to make cooking easier, more enjoyable, and a lot more fun. So, let’s slice it right and cook up something amazing together!