Are you wondering how to insulate under your kitchen sink? The simple answer is yes, you can and should! Insulating under your kitchen sink is a smart move. It helps prevent frozen pipes, saves energy, reduces condensation, and can even save you money on utility bills. This guide will walk you through everything you need to know about kitchen sink insulation.
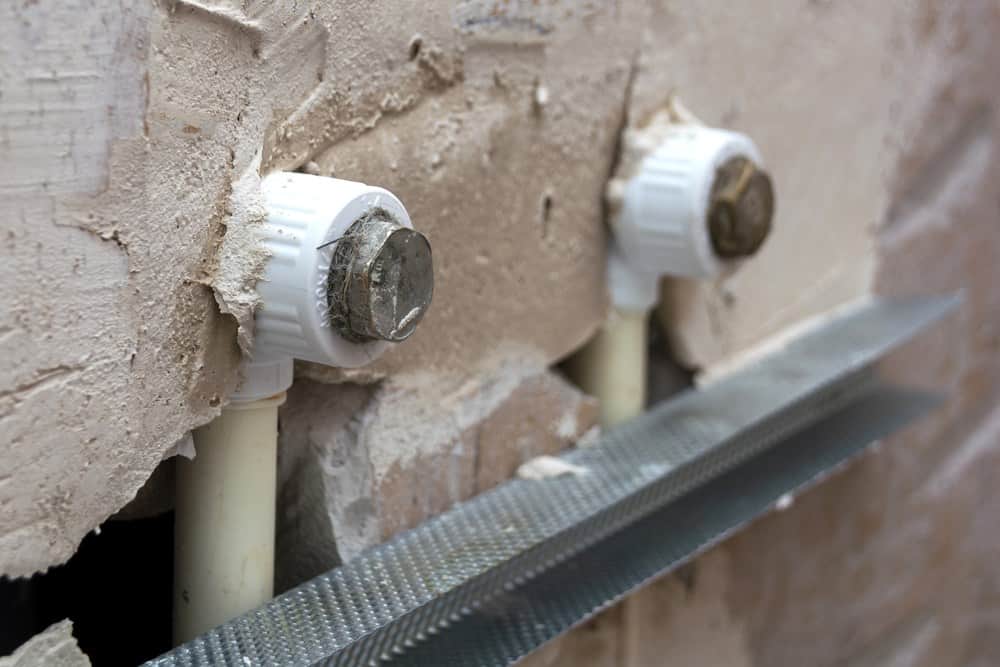
Image Source: www.parkroadkitchen.com
Why Insulate Under Your Kitchen Sink?
There are several good reasons to insulate under your kitchen sink. It’s not just about preventing frozen pipes (although that’s a big one!). Think of it as an investment in your home’s overall health and efficiency.
Preventing Frozen Pipes Under Sink
Frozen pipes are a homeowner’s nightmare. When water freezes, it expands, potentially causing pipes to burst. This leads to costly repairs and water damage. Pipes under the kitchen sink, especially those located on exterior walls, are particularly vulnerable to freezing temperatures. Kitchen sink insulation provides a barrier, helping to keep the pipes warm and prevent them from freezing.
Saving Energy and Money
Insulating your pipes reduces heat loss from hot water pipes and heat gain in cold water pipes. This means your water heater doesn’t have to work as hard to maintain the desired water temperature. This translates into lower energy bills. Insulating kitchen plumbing is a simple yet effective way to cut down on energy consumption.
Reducing Condensation Under Kitchen Sink
Condensation can form on cold pipes, leading to moisture buildup in the cabinet. This can create a breeding ground for mold and mildew. Condensation under kitchen sink can also damage the cabinet itself. Insulation acts as a barrier, preventing the cold pipe surface from coming into contact with warm, humid air.
Moisture Prevention Under Sink
Beyond condensation, leaks and drips under the sink can also cause moisture problems. While insulation won’t fix a leak, it can help contain minor drips and prevent them from spreading, making it easier to identify and address the issue before it becomes a major problem. Moisture prevention under sink is key to maintaining a healthy home environment.
Materials Needed for Kitchen Sink Insulation
Before you start, gather the necessary materials. Here’s a list of what you’ll likely need:
- Pipe Insulation Sleeves: These are foam tubes that fit snugly around your pipes.
- Foam Board Insulation: This is used to insulate the walls and floor of the cabinet.
- Spray Foam Insulation: Useful for filling gaps and cracks.
- Aluminum Foil Tape: To seal seams and edges for a vapor barrier.
- Utility Knife or Scissors: For cutting insulation materials.
- Measuring Tape: To measure the dimensions of the cabinet and pipes.
- Safety Glasses: To protect your eyes.
- Gloves: To protect your hands.
Here’s a quick table summarizing the materials:
| Material | Purpose |
|---|---|
| Pipe Insulation Sleeves | Insulating pipes |
| Foam Board Insulation | Insulating cabinet walls and floor |
| Spray Foam Insulation | Filling gaps and cracks |
| Aluminum Foil Tape | Sealing seams and edges |
| Utility Knife/Scissors | Cutting insulation materials |
| Measuring Tape | Measuring dimensions |
| Safety Glasses | Eye protection |
| Gloves | Hand protection |
Step-by-Step Guide: DIY Kitchen Sink Insulation
Now, let’s get to the actual insulation process. Follow these steps for effective DIY kitchen sink insulation:
1. Prepare the Area
- Clear the Cabinet: Remove everything from under the sink. This includes cleaning supplies, trash cans, and anything else stored in the cabinet.
- Clean the Surfaces: Wipe down the inside of the cabinet with a damp cloth to remove any dust, dirt, or debris.
- Inspect for Leaks: Check for any existing leaks in the pipes or around the faucet. Repair any leaks before proceeding with insulation.
2. Measure and Cut the Foam Board
- Measure the Cabinet: Measure the inside dimensions of the cabinet walls, floor, and door (if you plan to insulate it).
- Cut the Foam Board: Using a utility knife or scissors, cut the foam board insulation to fit the measured dimensions. Make sure the pieces fit snugly against the cabinet walls and floor.
3. Install the Foam Board
- Attach the Foam Board: Apply adhesive to the back of the foam board pieces and press them firmly against the cabinet walls and floor. You can also use construction adhesive for a more secure hold.
- Seal the Seams: Use aluminum foil tape to seal the seams between the foam board pieces. This creates a vapor barrier and prevents moisture from penetrating the insulation.
4. Insulate the Pipes
- Measure the Pipes: Measure the length of the hot and cold water pipes and the drain pipes.
- Cut the Pipe Insulation Sleeves: Cut the pipe insulation sleeves to the appropriate length.
- Install the Sleeves: Open the sleeves along the pre-cut slit and wrap them around the pipes. Secure the sleeves with tape or zip ties. For under sink pipe insulation, ensure a snug fit.
- Insulating Hot and Cold Water Pipes Under Sink: Pay special attention to insulating both hot and cold water pipes, as this maximizes energy savings and prevents condensation.
5. Insulate the Drain Pipes
How to insulate drain pipes? Insulating drain pipes is just as important as insulating water pipes. Use the same pipe insulation sleeves to wrap the drain pipes.
6. Fill Gaps and Cracks
- Apply Spray Foam: Use spray foam insulation to fill any gaps or cracks around the pipes, foam board, or cabinet walls.
- Allow to Dry: Let the spray foam dry completely according to the manufacturer’s instructions.
- Trim Excess Foam: Once dry, trim any excess foam with a utility knife.
7. Insulate the Cabinet Door (Optional)
- Measure the Door: Measure the inside of the cabinet door.
- Cut the Foam Board: Cut a piece of foam board to fit the door.
- Attach the Foam Board: Attach the foam board to the inside of the door with adhesive.
- Seal the Edges: Seal the edges with aluminum foil tape.
8. Final Inspection
- Check for Gaps: Inspect the entire insulated area for any gaps or openings. Seal any remaining gaps with spray foam or aluminum foil tape.
- Replace Items: Once the insulation is complete and dry, replace the items you removed from under the sink.
Choosing the Best Insulation for Your Kitchen Sink Cabinet
What is the best insulation for kitchen sink cabinet? Several factors determine the best insulation. Here’s a comparison:
| Insulation Type | Pros | Cons | Best For |
|---|---|---|---|
| Pipe Insulation Sleeves | Easy to install, inexpensive, effective for pipes | Not suitable for large areas | Insulating pipes |
| Foam Board Insulation | Good insulation value, easy to cut and install, moisture resistant | Can be bulky, requires adhesive | Insulating cabinet walls and floor |
| Spray Foam Insulation | Excellent for filling gaps, high insulation value, air-tight seal | Can be messy, requires ventilation, may expand too much | Sealing gaps and cracks |
| Fiberglass Insulation | Inexpensive, readily available | Can cause skin and respiratory irritation, loses effectiveness when wet | Generally not recommended for under-sink applications |
Additional Tips for Kitchen Sink Insulation
- Consider Climate: If you live in a very cold climate, you may need to use thicker insulation or additional layers.
- Ventilation: Ensure adequate ventilation in the cabinet to prevent moisture buildup. You can install a small vent or leave the cabinet door slightly ajar.
- Regular Inspections: Periodically inspect the insulation for damage or moisture. Replace or repair as needed.
- Professional Help: If you’re not comfortable doing the insulation yourself, consider hiring a professional.
The Impact of Kitchen Sink Insulation
Long-Term Benefits
The initial effort of insulating under your kitchen sink pays off significantly in the long run. Here’s a look at the lasting benefits:
- Reduced Energy Bills: By minimizing heat loss from hot water pipes, you’ll see a noticeable decrease in your energy consumption, leading to lower utility bills.
- Prevention of Costly Repairs: Avoiding frozen pipes can save you from expensive plumbing repairs and potential water damage to your home.
- Improved Home Value: A well-insulated home is more attractive to potential buyers, increasing your property’s value.
- Enhanced Comfort: Maintain a more consistent temperature in your home and reduce the risk of uncomfortable drafts.
Environmental Benefits
Insulating under your kitchen sink not only benefits your wallet and home but also contributes to a more sustainable lifestyle.
- Reduced Carbon Footprint: Lower energy consumption translates to a smaller carbon footprint, helping to protect the environment.
- Conservation of Resources: By using less energy, you’re contributing to the conservation of natural resources.
- Promotion of Energy Efficiency: Insulating your home encourages others to adopt energy-efficient practices, creating a ripple effect of positive change.
Addressing Specific Concerns
Condensation and Mold Growth
Condensation under the kitchen sink is a common issue that can lead to mold and mildew growth. Insulation helps prevent condensation by creating a barrier between the cold pipes and the warm, humid air. If you notice any signs of mold, clean the area with a mold-killing solution before insulating.
Pest Control
Pests, such as rodents and insects, can sometimes find their way into the space under the kitchen sink. Seal any cracks or openings in the cabinet to prevent pests from entering. Additionally, consider using pest-resistant insulation materials.
Odor Control
Unpleasant odors can emanate from the drain or garbage disposal. Ensure that the drain is properly sealed and that there are no leaks. You can also use odor-absorbing products, such as baking soda or charcoal filters, to neutralize odors.
Troubleshooting Common Issues
Insulation Falling Off
If the insulation is falling off, it may not have been properly installed. Ensure that the surfaces are clean and dry before applying the insulation. Use a strong adhesive or tape to secure the insulation in place.
Moisture Buildup
If you notice moisture buildup despite insulating, there may be a leak or ventilation issue. Check for any leaks in the pipes or around the faucet. Ensure that the cabinet has adequate ventilation to allow moisture to escape.
Inadequate Insulation
If you’re still experiencing frozen pipes or high energy bills after insulating, you may need to add more insulation. Consider using thicker insulation or adding an additional layer.
Frequently Asked Questions (FAQ)
- Can I use fiberglass insulation under my kitchen sink? While possible, it’s not recommended. Fiberglass can absorb moisture, losing its effectiveness and promoting mold growth. Foam board or pipe insulation sleeves are better choices.
- Will insulation prevent all pipe freezing? Insulation significantly reduces the risk, but extreme temperatures can still cause pipes to freeze. Consider other measures, like letting a faucet drip during very cold weather.
- How often should I replace the insulation under my kitchen sink? Insulation should last for many years. However, inspect it annually for damage or moisture and replace it as needed.
- Is insulating the drain pipe necessary? Yes, insulating the drain pipe helps prevent condensation and potential damage to the cabinet.
- How much does it cost to insulate under a kitchen sink? The cost varies depending on the materials used, but it’s a relatively inexpensive project, typically ranging from $20 to $100.
By following this guide, you can effectively insulate under your kitchen sink, preventing frozen pipes, saving energy, and protecting your home from moisture damage. Insulating under sink pipe insulation is a worthwhile investment that will pay off for years to come.
Hi, I’m Scott Fischer, the voice behind SliceItRight. My passion for food started in my grandmother’s kitchen, where I learned the art of slicing, dicing, and creating delicious meals. Over the years, I’ve explored everything from the perfect kitchen gadgets to mastering culinary techniques, and I’m here to share all of it with you. Whether you’re a beginner or an experienced home chef, my goal is to make cooking easier, more enjoyable, and a lot more fun. So, let’s slice it right and cook up something amazing together!