Can you install crown molding on your kitchen cabinets yourself? Yes! This guide breaks down the process of kitchen cabinet crown molding installation, making it easy to understand and complete. It covers everything from planning to finishing, ensuring a professional look for your kitchen.
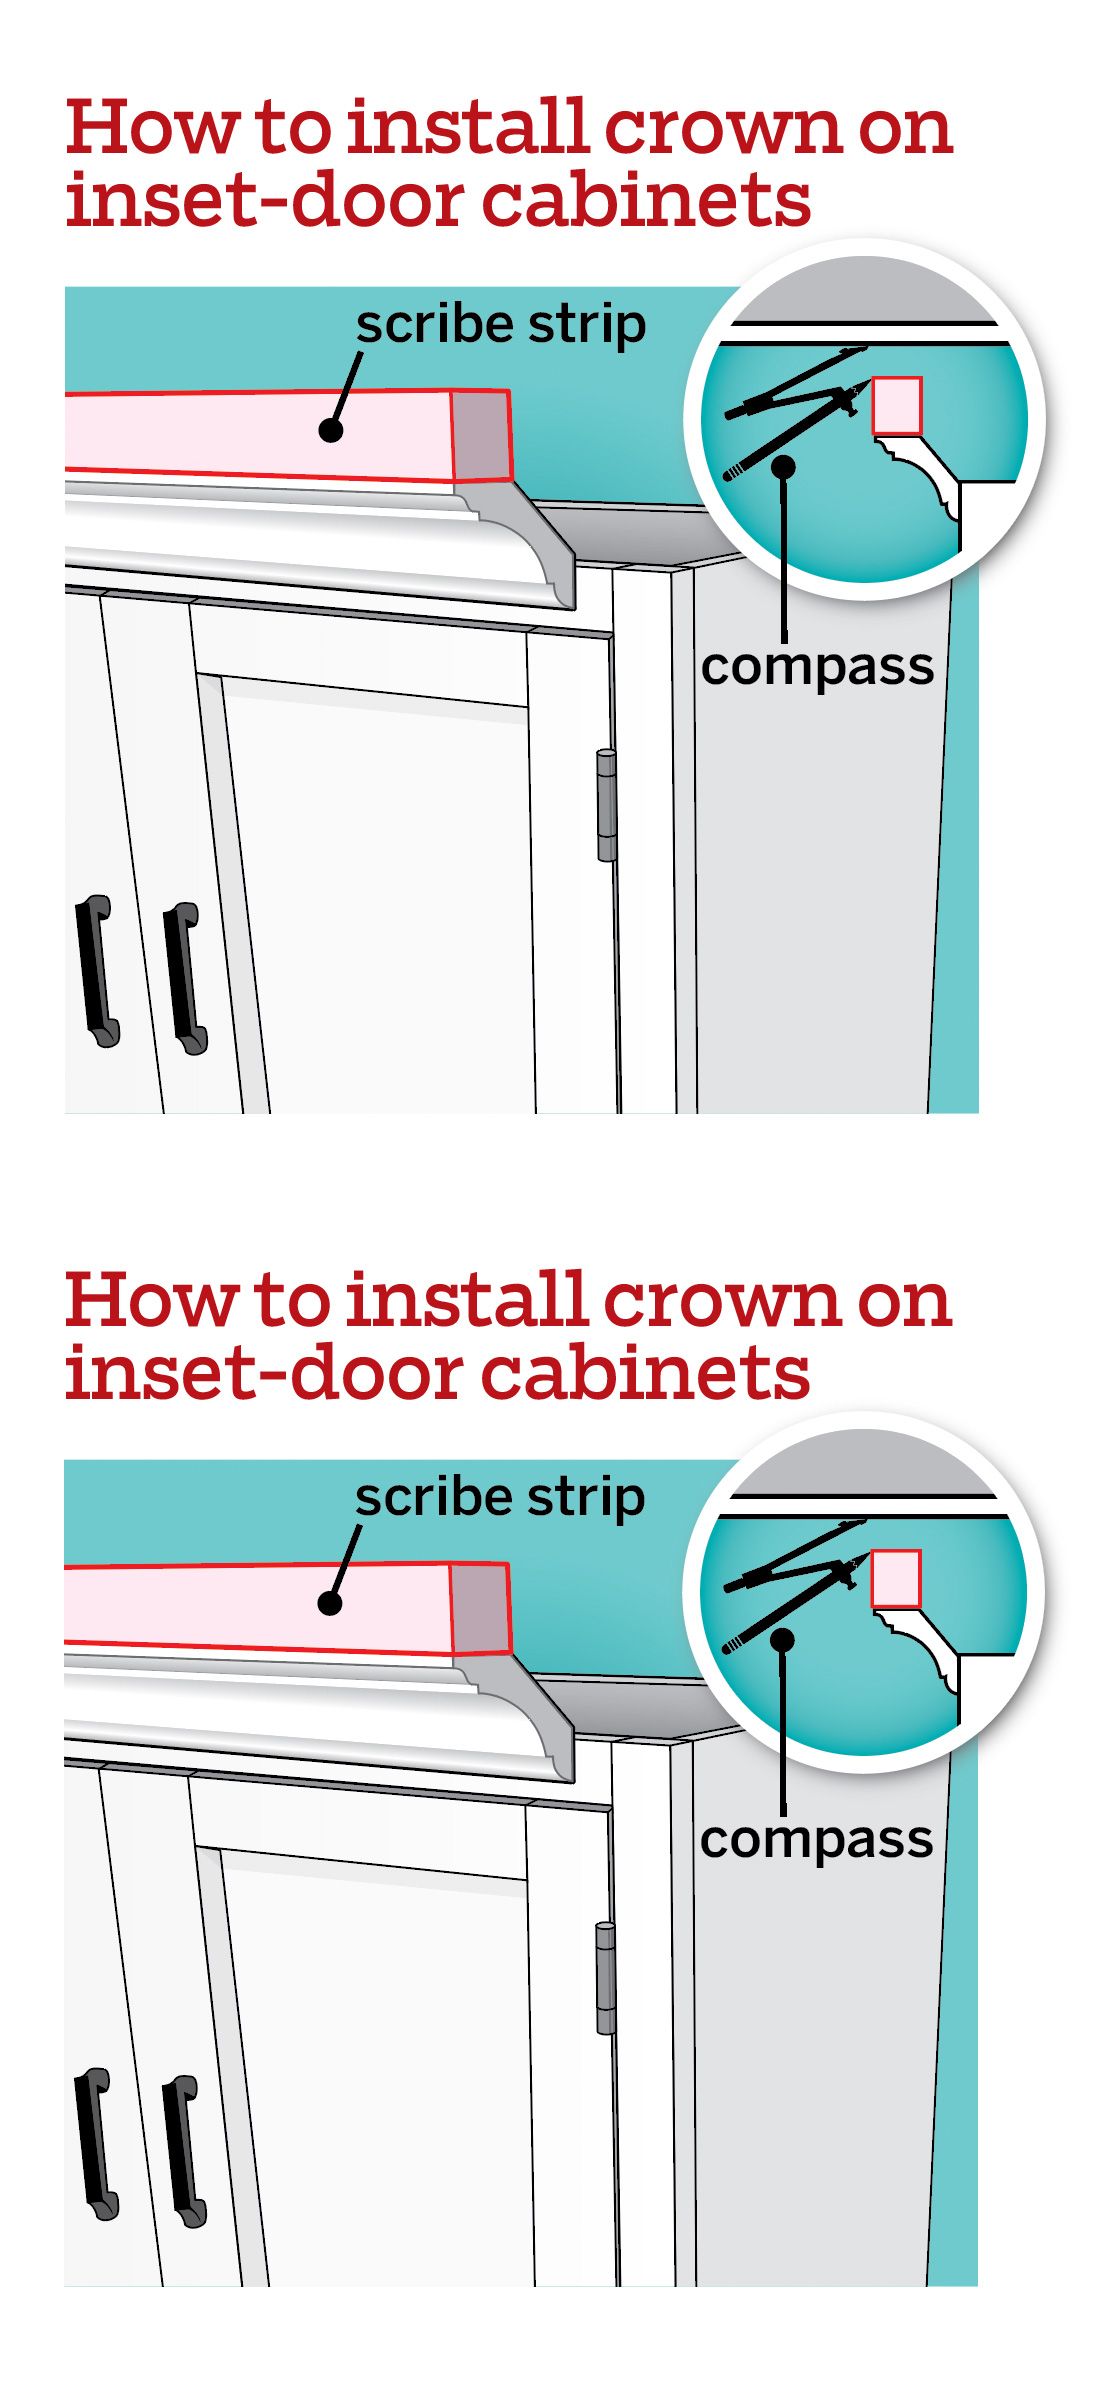
Image Source: s42814.pcdn.co
Why Add Crown Molding to Kitchen Cabinets?
Crown molding adds a touch of elegance and sophistication to any kitchen. It bridges the gap between the cabinets and the ceiling, creating a finished, custom look. It’s a relatively inexpensive way to upgrade your kitchen’s style and increase its value.
Aesthetic Benefits
- Creates a Finished Look: Crown molding visually connects cabinets to the ceiling, making the kitchen feel complete.
- Adds Visual Height: It can make your kitchen appear taller, especially in rooms with lower ceilings.
- Enhances Style: Molding comes in various styles to match different kitchen designs, from traditional to modern.
Practical Advantages
- Hides Imperfections: Crown molding can conceal gaps or unevenness between the cabinets and ceiling.
- Increases Home Value: Upgrades like crown molding can increase your home’s market value.
- Easy to Customize: It can be painted or stained to match your existing cabinets and décor.
Tools and Materials You’ll Need
Before starting your kitchen cabinet crown molding installation, gather all the necessary tools and materials. This ensures a smooth and efficient process.
Essential Tools
- Measuring Tape: For accurate measurements.
- Miter Saw: For making precise angle cuts.
- Coping Saw: For coping joints (more on this later).
- Nail Gun: For securing the molding (a brad nailer works well).
- Level: To ensure the molding is straight.
- Stud Finder: To locate studs behind the cabinets (if needed).
- Caulk Gun: For applying caulk to fill gaps.
- Wood Filler: For filling nail holes.
- Safety Glasses: To protect your eyes.
- Dust Mask: To protect against dust.
- Pencil: For marking cuts.
- Clamps: To hold the molding in place while securing it.
Required Materials
- Crown Molding: Choose the style and material that matches your kitchen (wood, MDF, or PVC).
- Wood Glue: For reinforcing joints.
- Painter’s Caulk: To fill gaps and create a seamless look.
- Primer: To prepare the molding for painting.
- Paint or Stain: To match your cabinets.
- Brad Nails: For the nail gun.
- Scrap Wood: For making jigs and test cuts.
Planning Your Kitchen Cabinet Crown Molding Installation
Proper planning is crucial for a successful kitchen cabinet crown molding DIY project. This includes measuring, choosing the right molding, and designing the layout.
Measuring and Calculating
- Measure the Total Length: Measure the total length of the cabinets where you’ll install the molding.
- Add Extra: Purchase about 10-15% more molding than needed to account for mistakes and cuts.
- Consider Corner Angles: Determine if your corners are perfect 90-degree angles. If not, you’ll need to adjust your miter saw accordingly.
Selecting the Right Crown Molding
- Material: Wood is traditional and can be stained or painted. MDF is less expensive and paints well. PVC is moisture-resistant, making it good for areas near the sink.
- Style: Choose a style that complements your kitchen’s design. Simple, clean lines work well for modern kitchens, while more ornate designs suit traditional kitchens.
- Size: Consider the height of your cabinets and the overall size of your kitchen. Larger kitchens can handle wider molding.
Designing the Layout
- Visualize the Finished Look: Before cutting anything, visualize how the molding will look.
- Plan Your Cuts: Decide where you’ll make your cuts, especially at corners.
- Coping vs. Mitering: Decide whether to cope or miter your inside corners (more on this later).
Step-by-Step Guide to Hanging Crown Molding on Cabinet Tops
Now, let’s dive into the detailed steps for attaching crown molding to cabinets.
Step 1: Preparing the Cabinets
- Clean the Surface: Make sure the top of your cabinets are clean and free of dust or grease.
- Add a Nailing Strip (Optional): If your cabinets don’t have a solid top edge, attach a wood strip along the top to provide a secure surface for nailing.
Step 2: Making the Cuts
This is the most challenging part of kitchen cabinet crown molding installation. Accuracy is key!
- Setting Up Your Miter Saw: Adjust your miter saw to the correct angle for your corners. For a 90-degree corner, you’ll typically use a 45-degree angle.
- Cutting Outside Corners: Outside corners require two mitered cuts that meet at a point. Cut one piece with the miter saw angled to the left, and the other with the miter saw angled to the right.
- Coping Inside Corners: Coping is a technique where you cut away the back of one piece of molding to match the profile of the other. This creates a tight, seamless joint, even if the corner isn’t perfectly square.
- Miter the First Piece: Miter cut the first piece of molding at a 45-degree angle (for a 90-degree corner).
- Cope the Second Piece: Miter cut the second piece at a 45-degree angle. Then, use a coping saw to carefully remove the back of the molding, following the profile of the mitered cut.
- Test the Fit: Test the fit of the coped joint. If needed, use a file or sandpaper to fine-tune the fit.
Step 3: Attaching the Crown Molding
- Apply Wood Glue: Apply a thin bead of wood glue to the back of the molding where it will contact the cabinets.
- Position the Molding: Carefully position the molding on top of the cabinets.
- Secure with Nails: Use a nail gun to secure the molding to the cabinets. Space the nails about every 6-8 inches.
- Use Clamps: Use clamps to hold the molding in place while the glue dries.
Step 4: Finishing Touches
- Fill Nail Holes: Use wood filler to fill any nail holes. Let it dry completely.
- Sand Smooth: Sand the filled areas smooth with fine-grit sandpaper.
- Caulk the Gaps: Apply painter’s caulk to fill any gaps between the molding and the cabinets, or between the molding and the ceiling.
- Paint or Stain: Prime the molding and then paint or stain it to match your cabinets.
Tips for Securing Crown Molding to Kitchen Cabinets
- Use a Crown Molding Jig: A jig can help you hold the molding at the correct angle while cutting it on the miter saw.
- Make Test Cuts: Before cutting your actual molding, make test cuts on scrap wood to ensure your angles are correct.
- Work in Sections: Divide the project into smaller sections to make it more manageable.
- Don’t Rush: Take your time and focus on accuracy.
Best Adhesive for Crown Molding on Cabinets
While nails are the primary way to secure crown molding, adhesive can provide extra hold. The best adhesive for crown molding on cabinets is a combination of wood glue and brad nails.
| Adhesive Type | Pros | Cons | Best Use |
|---|---|---|---|
| Wood Glue | Strong bond, fills gaps, easy to clean up. | Requires clamping while drying. | Reinforcing joints, especially corners. |
| Construction Adhesive | Very strong bond, good for uneven surfaces. | Can be messy, may require longer drying time. | Areas where a strong bond is needed, but precise fit isn’t critical. |
| Painter’s Caulk | Flexible, fills gaps, paintable. | Not a strong adhesive on its own. | Filling gaps and creating a seamless finish. |
| Liquid Nails | High strength, works on various materials | Can be difficult to remove, may require support while drying. | Where very strong bonding is needed but not recommended for crown molding |
How to Cope Crown Molding for Kitchen Cabinets
Coping is a technique for creating seamless inside corners. Here’s a more detailed look at how to do it:
- Miter Cut the First Piece: Cut the first piece of molding at a 45-degree angle (for a 90-degree corner). This piece will be installed first.
- Miter Cut the Second Piece: Cut the second piece of molding at a 45-degree angle in the opposite direction.
- Coping: Use a coping saw to carefully remove the back of the molding, following the profile of the mitered cut. Angle the coping saw slightly backward to create a slight back-cut.
- Test the Fit: Test the fit of the coped joint. If needed, use a file or sandpaper to fine-tune the fit. The goal is to have the front edge of the coped piece perfectly match the profile of the first piece.
- Adjust as Needed: You may need to make slight adjustments to the angle of your coping saw or use a file or sandpaper to refine the fit.
- Apply Adhesive and Install: Apply wood glue to the back of the coped piece and install it, pressing it firmly against the first piece.
Kitchen Cabinet Crown Molding Tips
- Practice Makes Perfect: Before starting your project, practice cutting and coping on scrap wood.
- Use a Crown Molding Angle Finder: This tool helps you determine the correct angle for your miter saw.
- Take Breaks: Installing crown molding can be tiring. Take breaks to avoid mistakes.
- Ask for Help: If you’re feeling overwhelmed, ask a friend or family member to help.
Problems and Solutions
| Problem | Solution |
|---|---|
| Gaps between molding and cabinets | Use caulk to fill the gaps. For larger gaps, use backer rod before caulking. |
| Molding doesn’t fit snugly in corners | Adjust your miter saw or coping technique. Use a file or sandpaper to fine-tune the fit. |
| Molding is falling down | Use more nails or adhesive. Make sure you’re nailing into solid wood. |
| Paint is peeling | Make sure you’re using a primer before painting. Clean the molding thoroughly before painting. |
| Difficulty cutting accurate angles | Use a crown molding jig. Practice on scrap wood. Double-check your measurements. |
Maintaining Your Crown Molding
- Dust Regularly: Use a soft cloth or vacuum with a brush attachment to dust the molding regularly.
- Clean Spills Promptly: Wipe up any spills immediately to prevent staining.
- Touch Up Paint: Touch up any chipped or scratched paint as needed.
FAQ
What is the easiest way to install crown molding on kitchen cabinets?
The easiest way is to use pre-cut corner blocks, which eliminate the need for miter cuts. However, this method may not look as seamless as traditional mitered or coped joints.
Can I install crown molding above kitchen cabinets if there’s a gap to the ceiling?
Yes, you can. You might need to add a filler piece of wood behind the molding to provide a solid surface for nailing.
Who is best to install crown molding?
A carpenter or experienced DIYer is best suited to install crown molding, especially if coping or complex cuts are involved.
What is the best material for kitchen cabinet crown molding?
The best material depends on your budget and needs. Wood is traditional and versatile, MDF is cost-effective and paints well, and PVC is moisture-resistant.
How do I choose the right size crown molding for my kitchen cabinets?
Consider the height of your cabinets and the size of your kitchen. Larger kitchens can handle wider molding. A general rule of thumb is to choose molding that is proportional to the height of your cabinets.
Conclusion
Hanging crown molding on kitchen cabinets is a rewarding DIY project that can significantly enhance the look of your kitchen. By following this kitchen cabinet molding installation guide and taking your time, you can achieve a professional-looking result. Remember to plan carefully, measure accurately, and practice your cuts. With the right tools and materials, you’ll have beautiful crown molding that adds value and style to your home.
Hi, I’m Scott Fischer, the voice behind SliceItRight. My passion for food started in my grandmother’s kitchen, where I learned the art of slicing, dicing, and creating delicious meals. Over the years, I’ve explored everything from the perfect kitchen gadgets to mastering culinary techniques, and I’m here to share all of it with you. Whether you’re a beginner or an experienced home chef, my goal is to make cooking easier, more enjoyable, and a lot more fun. So, let’s slice it right and cook up something amazing together!