Are you wondering how to give your kitchen cabinets that charming, lived-in look? You can easily distress them! This guide will walk you through various distressing techniques for cabinets, helping you achieve a beautiful rustic kitchen cabinet makeover without breaking the bank.
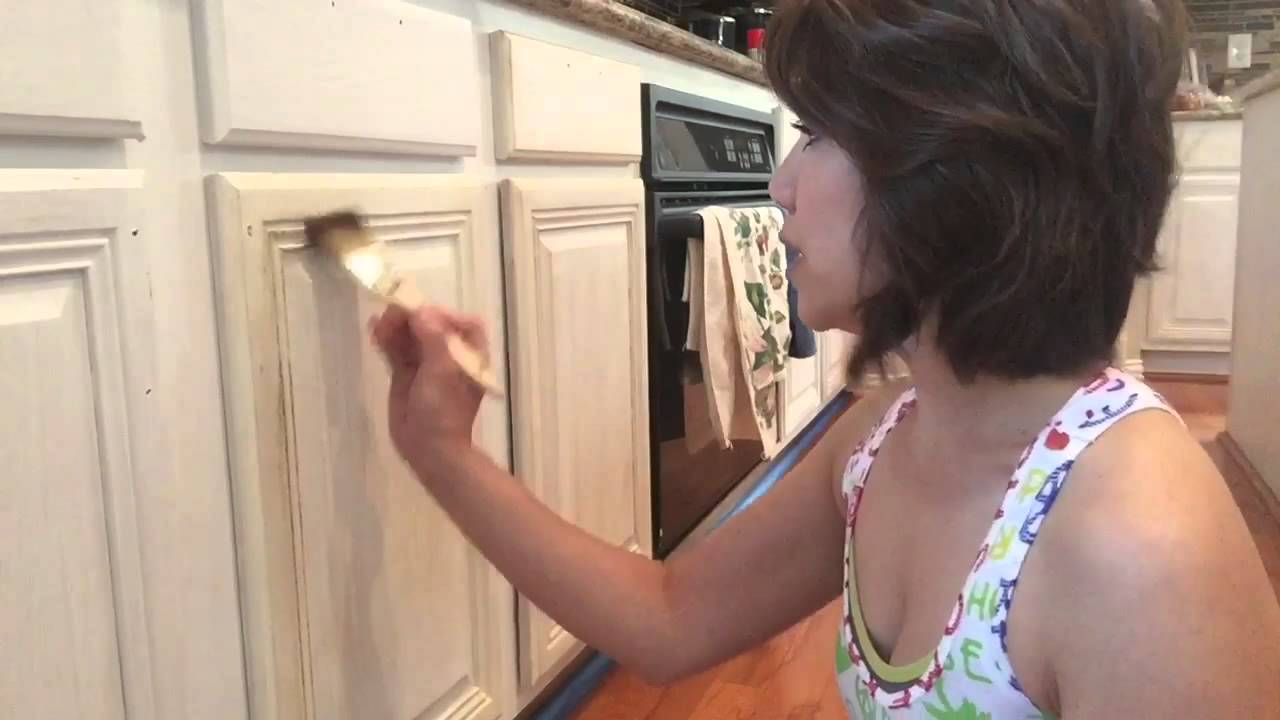
Image Source: i.ytimg.com
Revamp Your Kitchen with Distressed Cabinets
Distressing kitchen cabinets is a fantastic way to inject personality and character into your space. It’s a budget-friendly alternative to replacing your cabinets entirely, allowing you to achieve an antique kitchen cabinet finish that feels both timeless and unique. Whether you’re aiming for a farmhouse aesthetic or simply want to add some visual interest, learning how to distress painted cabinets is a valuable skill.
Why Distress Your Kitchen Cabinets?
Before diving into the “how-to,” let’s explore the compelling reasons why you might want to embark on this DIY project:
- Budget-Friendly: Distressing is significantly cheaper than buying new cabinets.
- Unique Look: Create a one-of-a-kind kitchen with a personalized, aged aesthetic.
- Hides Imperfections: Distressing naturally conceals existing scratches, dents, and other flaws.
- Adds Character: Infuse your kitchen with a warm, inviting, and rustic charm.
- DIY Satisfaction: Enjoy the rewarding experience of transforming your own space.
Getting Ready for Your Distressing Project
Preparation is key to a successful DIY distressed cabinets project. Here’s what you’ll need to do before you even pick up a paintbrush:
Gathering Your Supplies
Having the right tools and materials at hand will streamline the distressing process. Here’s a comprehensive list:
- Cleaning Supplies: Soap, water, and a degreaser.
- Sandpaper: Various grits (80, 120, 220) for different stages.
- Primer: A good quality primer to ensure proper paint adhesion.
- Paint: Choose your desired base and topcoat colors. Acrylic latex paint is a good option for cabinets.
- Paint Brushes and/or Rollers: Select appropriate sizes for your cabinets.
- Distressing Tools: Options include:
- Chains
- Hammers
- Screwdrivers
- Putty knives
- Wire brushes
- Steel wool
- Clear Coat/Sealer: To protect your distressed finish.
- Rags: For wiping and cleaning.
- Drop Cloths: To protect your work area.
- Painter’s Tape: For masking off areas.
- Safety Gear: Gloves, eye protection, and a dust mask.
Preparing Your Cabinets
Proper preparation is essential for achieving a professional-looking distressed finish. Follow these steps carefully:
- Remove Hardware: Take off all knobs, pulls, hinges, and other hardware. Store them in a safe place.
- Clean Thoroughly: Wash the cabinets with soap and water to remove dirt and grime. Then, use a degreaser to eliminate any grease or oily residue. Rinse thoroughly and let dry completely.
- Sand Lightly: Use 220-grit sandpaper to lightly sand the surfaces of the cabinets. This will help the primer and paint adhere better.
- Apply Primer: Apply a thin, even coat of primer to all surfaces. Let it dry completely according to the manufacturer’s instructions. This step is crucial for how to distress painted cabinets, as it ensures a good base for your paint.
- First Layer of Paint: Apply the first coat of your base paint color. Two thin coats are generally better than one thick coat. Allow each coat to dry completely before applying the next.
Cabinet Distressing Methods: Unleashing the Charm
Now comes the fun part: actually distressing your cabinets! There are several cabinet distressing methods you can use, each offering a unique look.
Sandpaper Distressing: A Classic Approach
This is one of the easiest and most popular distressing techniques for cabinets. It involves strategically sanding away paint to reveal the underlying layers.
- Choose Your Areas: Decide where you want to create the distressed effect. Focus on areas that would naturally wear down over time, such as edges, corners, and around knobs and pulls.
- Sand Away Paint: Use 120-grit sandpaper to gently sand away the top coat of paint, revealing the primer or the original wood beneath. Use 80-grit sandpaper for more aggressive distressing.
- Blend the Edges: Use 220-grit sandpaper to soften the edges of the distressed areas, creating a more natural look.
- Clean and Seal: Wipe away any sanding dust and apply a clear coat or sealer to protect the finish.
Glazing: Adding Depth and Dimension
Glazing enhances the distressed look by highlighting details and adding depth to the finish.
- Apply Glaze: Use a brush or rag to apply a thin layer of glaze to the cabinet surface.
- Wipe Away Excess: Use a clean rag to wipe away most of the glaze, leaving it only in the crevices and corners.
- Blend the Glaze: Use a soft brush or rag to blend the remaining glaze, creating a subtle, aged effect.
- Seal the Finish: Apply a clear coat or sealer to protect the glazed finish.
Dry Brushing: Creating a Textured Look
Dry brushing involves using a brush with very little paint to create a textured, weathered effect.
- Dip Brush Lightly: Dip the tip of a dry brush into your chosen paint color.
- Remove Excess Paint: Wipe off most of the paint onto a paper towel.
- Apply Lightly: Lightly brush the paint onto the cabinet surface, using short, irregular strokes.
- Build Up Texture: Repeat the process to build up the desired level of texture.
- Seal the Finish: Apply a clear coat or sealer to protect the dry-brushed finish.
Antiquing Wax: Adding a Vintage Touch
Antiquing wax adds a rich, warm tone to the distressed finish, enhancing the creating a worn cabinet look.
- Apply Wax: Use a brush or rag to apply a thin layer of antiquing wax to the cabinet surface.
- Work into Crevices: Use a brush to work the wax into the crevices and corners of the cabinets.
- Wipe Away Excess: Use a clean rag to wipe away most of the wax, leaving it only in the recessed areas.
- Buff the Finish: Use a soft cloth to buff the finish, creating a smooth, lustrous sheen.
Strategic Damage: Creating Authentic Wear and Tear
For a more authentic distressed look, you can intentionally create imperfections using various tools. This method can involve using chains, hammers, and other tools to create dents, scratches, and other signs of wear and tear.
- Protect Your Work Area: Place the cabinet door or drawer front on a protected surface.
- Create Imperfections: Use your chosen tools to create dents, scratches, and other imperfections. Be careful not to damage the wood too severely.
- Sand the Edges: Use sandpaper to soften the edges of the distressed areas, creating a more natural look.
- Apply Finishing Touches: Use one of the other distressing methods (sanding, glazing, dry brushing, or antiquing wax) to enhance the distressed look.
- Seal the Finish: Apply a clear coat or sealer to protect the finish.
Color Washing: Achieving a Subtle, Aged Look
Color washing involves applying a diluted layer of paint or stain to create a subtle, aged effect.
- Dilute Paint or Stain: Mix your chosen paint or stain with water or a compatible thinner.
- Apply the Wash: Use a brush or rag to apply a thin layer of the diluted paint or stain to the cabinet surface.
- Wipe Away Excess: Use a clean rag to wipe away most of the wash, leaving it only in the grain and crevices of the wood.
- Blend the Wash: Use a soft brush or rag to blend the remaining wash, creating a subtle, aged effect.
- Seal the Finish: Apply a clear coat or sealer to protect the finish.
Step-by-Step Guide: A Practical Example
Let’s walk through a specific example using the sandpaper distressing method.
| Step | Description | Materials |
|---|---|---|
| 1 | Clean cabinets thoroughly. | Soap, water, degreaser |
| 2 | Lightly sand with 220-grit sandpaper. | 220-grit sandpaper |
| 3 | Apply primer. | Primer |
| 4 | Apply two coats of base paint (e.g., off-white). | Paint, brush/roller |
| 5 | Let paint dry completely. | N/A |
| 6 | Strategically sand edges and corners with 120-grit sandpaper. | 120-grit sandpaper |
| 7 | Soften edges with 220-grit sandpaper. | 220-grit sandpaper |
| 8 | Clean dust and apply a clear coat sealer. | Clear coat, rag |
| 9 | Reattach hardware. | Knobs, pulls, hinges |
Tips for a Professional Finish
- Start Small: Practice on a scrap piece of wood before tackling your cabinets.
- Less is More: It’s always easier to add more distressing than to remove it.
- Be Consistent: Maintain a consistent level of distressing across all cabinets.
- Consider the Overall Style: Choose a distressing technique that complements your kitchen’s overall aesthetic.
- Seal Your Work: Always apply a clear coat or sealer to protect your distressed finish.
Maintaining Your Distressed Cabinets
Once your cabinets are distressed, it’s important to maintain them to keep them looking their best.
- Clean Regularly: Wipe down your cabinets with a damp cloth to remove dirt and grime.
- Avoid Harsh Cleaners: Use mild, non-abrasive cleaners to avoid damaging the finish.
- Touch Up as Needed: If you notice any wear or damage, touch up the distressed areas with paint or wax.
Easy Cabinet Distressing: Quick and Simple Techniques
If you’re short on time or new to DIY projects, consider these easy cabinet distressing methods:
- Steel Wool: Gently rub steel wool on edges and corners for a subtle worn look.
- Chalk Paint: Chalk paint is easy to distress and provides a matte finish.
- One-Step Crackle Medium: Apply a crackle medium between paint layers for a cracked, aged effect.
Aging Kitchen Cabinets: Achieving a Timeless Look
Aging kitchen cabinets effectively involves combining various distressing methods to mimic years of natural wear and tear. This could mean combining sanding with glazing or strategic damage with antiquing wax for a layered, authentic effect.
Choosing the Right Distressing Style for Your Kitchen
The right distressing style depends on the overall aesthetic you’re aiming for:
- Farmhouse: Heavy distressing with lots of visible wood and worn edges.
- Shabby Chic: Soft, subtle distressing with light sanding and pastel colors.
- Rustic: Natural, raw distressing with intentional imperfections and darker stains.
- Modern: Minimal distressing with clean lines and subtle textures.
Troubleshooting Common Distressing Problems
- Uneven Distressing: Ensure even pressure and consistent sanding techniques.
- Paint Not Adhering: Properly clean and prime the cabinets before painting.
- Too Much Distressing: Lightly sand or touch up with paint to tone down the effect.
Frequently Asked Questions (FAQ)
- What is the best paint for distressing cabinets? Acrylic latex paint is a durable and versatile option. Chalk paint is also popular for its ease of distressing.
- Can I distress laminate cabinets? Yes, but you’ll need to use a good quality primer and be careful not to sand too aggressively.
- Who is able to distress my cabinets if I’m not DIY inclined? Many professional painters and cabinet refinishers offer distressing services.
- How much does it cost to distress kitchen cabinets? The cost varies depending on the size of your kitchen and the complexity of the distressing technique. DIY projects are the most budget-friendly.
- What are some alternatives to distressing my cabinets? Refacing, painting without distressing, or replacing the hardware can also update your kitchen’s look.
Hi, I’m Scott Fischer, the voice behind SliceItRight. My passion for food started in my grandmother’s kitchen, where I learned the art of slicing, dicing, and creating delicious meals. Over the years, I’ve explored everything from the perfect kitchen gadgets to mastering culinary techniques, and I’m here to share all of it with you. Whether you’re a beginner or an experienced home chef, my goal is to make cooking easier, more enjoyable, and a lot more fun. So, let’s slice it right and cook up something amazing together!