Do you want to know how to clean an aerator on a kitchen faucet? Yes, cleaning your kitchen faucet aerator is a simple DIY task that can significantly improve water flow and quality. A clogged faucet aerator can reduce water pressure and cause sputtering, but regular maintenance can prevent these issues. This guide provides step-by-step instructions, tips, and insights on how to clean your kitchen faucet aerator effectively.
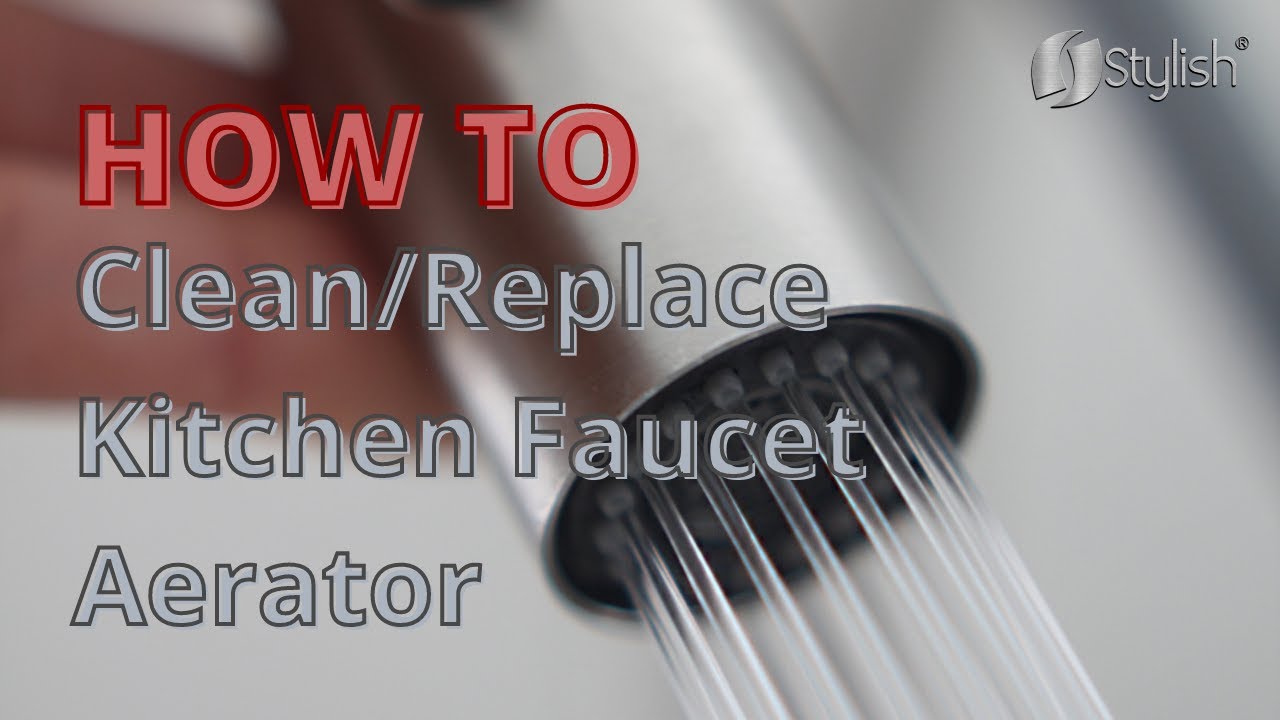
Image Source: i.ytimg.com
Why is Faucet Aerator Cleaning Important?
A faucet aerator is a small screen attached to the tip of your faucet. Its main job is to mix air into the water stream. This does several things:
- Saves water: By adding air, it reduces the amount of water you use without sacrificing water pressure.
- Prevents splashing: The aerated water creates a softer, more even flow, which reduces splashing.
- Filters debris: The screen catches small particles like sand, rust, and mineral deposits that can come through your pipes.
Over time, these particles build up and clog the aerator. This leads to:
- Reduced water pressure
- Uneven or sputtering water flow
- Mineral deposits around the faucet head
- Potential contamination of your water
Regular faucet aerator cleaning is essential to maintain optimal water flow, prevent damage to your faucet, and ensure the water you use is clean.
Identifying a Clogged Faucet Aerator
How do you know if your faucet aerator needs cleaning? Here are some signs:
- Low water pressure: A noticeable decrease in water flow compared to usual.
- Sputtering water: The water stream is uneven and spits out air.
- Visible debris: You can see mineral deposits or debris around the faucet head or in the water stream.
- Inconsistent water flow: The water stream changes unexpectedly.
If you notice any of these signs, it’s time to clean your aerator. It’s a simple process and can save you from needing a faucet aerator replacement.
Tools You’ll Need for Aerator Cleaning
Before you start, gather these aerator cleaning tools:
- Adjustable wrench or pliers: To remove the aerator housing.
- Soft cloth or tape: To protect the faucet finish from scratches.
- Small brush or toothpick: To clean the aerator screen.
- White vinegar: To dissolve mineral deposits.
- Small container or bowl: To soak the aerator parts.
- Towel: To protect your countertop.
- Aerator key (optional): Some faucets require a special key for aerator removal.
Having these tools ready will make the aerator cleaning guide process much smoother.
Gathering Your Supplies
Make sure you have all the necessary items within easy reach. This will save you time and prevent frustration during the cleaning process. A well-prepared workspace ensures a successful faucet aerator cleaning.
Step-by-Step: Kitchen Faucet Aerator Removal and Cleaning
Follow these steps for effective kitchen faucet aerator removal and cleaning:
Step 1: Prepare the Area
- Clear the area around the sink.
- Place a towel on the countertop to protect it from spills.
Step 2: Remove the Aerator
- Wrap the faucet head with a soft cloth or tape: This prevents scratches when using a wrench or pliers.
- Use an adjustable wrench or pliers to loosen the aerator housing: Turn it counterclockwise. Be careful not to overtighten or strip the threads.
- If you have an aerator key: Insert it into the faucet head and turn to loosen the aerator.
- Once loose, unscrew the aerator by hand: Gently remove it from the faucet.
Step 3: Disassemble the Aerator
- Carefully disassemble the aerator parts: This usually includes the housing, screen, rubber washers, and flow restrictor. Keep track of the order of the parts so you can reassemble them correctly.
Step 4: Clean the Aerator Parts
- Rinse each part under running water: Remove any loose debris.
- Soak the parts in white vinegar: Fill a small container with white vinegar and soak the aerator parts for at least 15-30 minutes. This will help dissolve mineral deposits. For stubborn deposits, you can soak them longer or use a stronger vinegar solution. This is a crucial step for effective aerator mineral deposit removal.
- Scrub the screen with a small brush or toothpick: Remove any remaining debris or mineral deposits. Be gentle to avoid damaging the screen.
- Rinse all parts thoroughly with clean water: Make sure all traces of vinegar are gone.
Step 5: Reassemble the Aerator
- Reassemble the aerator parts in the correct order: Refer to the order you noted during disassembly. Ensure all washers are properly seated.
- Screw the aerator back onto the faucet: Tighten it by hand first.
- Use the wrench or pliers to tighten it gently: Be careful not to overtighten.
- Remove the cloth or tape:
Step 6: Test the Water Flow
- Turn on the faucet: Check the water flow. It should be smooth and consistent.
- Check for leaks: If there are leaks, tighten the aerator housing slightly.
Cleaning Severely Clogged Aerators
If your aerator is severely clogged, these additional steps may be necessary:
- Extended soaking: Soak the parts in vinegar overnight.
- Boiling: Boil the aerator parts in vinegar for 10-15 minutes to loosen stubborn mineral deposits.
- Ultrasonic cleaner: Use an ultrasonic cleaner for a more thorough cleaning.
These methods can help you unclog aerator effectively, even when dealing with significant buildup.
Preventing Clogged Faucet Aerators
Regular aerator maintenance is key to preventing clogs. Here are some tips:
- Clean your aerator every 3-6 months: This prevents buildup before it becomes a problem.
- Install a water filter: A whole-house or faucet filter can reduce the amount of sediment and minerals in your water.
- Flush your pipes: If you have old pipes, flush them periodically to remove sediment.
- Use a water softener: If you have hard water, a water softener can reduce mineral buildup.
By following these tips, you can extend the life of your aerator and maintain optimal water flow.
Setting a Cleaning Schedule
Create a reminder in your calendar to clean your aerator regularly. This simple step can prevent future problems and ensure your faucet works efficiently.
When to Consider Faucet Aerator Replacement
Sometimes, cleaning isn’t enough. Here are signs that you may need a faucet aerator replacement:
- Cracked or damaged aerator housing: If the housing is cracked, it can leak or not tighten properly.
- Stripped threads: If the threads are stripped, the aerator won’t stay securely attached to the faucet.
- Irreparable damage to the screen: If the screen is torn or damaged, it won’t filter debris effectively.
- Persistent clogging: If the aerator clogs quickly even after cleaning, it may be time to replace it.
Choosing a Replacement Aerator
When buying a faucet aerator replacement, consider the following:
- Size and thread type: Make sure the replacement aerator fits your faucet. Check your faucet’s manual or bring the old aerator to the store for comparison.
- Flow rate: Choose an aerator with a flow rate that suits your needs. Lower flow rates save more water but may reduce water pressure.
- Material: Look for aerators made from durable materials like brass or stainless steel.
- Brand: Choose a reputable brand known for quality and reliability.
A well-chosen replacement aerator can improve your faucet’s performance and extend its lifespan.
Different Types of Faucet Aerators
There are several types of faucet aerators, each with its own features and benefits:
| Type | Description | Advantages | Disadvantages |
|---|---|---|---|
| Standard | The most common type, mixes air with water to create a steady, splash-free stream. | Simple, inexpensive, widely available. | Can be prone to clogging. |
| Laminar Flow | Creates a clear, non-aerated stream of water. | Provides a steady, precise flow, reduces splashing, good for drinking water. | May use more water than aerated models, can be more expensive. |
| Spray Aerator | Produces a spray pattern, often used in kitchen faucets. | Good for rinsing dishes, provides wide coverage. | Can use more water than other types, may cause splashing. |
| Dual-Threaded | Fits both male and female threaded faucets. | Versatile, fits a wide range of faucets. | May be slightly more expensive than single-threaded models. |
| Vandal-Resistant | Designed to withstand tampering and damage. | Durable, ideal for public restrooms or high-traffic areas. | Can be more expensive than standard models, may require special tools for removal. |
Fathoming Mineral Deposits and Hard Water
Hard water contains high levels of minerals like calcium and magnesium. These minerals can build up in your aerator, causing clogs and reducing water flow. Understanding the effects of hard water can help you take steps to prevent mineral buildup:
- Identify hard water: Look for signs like scale buildup on faucets and showerheads, difficulty lathering soap, and spots on dishes.
- Use a water softener: A water softener removes minerals from your water, preventing scale buildup.
- Clean your aerator more frequently: If you have hard water, clean your aerator every 1-2 months to prevent clogs.
- Use vinegar regularly: Soak your faucet heads and aerators in vinegar regularly to dissolve mineral deposits.
By addressing hard water issues, you can extend the life of your faucet and aerator.
Troubleshooting Common Issues
Here are some common problems you may encounter during aerator cleaning and how to solve them:
- Aerator is stuck: Use penetrating oil to loosen the aerator housing. Let it sit for 15-20 minutes before trying to remove it.
- Stripped threads: If the threads are stripped, you may need to replace the faucet head or use a thread repair kit.
- Can’t find a replacement aerator: Take the old aerator to a plumbing supply store or home improvement center. They can help you find a matching replacement.
- Water flow is still low after cleaning: Check for clogs in the faucet body or supply lines.
By addressing these issues promptly, you can keep your faucet working efficiently.
Impact of Aerator Cleaning on Water Conservation
Cleaning faucet head parts, including the aerator, is a simple yet impactful way to conserve water. A clogged aerator reduces water pressure, causing you to use more water to achieve the desired flow. By cleaning your aerator regularly, you ensure optimal water flow and reduce water waste.
Here’s how aerator cleaning contributes to water conservation:
- Maintains optimal flow: A clean aerator ensures you get the water flow you need without using excess water.
- Reduces water waste: By preventing leaks and sputtering, you minimize water waste.
- Saves money: Lower water consumption translates to lower water bills.
- Promotes sustainability: Conserving water helps protect our planet’s resources.
FAQ: Frequently Asked Questions
What is a faucet aerator?
A faucet aerator is a device attached to the tip of a faucet that mixes air into the water stream to reduce water usage and prevent splashing.
Can I clean my faucet aerator with baking soda?
Yes, you can use a mixture of baking soda and water as an alternative to vinegar. Make a paste, apply it to the aerator parts, and let it sit before scrubbing.
How often should I clean my faucet aerator?
Clean your faucet aerator every 3-6 months, or more frequently if you have hard water.
What if I can’t remove the aerator?
Try using penetrating oil to loosen the aerator housing. If it’s still stuck, consult a plumber.
Is it better to clean or replace the aerator?
If the aerator is heavily damaged or corroded, replacement is better. Otherwise, cleaning is usually sufficient.
Why is my water pressure still low after cleaning the aerator?
There may be clogs in the faucet body or supply lines. Check these areas for blockages.
Who is best suited to clean a faucet aerator?
Anyone can clean a faucet aerator! It’s a simple DIY task that requires minimal tools and experience.
By following this comprehensive guide, you can effectively clean your kitchen faucet aerator, maintain optimal water flow, and conserve water.
Hi, I’m Scott Fischer, the voice behind SliceItRight. My passion for food started in my grandmother’s kitchen, where I learned the art of slicing, dicing, and creating delicious meals. Over the years, I’ve explored everything from the perfect kitchen gadgets to mastering culinary techniques, and I’m here to share all of it with you. Whether you’re a beginner or an experienced home chef, my goal is to make cooking easier, more enjoyable, and a lot more fun. So, let’s slice it right and cook up something amazing together!