How do you glaze kitchen cabinets? Glazing kitchen cabinets involves applying a thin layer of a translucent or semi-transparent color over a base coat to add depth, dimension, and an antique look. This DIY makeover is a fantastic way to refresh your kitchen without a complete remodel. Read on to discover the best kitchen cabinet glazing techniques, colors, and tutorials to achieve a professional cabinet glazing look at home.
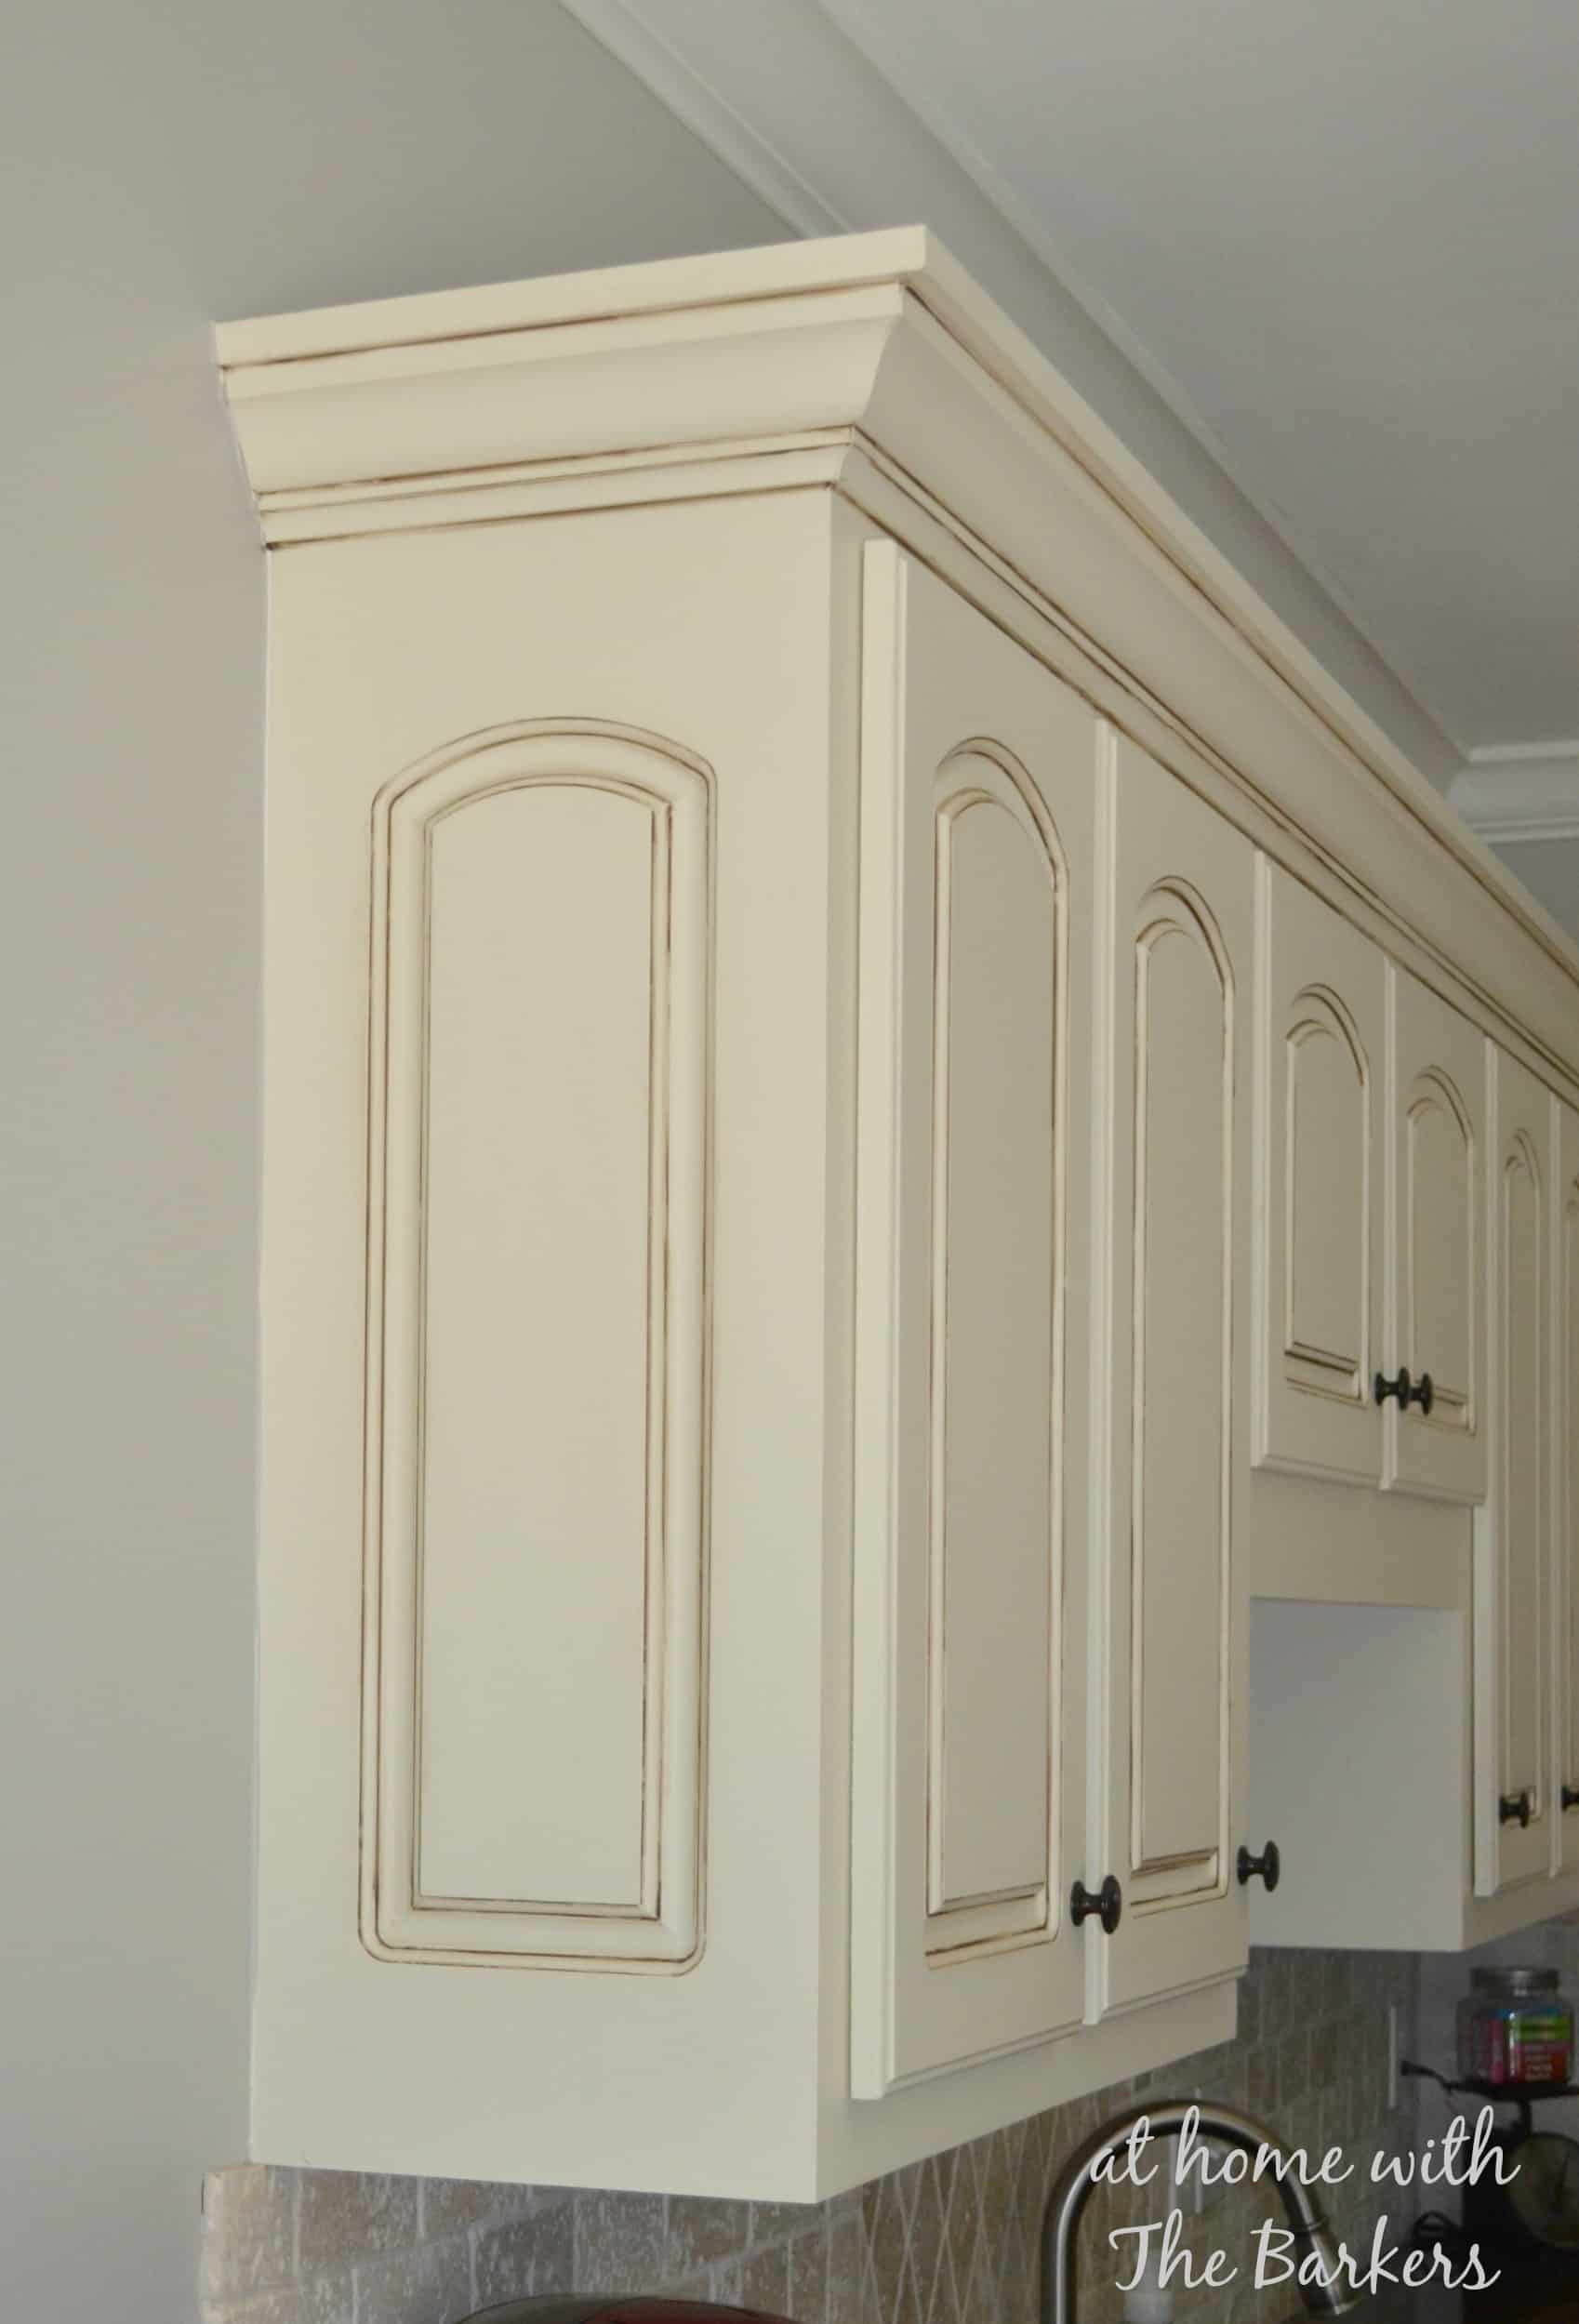
Image Source: athomewiththebarkers.com
Why Glaze Your Kitchen Cabinets?
Glazing offers several advantages over simply repainting cabinets. It’s about creating a unique, custom finish. Here are a few reasons to consider glazing:
- Adds Depth and Dimension: Glaze settles into the details of your cabinets, like grooves and moldings, highlighting their texture and creating visual interest.
- Creates an Antique or Distressed Look: For those who love vintage or farmhouse style, glazing is the perfect way to achieve that coveted aged appearance.
- Customizable Color: You can choose from a wide range of kitchen cabinet glazing colors to complement your existing kitchen décor or create a bold new statement.
- Relatively Inexpensive: Compared to replacing cabinets, glazing is a budget-friendly way to update your kitchen.
- DIY Friendly: With the right tools and techniques, glazing is a project that most homeowners can tackle themselves.
Gathering Your Supplies: What You Need
Before you start, gather all the necessary supplies. Having everything on hand will make the process smoother and more efficient.
- Cleaner/Degreaser: For cleaning the cabinets before painting.
- Sandpaper (120-220 grit): For lightly sanding the cabinets.
- Primer: A good quality primer is essential for adhesion and a smooth finish.
- Paint (Base Coat): Choose a paint color that complements your desired glaze color.
- Glaze: Specifically designed for cabinets, available in various colors.
- Glaze Extender (Optional): Extends the open time of the glaze, giving you more time to work with it.
- Paint Brushes: High-quality brushes for applying primer, paint, and glaze.
- Rags (Lint-Free): For wiping away excess glaze.
- Sea Sponge (Optional): For creating unique glazing effects.
- Painter’s Tape: To protect surrounding surfaces.
- Drop Cloths: To protect your floors.
- Topcoat (Sealer): To protect the glaze and paint finish.
- Screwdriver or Drill: For removing cabinet doors and hardware.
- Gloves and Safety Glasses: For personal protection.
Preparing Your Cabinets: The Foundation for Success
Proper preparation is critical for a successful glazing project. Skip this step, and your glaze may not adhere properly, resulting in a less-than-desirable finish.
- Remove Doors and Hardware: Take off all cabinet doors, drawers, knobs, pulls, and hinges. Label everything to make reassembly easier.
- Clean Thoroughly: Use a strong cleaner/degreaser to remove any grease, dirt, or grime from the cabinet surfaces. Rinse well and let dry completely.
- Lightly Sand: Use sandpaper (120-220 grit) to lightly sand all surfaces that will be painted and glazed. This creates a better surface for the primer to adhere to.
- Apply Primer: Apply one or two coats of a high-quality primer to all surfaces, following the manufacturer’s instructions. Let the primer dry completely between coats. Sand lightly after each coat for an ultra-smooth surface.
Painting the Base Coat: Setting the Stage
The base coat of paint serves as the foundation for your glaze. Choose a color that will complement your glaze and enhance the overall look you’re trying to achieve.
- Apply the Base Coat: Apply one or two coats of your chosen paint color to all cabinet surfaces, using a high-quality brush or sprayer.
- Let Dry Completely: Allow the paint to dry completely between coats and before applying the glaze. This is crucial for preventing the glaze from mixing with the paint. Sand lightly after each coat.
Applying the Glaze: The Heart of the Makeover
Applying the glaze is where the magic happens. This step requires patience and a steady hand. Here’s a step-by-step guide on how to apply glaze to cabinets:
- Test Your Glaze: Before applying glaze to your cabinets, test it on a scrap piece of wood or an inconspicuous area to ensure you like the color and effect.
- Apply the Glaze: Using a brush, apply a thin, even layer of glaze to a small section of the cabinet (e.g., one door or drawer).
- Wipe Away Excess: Immediately after applying the glaze, use a clean, lint-free rag to wipe away the excess. Leave glaze in the crevices and details to highlight them.
- Experiment with Techniques:
- Ragging: Use a rag to blot or drag the glaze for a textured effect.
- Sponging: Use a sea sponge to dab the glaze for a mottled look.
- Dry Brushing: Use a dry brush to lightly feather the glaze for a subtle effect.
- Repeat: Continue applying and wiping the glaze in small sections until you’ve covered all the cabinets.
- Let Dry Completely: Allow the glaze to dry completely according to the manufacturer’s instructions.
Kitchen Cabinet Glazing Techniques: Finding Your Style
There are several kitchen cabinet glazing techniques you can use to achieve different looks. Here are a few popular options:
- Highlighting: Apply glaze to the entire cabinet and then wipe away most of it, leaving glaze only in the details.
- Antiquing: Apply glaze liberally and then wipe away some of it, leaving a more pronounced aged appearance.
- Distressing: Combine glazing with sanding to create a distressed kitchen cabinets glazing effect. Sand away some of the paint and glaze to reveal the wood underneath.
Kitchen Cabinet Glazing Colors: Choosing the Right Hue
Choosing the right glaze color is essential for achieving the desired look. Here are some popular kitchen cabinet glazing colors and their effects:
| Glaze Color | Effect |
|---|---|
| Brown | Adds warmth, depth, and an antique look |
| Black | Creates a dramatic, modern look |
| Gray | Adds a subtle, sophisticated touch |
| White | Softens the base color and creates a vintage feel |
| Gold | Adds elegance and shimmer |
Glazing Painted Cabinets: Colors and Combinations
Glazing painted cabinets opens up a world of possibilities when it comes to color combinations. Consider these pairings:
- White Cabinets + Brown Glaze: Classic and timeless.
- Gray Cabinets + Black Glaze: Modern and sophisticated.
- Blue Cabinets + White Glaze: Coastal and charming.
- Cream Cabinets + Gold Glaze: Elegant and luxurious.
Sealing the Deal: Protecting Your Glazed Finish
Once the glaze is dry, it’s important to protect it with a topcoat or sealer. This will prevent the glaze from chipping or wearing away over time.
- Apply the Topcoat: Apply one or two coats of a clear topcoat to all glazed surfaces, using a high-quality brush or sprayer.
- Let Dry Completely: Allow the topcoat to dry completely between coats and before reassembling the cabinets.
- Lightly Sand (Optional): Lightly sand with very fine grit sandpaper after each coat to ensure an ultra-smooth finish.
Reassembling Your Kitchen: The Final Touches
After the topcoat is dry, you can reassemble your kitchen.
- Reattach Hardware: Reattach all knobs, pulls, and hinges to the cabinet doors and drawers.
- Rehang Doors: Rehang the cabinet doors, making sure they are aligned properly.
- Admire Your Work: Step back and admire your beautifully glazed kitchen cabinets!
Professional Cabinet Glazing: When to Call in the Experts
While glazing is a DIY-friendly project, there are times when it’s best to call in the professionals. If you have intricate cabinets with a lot of detail, or if you’re unsure about your skills, professional cabinet glazing can ensure a flawless finish.
- Intricate Details: If your cabinets have a lot of intricate moldings or carvings, it may be difficult to apply the glaze evenly and achieve a professional look.
- Lack of Experience: If you’ve never glazed cabinets before, it’s best to start with a small, inconspicuous area before tackling the entire kitchen. If you’re not happy with the results, consider hiring a professional.
- Time Constraints: Glazing cabinets can be a time-consuming project, especially if you have a lot of cabinets. If you’re short on time, hiring a professional may be the best option.
Fathoming Glaze Extenders
Glaze extenders are additives that slow down the drying time of the glaze. This gives you more time to work with the glaze and achieve the desired effect.
- Benefits:
- Increased open time for blending and manipulating the glaze.
- Reduced streaking and unevenness.
- Easier to achieve complex glazing techniques.
- When to Use:
- When working in hot or dry conditions.
- When using a glaze that dries quickly.
- When attempting complex glazing techniques.
Achieving Distressed Kitchen Cabinets Glazing
Creating a distressed look involves combining glazing with sanding. Here’s how:
- Glaze Your Cabinets: Follow the steps above for glazing your cabinets.
- Sand Strategically: Once the glaze is dry, use sandpaper to sand away some of the paint and glaze in areas where natural wear and tear would occur, such as edges, corners, and around knobs and pulls.
- Seal with Topcoat: Apply a clear topcoat to protect the distressed finish.
Cabinet Glazing Tutorial: A Quick Overview
Here’s a quick cabinet glazing tutorial:
- Prepare: Clean, sand, and prime your cabinets.
- Paint: Apply a base coat of paint.
- Glaze: Apply a thin layer of glaze.
- Wipe: Wipe away excess glaze with a rag.
- Seal: Apply a clear topcoat.
Cabinet Glaze Finish: Types and Options
There are several types of cabinet glaze finishes available, each with its own unique look and feel.
- Oil-Based Glaze: Durable and provides a rich, deep color. Requires mineral spirits for cleanup.
- Water-Based Glaze: Easier to work with and cleans up with water. Lower in VOCs than oil-based glazes.
- Acrylic Glaze: Durable and water-resistant. Dries quickly and is easy to clean up.
Frequently Asked Questions (FAQ)
- Can I glaze laminate cabinets? It’s more difficult, but possible. You’ll need to use a strong bonding primer and be extra careful with preparation.
- How long does it take to glaze kitchen cabinets? The time it takes depends on the size of your kitchen and the complexity of the project. It can take anywhere from a weekend to a week.
- Is glazing better than painting? Glazing is not better than painting; it’s a different technique that achieves a different look. Glazing adds depth and dimension, while painting provides a uniform color.
- What is the best glaze for kitchen cabinets DIY projects? A water-based or acrylic glaze is generally recommended for DIY projects because they are easier to work with and clean up.
- Who is best suited to glaze cabinets DIY? Anyone with basic painting skills and patience can glaze cabinets.
- What are the risks of glazing cabinets DIY? Potential risks include uneven application, drips, and a messy finish. Proper preparation and practice can minimize these risks.
By following these steps and tips, you can achieve a beautiful, professional-looking glaze on your kitchen cabinets, transforming your kitchen into a stylish and inviting space. Remember to take your time, experiment with different techniques, and don’t be afraid to ask for help if you need it. Enjoy your DIY makeover!
Hi, I’m Scott Fischer, the voice behind SliceItRight. My passion for food started in my grandmother’s kitchen, where I learned the art of slicing, dicing, and creating delicious meals. Over the years, I’ve explored everything from the perfect kitchen gadgets to mastering culinary techniques, and I’m here to share all of it with you. Whether you’re a beginner or an experienced home chef, my goal is to make cooking easier, more enjoyable, and a lot more fun. So, let’s slice it right and cook up something amazing together!