How do I remove a Delta kitchen faucet? Removing a Delta kitchen faucet can be a straightforward DIY project. This kitchen faucet replacement guide will walk you through each step, from disconnecting the water lines to loosening the faucet nut and safely removing the old faucet. Whether you’re doing a full kitchen sink faucet removal or simply removing the delta faucet cartridge for repair, this guide is for you.
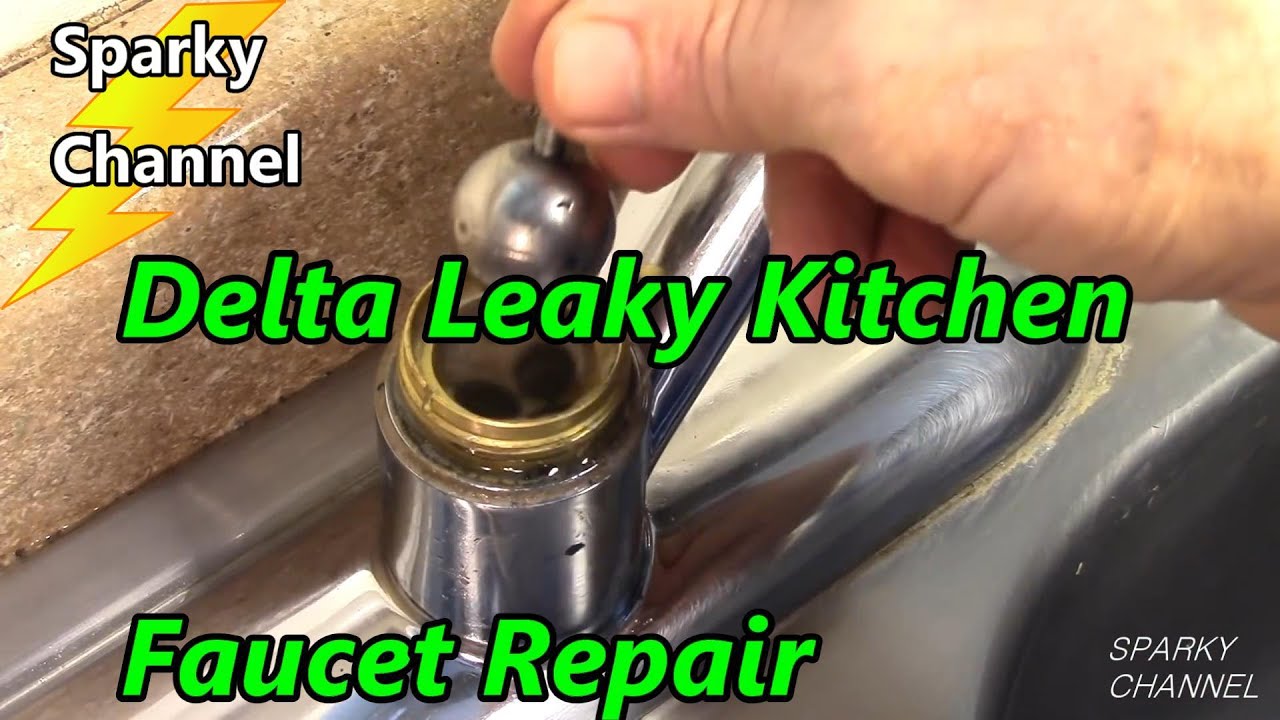
Image Source: i.ytimg.com
Getting Ready for Delta Kitchen Faucet Removal
Before starting any plumbing project, preparation is key. Proper preparation ensures a smooth and safe delta kitchen faucet removal process.
Gathering Your Tools
Having the right tools at hand will make the job easier and prevent damage to your plumbing or the new faucet you intend to install. Here’s a list of essential tools:
- Basin Wrench: Essential for loosening the faucet nut, especially in tight spaces.
- Adjustable Wrench: For disconnecting water lines and other plumbing connections.
- Pliers: Useful for gripping small parts and removing clips.
- Screwdrivers (Phillips and Flathead): Needed for removing handles or other faucet components.
- Safety Glasses: To protect your eyes from debris.
- Gloves: To protect your hands.
- Bucket and Towels: To catch any water spills.
- Penetrating Oil (Optional): Helpful for loosening corroded faucet nut.
- Flashlight or Headlamp: Essential for illuminating the work area under the sink.
Shutting Off the Water Supply
The most important step before delta kitchen faucet removal is to shut off the water supply.
- Locate Shut-Off Valves: Find the shut-off valves under your kitchen sink. There should be one for hot water and one for cold water.
- Turn Off Valves: Turn both valves clockwise until they are completely closed.
- Test the Valves: Turn on the kitchen faucet to ensure the water is completely shut off. If water continues to flow, you may need to shut off the main water supply to your house.
- Main Water Supply: If the shut-off valves under the sink don’t work, locate the main water shut-off valve, usually in the basement, garage, or near the water meter. Turn it off.
Preparing the Work Area
A clear and organized work area makes the delta kitchen faucet removal process easier and safer.
- Clear Under the Sink: Remove any items stored under the sink to give yourself plenty of room to work.
- Protect the Sink: Place a towel or blanket in the sink to prevent scratches and damage when removing the old faucet.
- Good Lighting: Use a flashlight or headlamp to provide adequate lighting in the dark space under the sink.
Step-by-Step Guide to Removing Your Delta Kitchen Faucet
Follow these steps for a successful kitchen sink faucet removal. This process covers removing delta faucet cartridge as well as the entire unit.
Disconnecting Water Lines
Disconnecting the water lines faucet is a crucial step in the removal process.
- Place a Bucket: Place a bucket under the water lines to catch any residual water.
- Loosen Connections: Use an adjustable wrench to loosen the connections between the water lines and the faucet tailpieces.
- Disconnect Water Lines: Carefully disconnect the water lines from the faucet. Be prepared for some water to spill.
- Inspect Water Lines: Check the water lines for wear and tear. Replace them if necessary, especially if you are installing a new faucet.
Removing the Sprayer Hose (If Applicable)
If your Delta kitchen faucet has a sprayer, you’ll need to disconnect the sprayer hose.
- Locate the Sprayer Hose Connection: Find where the sprayer hose connects to the faucet body, usually under the sink.
- Disconnect the Hose: Disconnect the sprayer hose by unscrewing or unclipping it, depending on the faucet model.
- Remove the Sprayer Hose: Pull the sprayer hose out through the faucet hole.
Loosening the Faucet Nut
The faucet nut secures the faucet to the sink. Loosening delta faucet nut can be tricky, especially if it’s corroded.
- Locate the Faucet Nut: The faucet nut is located under the sink, holding the faucet in place.
- Apply Penetrating Oil (If Needed): If the nut is corroded, spray it with penetrating oil and let it sit for 15-20 minutes.
- Use a Basin Wrench: Place the basin wrench around the faucet nut. Make sure the wrench is securely gripping the nut.
- Loosen the Nut: Turn the basin wrench counterclockwise to loosen the nut. It may take some effort, especially if it’s corroded.
- Remove the Nut: Once the nut is loose, you should be able to unscrew it by hand.
Detaching Any Mounting Hardware
Delta faucets may have additional mounting hardware, such as brackets or clips, that need to be removed.
- Identify Mounting Hardware: Look for any brackets, clips, or screws that are holding the faucet in place.
- Remove Hardware: Use a screwdriver or pliers to remove any mounting hardware.
Lifting Out the Old Faucet
With the water lines, sprayer hose, and faucet nut removed, you can now lift out the old faucet.
- Carefully Lift: Gently lift the old faucet up and out of the sink.
- Clean the Sink Area: Use a cleaner to remove any residue or grime from the sink area.
- Inspect the Sink Hole: Check the sink hole for any damage or corrosion. Repair if necessary before installing the new faucet.
Dealing with Common Problems During Delta Kitchen Faucet Removal
Sometimes, removing a Delta kitchen faucet can present challenges. Here’s how to tackle common problems:
Removing Corroded Faucet
Corrosion can make loosening the faucet nut very difficult. Here’s how to deal with it:
- Penetrating Oil: Apply penetrating oil liberally to the nut and let it soak for several hours or overnight.
- Heat: Use a heat gun or hair dryer to heat the nut. The heat can help break down the corrosion. Be careful not to overheat and damage the sink or surrounding materials.
- Basin Wrench Extension: Use a pipe or wrench extension to increase the leverage on the basin wrench.
- Nut Splitter: If all else fails, use a nut splitter to carefully break the nut. This should be a last resort as it can damage the faucet tailpiece.
Stripped Screws
Stripped screws can prevent you from removing handles or other faucet components.
- Rubber Band Trick: Place a wide rubber band over the screw head and then insert the screwdriver. The rubber band can provide extra grip.
- Screw Extractor: Use a screw extractor kit to remove the stripped screw.
- Drill Out the Screw: As a last resort, carefully drill out the screw head. Be very careful not to damage the surrounding faucet parts.
Stuck Cartridge
Sometimes the delta faucet cartridge becomes stuck due to mineral buildup. Here’s how to remove it:
- Vinegar Soak: Soak a cloth in white vinegar and wrap it around the cartridge area. Let it sit for several hours to dissolve mineral deposits.
- Cartridge Puller: Use a cartridge puller tool to grip and remove the stuck cartridge.
- Gentle Tapping: Gently tap around the cartridge housing with a hammer and screwdriver to loosen it.
- Penetrating Oil: Apply penetrating oil around the cartridge to help loosen it.
Rusted Connections
Rusted connections on water lines or other parts can be difficult to disconnect.
- Penetrating Oil: Apply penetrating oil and let it soak for several hours.
- Heat: Use a heat gun to heat the rusted connection.
- Careful Wrenching: Use a wrench to gently loosen the connection. Avoid applying too much force, which could break the pipe.
Delta Faucet Repair Instructions and Troubleshooting
Knowing some delta faucet repair instructions can save you time and money.
Common Faucet Problems
- Dripping Faucet: Often caused by a worn-out cartridge or O-rings. Replacing these parts can fix the problem.
- Low Water Pressure: Can be caused by mineral buildup in the aerator or cartridge. Cleaning or replacing these parts can improve water pressure.
- Leaking at the Base: Usually caused by worn-out O-rings or seals. Replacing the seals can stop the leak.
- Stiff Handle: Can be caused by mineral buildup or a faulty cartridge. Cleaning or replacing the cartridge can solve the issue.
Delta Faucet Troubleshooting
Use this faucet repair troubleshooting guide to diagnose and fix common issues:
| Problem | Possible Causes | Solutions |
|---|---|---|
| Dripping Faucet | Worn-out cartridge, O-rings, or valve seats | Replace cartridge, O-rings, or valve seats |
| Low Water Pressure | Mineral buildup in aerator or cartridge | Clean or replace aerator and cartridge |
| Leaking at the Base | Worn-out O-rings or seals | Replace O-rings or seals |
| Stiff Handle | Mineral buildup, faulty cartridge | Clean cartridge or replace cartridge |
| No Hot/Cold Water | Shut-off valves closed, cartridge issue | Ensure valves are open, replace cartridge |
| No Water Flow at All | Shut-off valves closed, clogged aerator, kinked hose | Ensure valves are open, clean aerator, check and unkink hoses, clear clogs |
Removing a Delta Faucet Cartridge
Removing delta faucet cartridge is a common repair task. Here’s how to do it:
- Shut Off the Water: Turn off the water supply to the faucet.
- Remove the Handle: Remove the handle by unscrewing it or using a hex key.
- Remove the Handle Adapter: Remove the handle adapter, which covers the cartridge.
- Remove the Retaining Clip: Use pliers to remove the retaining clip that holds the cartridge in place.
- Pull Out the Cartridge: Use pliers or a cartridge puller to pull out the cartridge.
- Install the New Cartridge: Insert the new cartridge, replace the retaining clip, handle adapter, and handle.
Delta Faucet Installation Help
If you’re replacing your old Delta faucet with a new one, here are some tips for Delta faucet installation help:
- Read the Instructions: Carefully read the manufacturer’s instructions before starting the installation.
- Use Plumber’s Tape: Wrap plumber’s tape around threaded connections to prevent leaks.
- Tighten Connections Properly: Tighten connections securely, but avoid over-tightening, which can damage the fittings.
- Test for Leaks: After installation, turn on the water supply and check for leaks. Tighten connections as needed.
- Check Water Flow: Ensure hot and cold water flow properly and that the sprayer (if applicable) is working correctly.
Tips for a Smooth Kitchen Sink Faucet Removal
Follow these kitchen sink faucet removal tips for a hassle-free experience:
- Take Pictures: Take pictures of the faucet and connections before you start disassembling anything. This can be helpful for reassembly or for reference when installing a new faucet.
- Work in Good Lighting: Ensure you have plenty of light in the work area. A headlamp or work light can be invaluable.
- Use the Right Tools: Using the correct tools will prevent damage and make the job easier.
- Be Patient: Don’t rush the process. Take your time and be careful to avoid mistakes.
- Get Help If Needed: If you’re not comfortable with any part of the process, don’t hesitate to call a plumber for help.
FAQ: Frequently Asked Questions
- What is a basin wrench, and why do I need one? A basin wrench is a specialized tool used to reach and loosen the faucet nut, which is often located in a hard-to-reach spot under the sink.
- Can I reuse the water supply lines when installing a new faucet? It’s generally recommended to replace the water supply lines when installing a new faucet to ensure a leak-free connection and prevent future problems.
- Who is best suited to do this project? This project is suitable for homeowners with basic plumbing skills and experience using hand tools. If you’re uncomfortable working with plumbing or dealing with potential problems, it’s best to hire a professional plumber.
- What if I can’t loosen the faucet nut? Try using penetrating oil, heat, or a basin wrench extension. If all else fails, you may need to use a nut splitter.
- What do I do if I strip a screw while trying to remove a handle? Try using a rubber band or a screw extractor. If those don’t work, you may need to carefully drill out the screw head.
- Is it safe to work with plumbing if I’ve never done it before? With proper preparation and safety precautions, it can be safe. Always shut off the water supply, wear safety glasses and gloves, and take your time. If you’re unsure about any part of the process, seek professional help.
- How long does it typically take to remove a kitchen faucet? Removing a kitchen faucet typically takes 1-2 hours, depending on the complexity of the faucet and any challenges encountered.
By following this kitchen faucet replacement guide, you can successfully remove your old Delta kitchen faucet and prepare for a new installation or complete necessary repairs.
Hi, I’m Scott Fischer, the voice behind SliceItRight. My passion for food started in my grandmother’s kitchen, where I learned the art of slicing, dicing, and creating delicious meals. Over the years, I’ve explored everything from the perfect kitchen gadgets to mastering culinary techniques, and I’m here to share all of it with you. Whether you’re a beginner or an experienced home chef, my goal is to make cooking easier, more enjoyable, and a lot more fun. So, let’s slice it right and cook up something amazing together!