Yes, you absolutely can put a new splashback into an old kitchen! It’s one of the simplest and most effective ways of updating kitchen without renovation. Think of it as a facelift for your cooking space, a chance to inject some fresh style without tearing everything down and starting from scratch. Let’s dive into how you can achieve this and transform your kitchen.
Image Source: images.squarespace-cdn.com
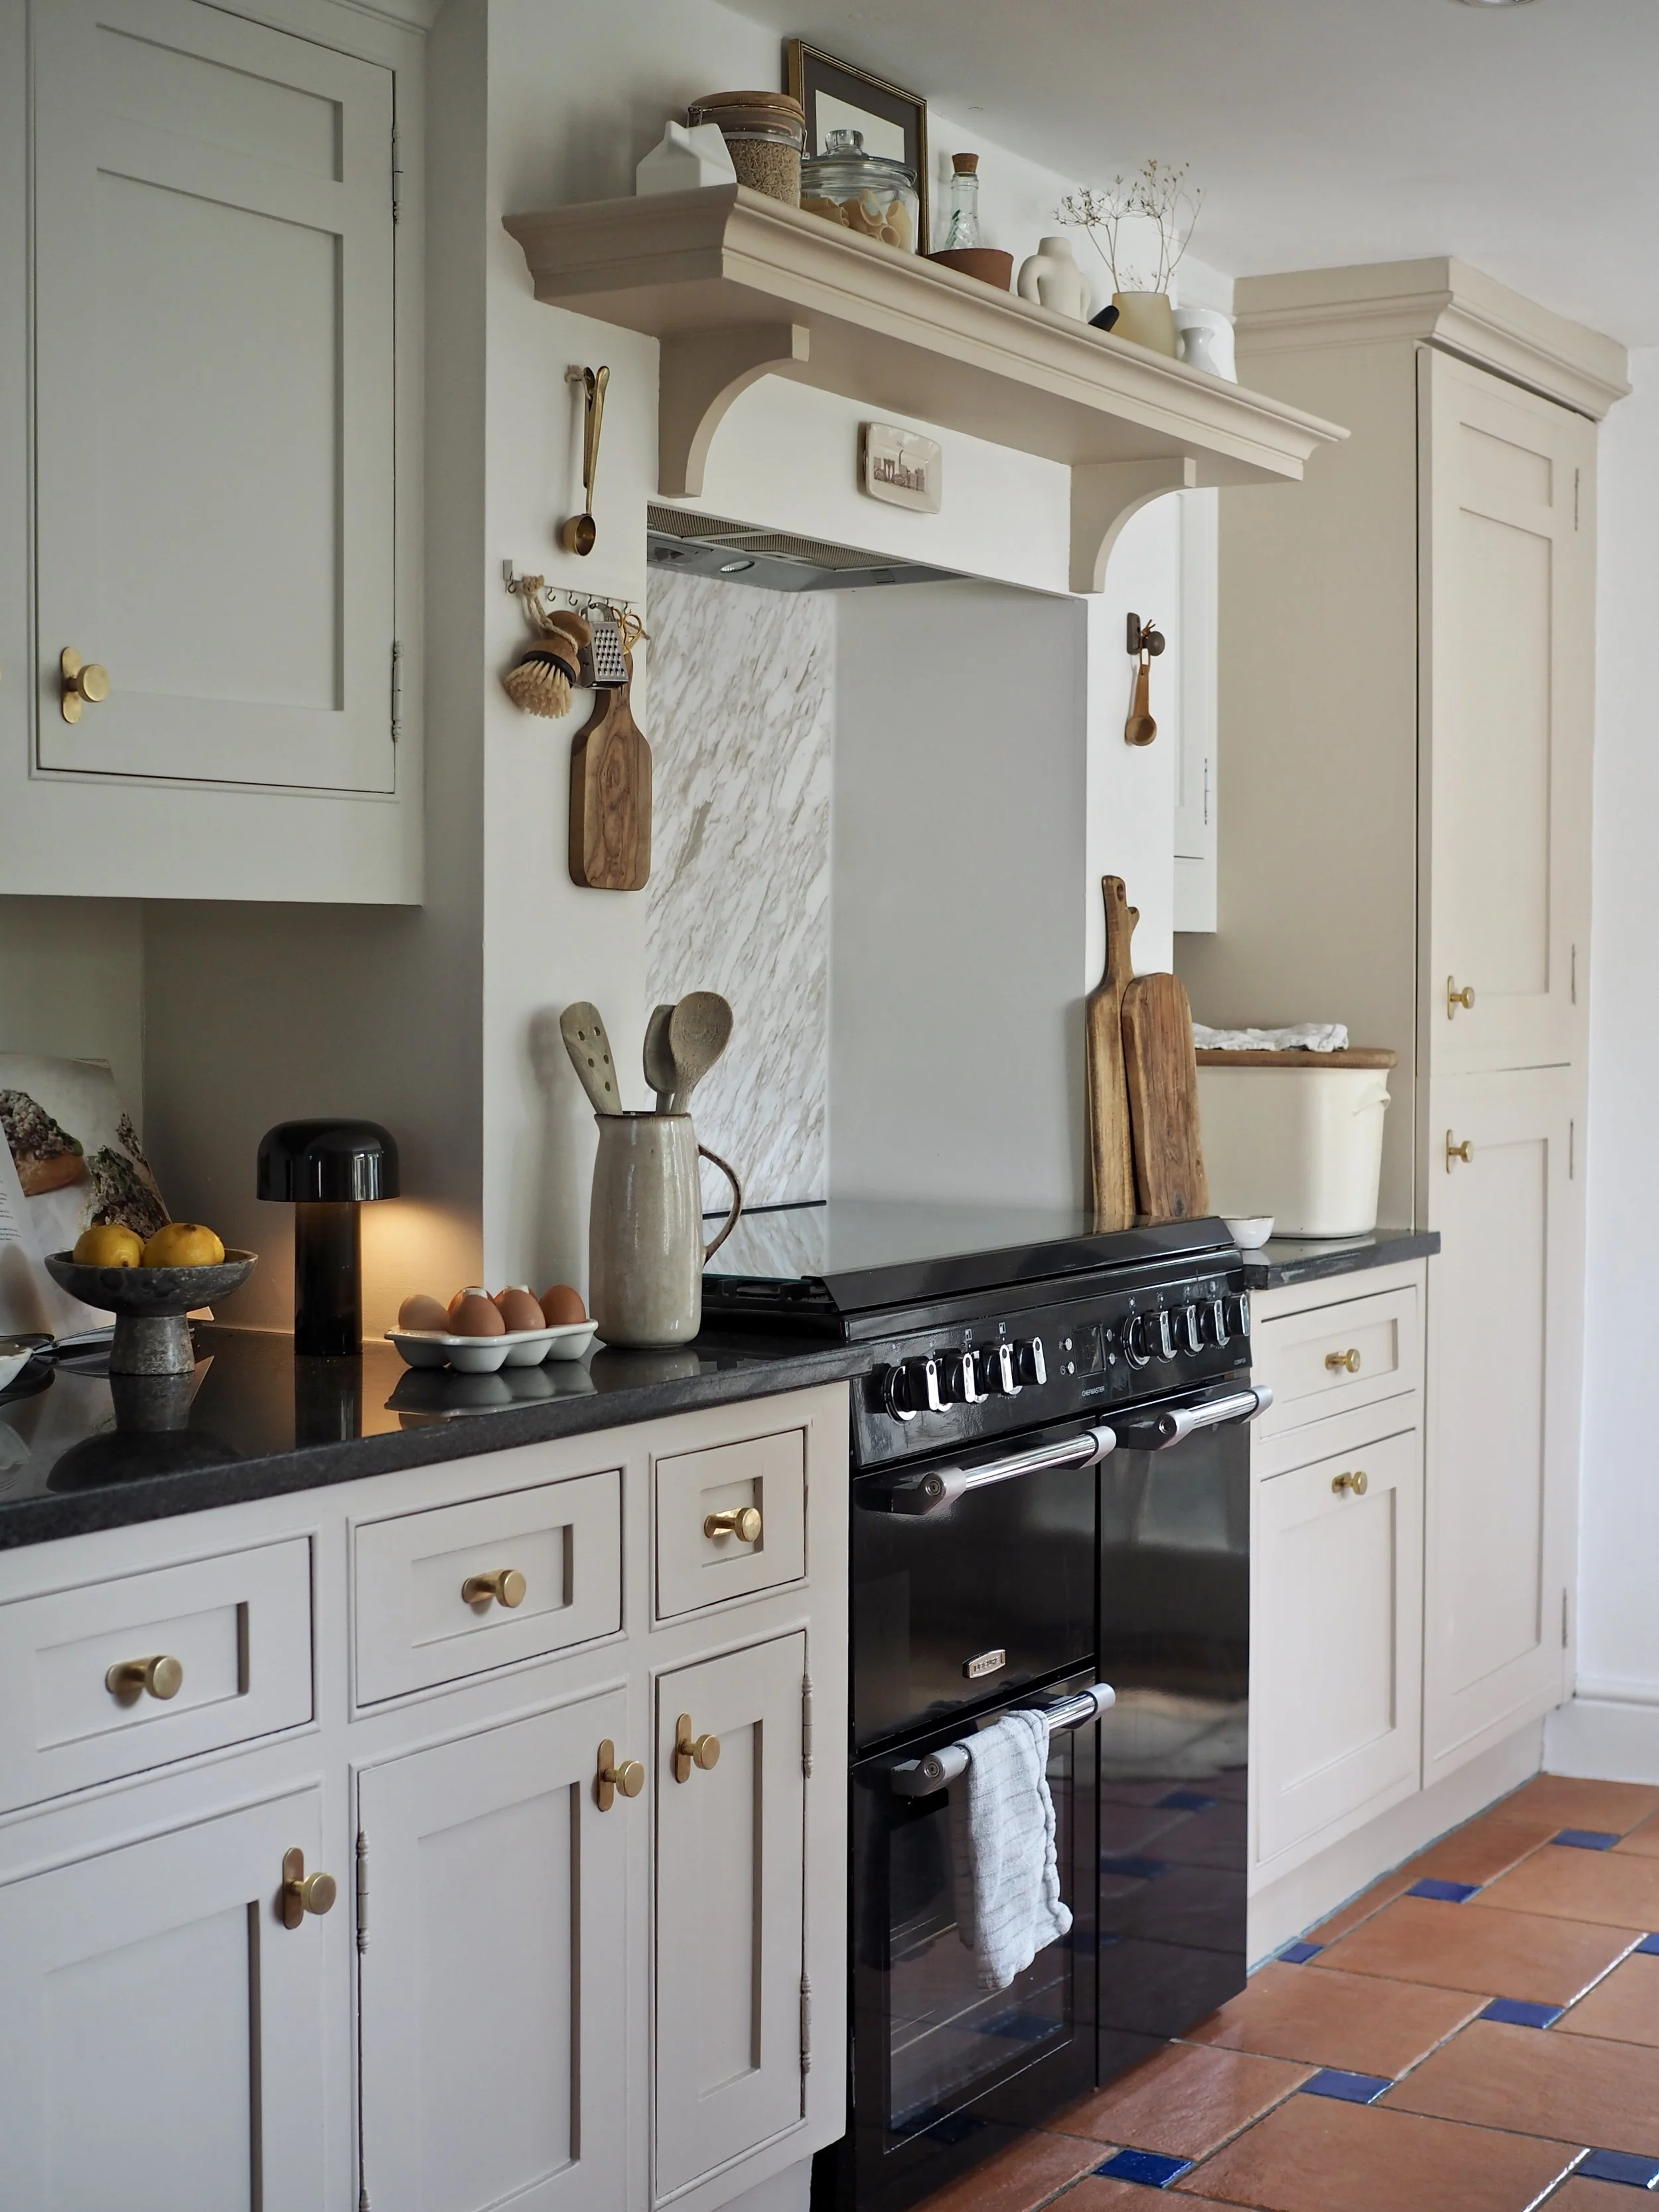
Breathe New Life Into Your Kitchen with a Splashback
A new splashback offers an instant visual upgrade. It can hide dated surfaces, add a pop of color, and become a striking focal point. It’s also a practical update, protecting your walls from splashes and spills.
Why Consider Kitchen Splashback Replacement?
- Aesthetic Improvement: A new splashback dramatically changes the look and feel of your kitchen.
- Protection: It guards your walls against cooking splatters, making cleaning easier.
- Hygiene: Many modern materials are easier to clean and more hygienic than older options.
- Increased Value: A well-chosen splashback can increase your home’s value by enhancing its appeal.
Assessing Your Existing Kitchen: A Crucial First Step
Before you get too excited about colors and materials, it’s essential to assess your existing kitchen. This will determine the best approach for your kitchen splashback replacement.
Evaluating the Current Splashback
- Material: What is your current splashback made of? (e.g., tiles, laminate, stainless steel)
- Condition: Is it in good condition, or is it chipped, cracked, or stained?
- Adhesion: Is it firmly attached to the wall?
- Ease of Removal: How difficult will it be to remove the existing splashback?
- Underlying Wall Condition: What is the wall like behind the existing splashback? Is it smooth, damaged, or uneven?
Determining Your Needs and Style: Old Kitchen Backsplash Ideas
Take some time to consider what you want to achieve with your new splashback. This includes both functional and aesthetic considerations.
- Style: What is your desired kitchen style? (e.g., modern, traditional, minimalist, farmhouse)
- Color Palette: What colors will complement your existing cabinets and countertops?
- Functionality: Do you need a splashback that is easy to clean and maintain?
- Budget: How much are you willing to spend on materials and installation?
Options: Installing Splashback Over Existing Tiles or Removing the Old One
One of the biggest decisions you’ll face is whether to install the new splashback over your existing tiles or to remove them. Each approach has its pros and cons.
Option 1: Installing Over Existing Tiles
This can be a quicker and more affordable option, but it’s not always the best choice.
Pros:
- Faster installation.
- Less mess and demolition.
- Potentially lower cost.
Cons:
- May not be suitable for all materials (e.g., thick tiles might create a bulky look).
- Requires a perfectly smooth and even surface.
- May reduce the longevity of the new splashback if the underlying tiles are unstable.
- Difficult to get a totally flush finish around outlets and fixtures.
When to Consider:
- Your existing tiles are in good condition, firmly attached, and relatively smooth.
- You are using a thin and flexible splashback material, such as acrylic or glass.
- You are on a tight budget and want a quick fix.
How to Prepare:
- Clean the Existing Tiles: Thoroughly clean the tiles with a degreasing cleaner to remove any dirt, grease, or grime.
- Sand the Tiles: Lightly sand the tiles to create a slightly rough surface for better adhesion.
- Fill Grout Lines: Use a suitable filler to smooth out the grout lines and create an even surface.
- Prime the Tiles: Apply a primer specifically designed for tile surfaces to promote adhesion.
Option 2: Removing the Old Splashback
This is often the preferred option, as it provides a clean slate for your new splashback.
Pros:
- Ensures a strong and lasting bond with the wall.
- Allows for a completely flush and seamless finish.
- Provides an opportunity to repair any underlying wall damage.
- More material choices are available.
Cons:
- More time-consuming and labor-intensive.
- Creates more mess and dust.
- May require some wall repair work.
When to Consider:
- Your existing tiles are in poor condition or are difficult to clean.
- You want to use a thicker or heavier splashback material, such as stone or ceramic tiles.
- You want a professional-looking finish.
- You have the budget and time for a more thorough kitchen remodel backsplash.
How to Remove the Old Splashback:
- Protect the Surrounding Area: Cover your countertops and appliances with drop cloths to protect them from dust and debris.
- Score the Grout Lines: Use a utility knife or grout saw to score the grout lines around the tiles.
- Remove the Tiles: Use a chisel and hammer to carefully remove the tiles, starting from the edges.
- Remove Adhesive: Scrape off any remaining adhesive with a putty knife or scraper. You may need to use a chemical adhesive remover for stubborn residue.
- Repair the Wall: Fill any holes or cracks in the wall with patching compound and sand smooth.
- Clean the Wall: Wipe down the wall with a damp cloth to remove any dust or debris.
Choosing the Right Splashback Materials for Old Kitchens
The material you choose will greatly affect the look, durability, and cost of your new splashback. Here’s a look at some popular options:
| Material | Pros | Cons | Suitability for Old Kitchens |
|---|---|---|---|
| Glass | Sleek, modern look, easy to clean, available in custom colors and designs, heat resistant. | Can be expensive, susceptible to scratches and chips, requires professional installation for best results. | Excellent choice for a modern update, especially if you want to show off a vibrant color. |
| Tiles | Wide variety of styles, colors, and sizes, durable, heat resistant, relatively affordable. | Grout lines can be difficult to clean, requires regular sealing, installation can be time-consuming. | Classic choice that can be adapted to any style, from traditional to contemporary. |
| Stainless Steel | Modern, industrial look, durable, easy to clean, heat resistant. | Can show fingerprints and scratches, can be expensive, may not suit all kitchen styles. | Great for a minimalist or industrial-style kitchen. |
| Acrylic | Lightweight, easy to install, available in a wide range of colors and patterns, affordable. | Less heat resistant than glass or tile, can scratch easily, may not be as durable. | Good for a quick and easy update, especially if you’re on a budget. |
| Laminate | Affordable, easy to install, available in a variety of patterns and colors. | Not as durable as other materials, susceptible to heat and water damage, can look cheap. | Best for very budget-conscious projects, but consider its limited lifespan. |
| Stone (Granite, Marble, etc.) | Luxurious look, durable, heat resistant, adds value to your home. | Expensive, requires professional installation, can be porous and require sealing. | Adds a touch of luxury and sophistication to an older kitchen, if your budget allows. |
| Peel and Stick Tiles | Inexpensive, DIY friendly, easy to install | Limited durability, can look cheap, not suitable for areas with high moisture or heat exposure. | Best for renters or those looking for a very temporary and inexpensive solution. |
DIY Splashback Installation: A Step-by-Step Guide
If you’re feeling confident, you can tackle the splashback installation yourself. Here’s a general splashback installation guide. Always refer to the manufacturer’s instructions for your specific material.
Tools and Materials You’ll Need
- Splashback material
- Measuring tape
- Pencil
- Level
- Construction adhesive or tile adhesive (depending on the material)
- Spreader or notched trowel
- Caulk gun and caulk
- Safety glasses
- Gloves
- Spacers (for tile installation)
- Tile cutter or wet saw (for tile installation)
Step-by-Step Installation
- Prepare the Surface: Ensure the wall is clean, dry, and smooth. Repair any damage and prime the surface if necessary.
- Measure and Cut: Measure the area where the splashback will be installed and cut the material to size, accounting for any outlets or fixtures.
- Apply Adhesive: Apply a generous amount of construction adhesive or tile adhesive to the back of the splashback material using a spreader or notched trowel. Follow the manufacturer’s instructions for the correct application method.
- Position the Splashback: Carefully position the splashback against the wall, ensuring it is level and aligned correctly.
- Secure the Splashback: Press the splashback firmly against the wall and hold it in place for the recommended amount of time (usually a few minutes). If using tiles, use spacers to maintain consistent grout lines.
- Allow to Dry: Allow the adhesive to dry completely according to the manufacturer’s instructions.
- Grout (for Tiles): If installing tiles, apply grout to the grout lines using a grout float. Remove any excess grout with a damp sponge.
- Caulk: Apply caulk along the edges of the splashback where it meets the countertop and cabinets. This will create a watertight seal and prevent water damage.
- Clean Up: Clean up any excess adhesive, grout, or caulk.
Tips for a Smooth Installation
- Take Your Time: Don’t rush the installation process. Take your time to ensure everything is measured and aligned correctly.
- Use a Level: Use a level to ensure the splashback is perfectly straight and level.
- Follow Instructions: Always follow the manufacturer’s instructions for your specific material.
- Ask for Help: If you’re not comfortable with any part of the installation process, don’t hesitate to ask for help from a friend or professional.
Kitchen Renovation on a Budget: The Splashback Advantage
A new splashback is a relatively inexpensive way to update your kitchen without breaking the bank.
Combining Splashbacks with Other Easy Kitchen Updates
To maximize the impact of your new splashback, consider combining it with other easy and affordable kitchen updates:
- Paint the Cabinets: A fresh coat of paint can transform the look of your cabinets.
- Replace Hardware: New cabinet knobs and pulls can add a touch of style.
- Update Lighting: Replace old light fixtures with more modern and energy-efficient options.
- Add Accessories: Add some new accessories, such as plants, artwork, or decorative bowls.
These small changes can make a big difference in the overall look and feel of your kitchen.
Common Mistakes to Avoid
- Not Properly Preparing the Surface: A clean, dry, and smooth surface is essential for a successful installation.
- Using the Wrong Adhesive: Using the wrong adhesive can result in a weak bond and a splashback that falls off the wall.
- Not Measuring Accurately: Accurate measurements are crucial for a professional-looking installation.
- Rushing the Installation: Rushing the installation can lead to mistakes and a poor-quality finish.
- Ignoring Manufacturer’s Instructions: Always follow the manufacturer’s instructions for your specific material.
When to Call a Professional
While DIY splashback installation is possible, there are times when it’s best to call a professional:
- If you’re not comfortable with any part of the installation process.
- If you’re working with a delicate or expensive material, such as glass or stone.
- If you need to make complex cuts or modifications.
- If you want to ensure a perfect, professional-looking finish.
- If you encounter any unexpected problems during the installation.
Frequently Asked Questions (FAQ)
- What is the easiest type of splashback to install? Peel and stick tiles are the easiest to install, but they offer limited durability. Acrylic splashbacks are also relatively easy to install and offer a good balance of affordability and durability.
- Can I install a splashback over wallpaper? It’s generally not recommended to install a splashback over wallpaper, as the wallpaper may not provide a stable surface for the splashback to adhere to. It’s best to remove the wallpaper before installing a splashback.
- How much does it cost to install a splashback? The cost of splashback installation varies depending on the material, size, and complexity of the project. DIY installation can save you money on labor costs, but professional installation ensures a high-quality finish.
- How do I clean my splashback? The best way to clean your splashback depends on the material. Generally, a mild detergent and a soft cloth are sufficient for most materials. Avoid using abrasive cleaners, as they can damage the surface.
- What are some easy kitchen updates splashback ideas? Consider using bright colors, bold patterns, or interesting textures to create a statement splashback. You can also use a splashback to tie together the different elements of your kitchen, such as the cabinets, countertops, and appliances.
By following these tips and guidelines, you can successfully install a new splashback in your old kitchen and transform the look and feel of your cooking space without a complete renovation. Enjoy your updated kitchen!
Hi, I’m Scott Fischer, the voice behind SliceItRight. My passion for food started in my grandmother’s kitchen, where I learned the art of slicing, dicing, and creating delicious meals. Over the years, I’ve explored everything from the perfect kitchen gadgets to mastering culinary techniques, and I’m here to share all of it with you. Whether you’re a beginner or an experienced home chef, my goal is to make cooking easier, more enjoyable, and a lot more fun. So, let’s slice it right and cook up something amazing together!