Finishing unfinished kitchen cabinets allows you to customize the look and feel of your kitchen while saving money compared to buying pre-finished cabinets. What is the best way to finish unfinished kitchen cabinets? The best way involves proper preparation, choosing the right finishing technique (staining or painting), applying several coats, and sealing the wood to protect it from moisture and wear. This guide will take you through each step, providing you with the knowledge and confidence to tackle this rewarding DIY project.
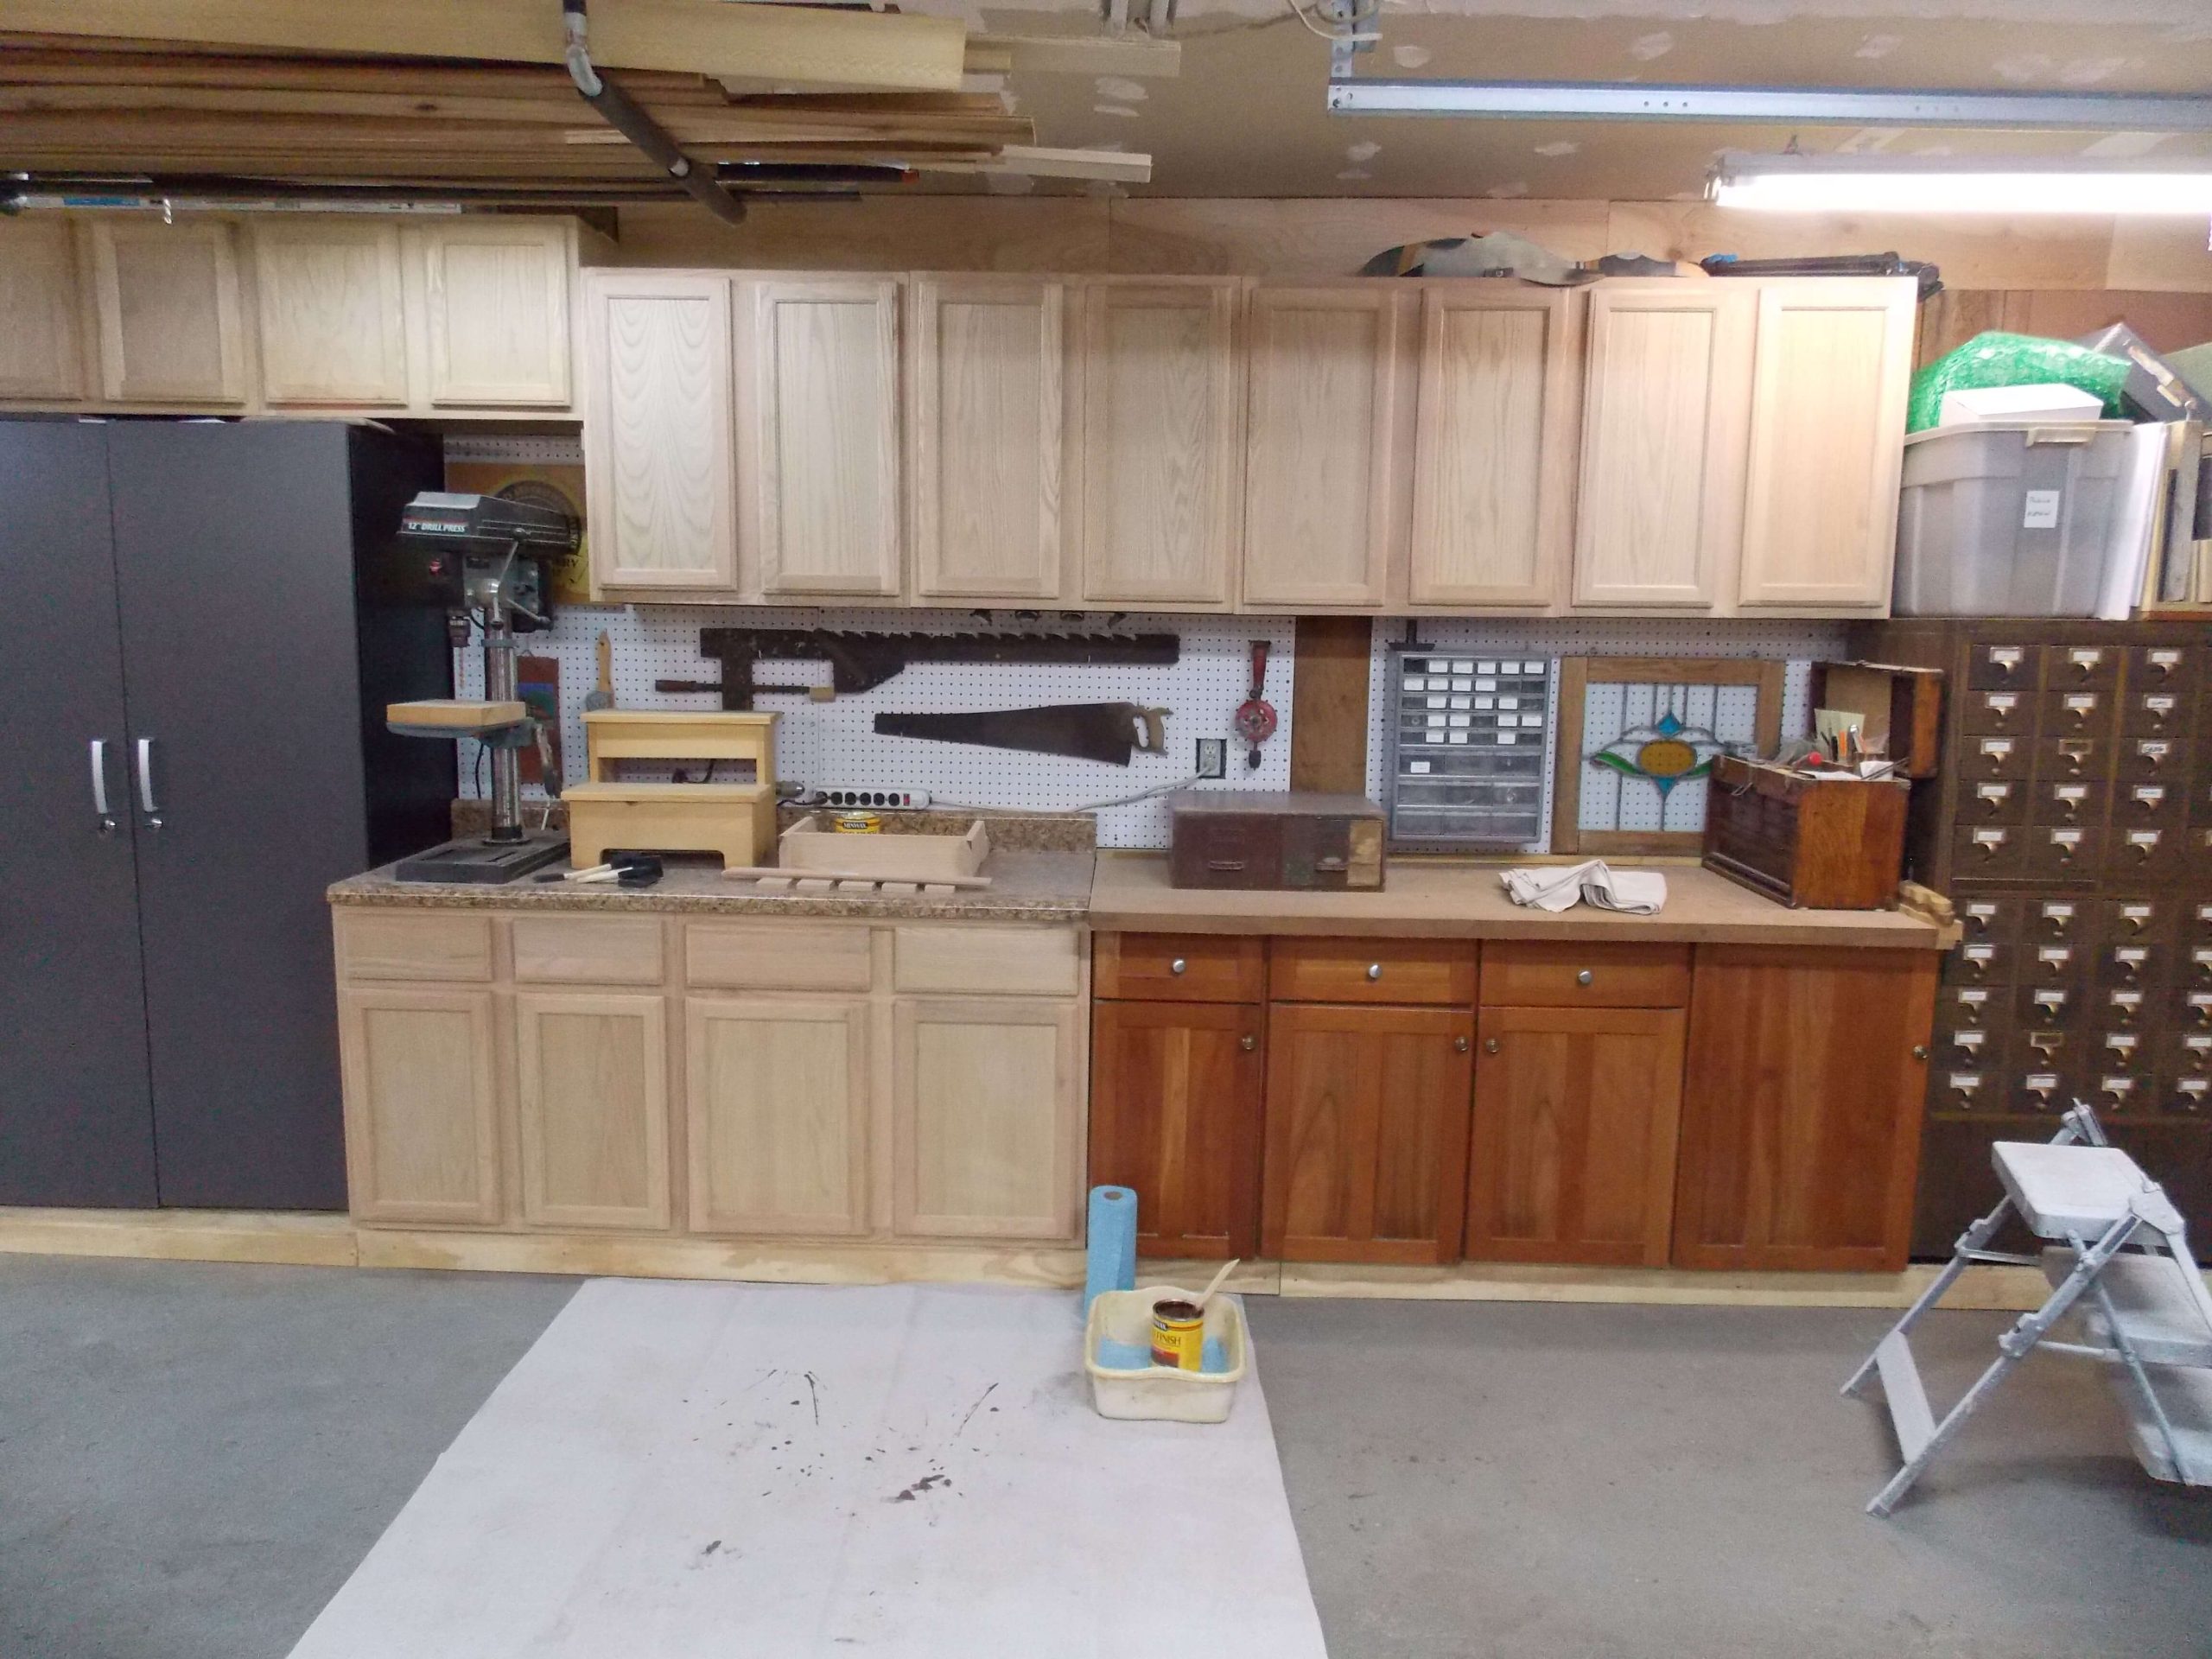
Image Source: www.highlandsdesigns.com
Gathering Your Arsenal: Wood Finishing Supplies
Before diving into the finishing process, ensure you have all the necessary materials and tools. Here’s a comprehensive list:
-
Cleaning Supplies:
- Tack cloth
- Mild detergent or degreaser
- Clean cloths
-
Preparation Tools:
- Sandpaper (various grits: 120, 180, 220, 320)
- Sanding block or orbital sander
- Wood filler (if needed)
- Putty knife
- Painter’s tape
-
Staining Supplies (if staining):
- Wood stain (gel stain or penetrating stain)
- Pre-stain wood conditioner
- Stain applicator (foam brush, rag, or brush)
- Lint-free cloths for wiping stain
-
Painting Supplies (if painting):
- Primer (oil-based or latex)
- Paint (cabinet-grade paint; acrylic latex or alkyd)
- Paintbrushes (high-quality synthetic brushes)
- Paint rollers (foam rollers for a smooth finish)
- Paint tray
-
Sealing Supplies:
- Polyurethane or other clear coat (water-based or oil-based)
- Applicator for sealant (brush or spray)
-
Safety Gear:
- Safety glasses
- Dust mask or respirator
- Gloves
Cabinet Preparation for Finishing: The Foundation of Success
Thorough preparation is key to achieving a professional-looking finish. This step ensures proper adhesion and a smooth surface.
1. Cleaning the Unfinished Cabinets
Start by cleaning the cabinets thoroughly. This removes any dust, dirt, or grease that might interfere with the finishing process.
- Use a tack cloth to wipe down all surfaces.
- For stubborn spots, use a mild detergent or degreaser.
- Rinse with a damp cloth and let the cabinets dry completely.
2. Sanding the Wood
Sanding creates a smooth surface and opens the wood pores, allowing the stain or primer to penetrate effectively.
- Begin with 120-grit sandpaper to remove any imperfections or rough spots.
- Progress to 180-grit, then 220-grit, and finally 320-grit for an ultra-smooth finish.
- Use a sanding block or orbital sander for larger, flat surfaces.
- Sand with the grain to avoid scratches.
- After each sanding, remove dust with a tack cloth.
3. Addressing Imperfections
Inspect the cabinets for any dents, scratches, or gaps.
- Use wood filler to fill any imperfections.
- Apply the filler with a putty knife, ensuring it’s level with the surrounding surface.
- Let the filler dry completely according to the manufacturer’s instructions.
- Sand the filled areas smooth, starting with 180-grit sandpaper and progressing to finer grits.
4. Taping Off Areas
Use painter’s tape to protect any areas you don’t want to be stained or painted, such as the inside edges of the cabinet frames.
Unfinished Cabinet Staining: Revealing the Wood’s Natural Beauty
Can I stain unfinished kitchen cabinets myself? Yes, you absolutely can stain unfinished kitchen cabinets yourself. Staining enhances the wood grain and adds warmth to your kitchen.
1. Applying Pre-Stain Wood Conditioner
Pre-stain wood conditioner is crucial for achieving an even stain application, especially on softwoods like pine.
- Apply the conditioner liberally with a brush or rag.
- Let it penetrate the wood for the recommended time (usually 5-15 minutes).
- Wipe off any excess conditioner.
2. Choosing and Applying the Stain
Select a wood stain that complements your kitchen’s décor. Gel stains are excellent for vertical surfaces, while penetrating stains offer deep color saturation.
- Apply the stain evenly with a foam brush, rag, or brush.
- Work in the direction of the wood grain.
- Let the stain sit for the desired amount of time, depending on the color intensity you want.
- Wipe off the excess stain with a lint-free cloth.
- Allow the stain to dry completely (at least 24 hours).
3. Applying Additional Coats (Optional)
For a deeper, richer color, apply a second coat of stain.
- Lightly sand the surface with 320-grit sandpaper.
- Remove dust with a tack cloth.
- Apply the second coat of stain as before.
- Let it dry completely.
Painting Unfinished Kitchen Cabinets: Adding a Pop of Color
How to paint unfinished kitchen cabinets for a smooth, durable finish? Achieve a smooth, durable finish by priming the cabinets first, applying thin coats of high-quality cabinet paint, and using proper sanding techniques between coats.
1. Priming the Cabinets
Primer seals the wood, provides a uniform surface for the paint, and improves adhesion.
- Apply a thin, even coat of primer with a brush or roller.
- Oil-based primers are excellent for blocking stains and tannin bleed-through, while latex primers are easier to clean up.
- Let the primer dry completely (follow the manufacturer’s instructions).
- Lightly sand the primed surface with 320-grit sandpaper.
- Remove dust with a tack cloth.
2. Applying the Paint
Choose a high-quality cabinet paint specifically formulated for kitchen cabinets. Acrylic latex and alkyd paints are popular choices.
- Apply the paint in thin, even coats with a brush or roller.
- Use a high-quality synthetic brush for edges and details.
- Use a foam roller for larger, flat surfaces.
- Let the first coat dry completely.
- Lightly sand the painted surface with 320-grit sandpaper.
- Remove dust with a tack cloth.
- Apply a second coat of paint.
- Let it dry completely.
- Apply a third coat if necessary for full coverage.
3. Cabinet Painting Tips: Achieving a Flawless Finish
- Use High-Quality Tools: Invest in good brushes and rollers for a smoother finish.
- Thin Coats: Apply thin coats of paint to prevent drips and runs.
- Proper Drying Time: Allow each coat to dry completely before sanding and applying the next coat.
- Sand Lightly: Use fine-grit sandpaper (320-grit) to lightly sand between coats.
- Clean Brushes: Clean your brushes and rollers thoroughly after each use.
Sealing Unfinished Wood Cabinets: Protection and Longevity
Sealing the finished cabinets protects them from moisture, scratches, and daily wear and tear. What is the best finish for kitchen cabinets? Polyurethane is one of the best finishes for kitchen cabinets due to its durability, water resistance, and ease of application.
1. Choosing the Right Sealant
Polyurethane is a popular choice for sealing kitchen cabinets. It’s available in water-based and oil-based formulas.
- Water-based polyurethane: Dries quickly, has low odor, and yellows less over time.
- Oil-based polyurethane: Provides a more durable finish and a slightly amber hue.
2. Applying Polyurethane to Cabinets
Apply the polyurethane in thin, even coats with a brush or spray.
- Brush application: Use a high-quality brush and apply the polyurethane in the direction of the wood grain.
- Spray application: Use a sprayer for a smooth, even finish. Follow the manufacturer’s instructions for thinning and application.
- Let the first coat dry completely (follow the manufacturer’s instructions).
- Lightly sand the sealed surface with 320-grit sandpaper.
- Remove dust with a tack cloth.
- Apply a second coat of polyurethane.
- Let it dry completely.
- Apply a third coat if desired for added protection.
Cabinet Finishing Techniques: Exploring Different Options
Beyond staining and painting, several other cabinet finishing techniques can add unique character to your kitchen.
Distressing
Distressing involves intentionally creating imperfections to give cabinets an aged, rustic look.
- Techniques: Sanding edges, using chains or hammers to create dents, applying antiquing glazes.
Glazing
Glazing adds depth and dimension to painted cabinets by highlighting details and creating shadows.
- Application: Apply glaze over the painted surface, then wipe away the excess, leaving glaze in the crevices and corners.
Antiquing
Antiquing creates a vintage look by adding dark stains or glazes to the cabinets.
- Process: Apply an antiquing glaze or stain, then wipe it away to leave a subtle, aged appearance.
Troubleshooting Common Issues in DIY Cabinet Finishing
Even with careful preparation, you might encounter some common issues during the cabinet finishing process. Here’s how to troubleshoot them:
| Issue | Cause | Solution |
|---|---|---|
| Uneven Stain | Improper wood preparation, uneven application | Sand the surface, reapply pre-stain conditioner, and reapply the stain. |
| Paint Drips or Runs | Applying too much paint | Sand the drips or runs smooth, and apply thinner coats of paint. |
| Bubbles in Finish | Shaking the paint too vigorously | Let the paint sit to allow bubbles to dissipate before applying. |
| Fish Eyes (Cratering) | Contamination on the surface | Clean the surface thoroughly with a degreaser before finishing. |
| Peeling Finish | Poor adhesion | Sand the surface, prime properly, and use high-quality paint. |
Determining Cost Estimates for Refinishing
The cost of refinishing kitchen cabinets varies based on the size of the kitchen, the type of finish used, and whether you hire a professional or do it yourself. DIY projects can be much cheaper than hiring someone else, but remember to factor in the cost of all materials and your time.
| Item | Estimated Cost Range |
|---|---|
| Sandpaper | $10 – $20 |
| Wood Filler | $5 – $15 |
| Painter’s Tape | $5 – $10 |
| Wood Stain/Paint | $20 – $50 per quart |
| Primer | $15 – $30 per quart |
| Polyurethane | $20 – $40 per quart |
| Brushes/Rollers | $10 – $30 |
| Safety Gear | $10 – $20 |
| Total (DIY) | $95 – $225+ |
| Professional Refinishing | $1,000 – $5,000+ (depending on size and complexity) |
Frequently Asked Questions (FAQ)
Q: How long does it take to finish unfinished kitchen cabinets?
A: The time required depends on the size of your kitchen and the complexity of the finish. It can take anywhere from a weekend to a week or more, considering drying times between coats.
Q: Can I use chalk paint on kitchen cabinets?
A: Yes, you can use chalk paint on kitchen cabinets, but you’ll need to seal it with wax or a clear coat for durability and water resistance.
Q: What is the most durable finish for kitchen cabinets?
A: Oil-based polyurethane is generally considered one of the most durable finishes for kitchen cabinets due to its resistance to water, scratches, and chemicals. However, modern water-based polyurethanes are also very durable and offer easier cleanup.
Q: How do I clean finished kitchen cabinets?
A: Clean finished kitchen cabinets with a mild detergent and water solution. Avoid harsh chemicals or abrasive cleaners that can damage the finish.
Q: Do I need to sand between coats of polyurethane?
A: Yes, lightly sanding between coats of polyurethane creates a smooth surface for the next coat to adhere to, resulting in a more professional finish. Use fine-grit sandpaper (320-grit or higher) and remove dust with a tack cloth.
With careful planning, preparation, and execution, you can transform unfinished kitchen cabinets into beautiful and functional focal points in your home. Enjoy the process and the satisfaction of a job well done!
Hi, I’m Scott Fischer, the voice behind SliceItRight. My passion for food started in my grandmother’s kitchen, where I learned the art of slicing, dicing, and creating delicious meals. Over the years, I’ve explored everything from the perfect kitchen gadgets to mastering culinary techniques, and I’m here to share all of it with you. Whether you’re a beginner or an experienced home chef, my goal is to make cooking easier, more enjoyable, and a lot more fun. So, let’s slice it right and cook up something amazing together!