Adding crown molding to your kitchen cabinets is a fantastic way to elevate their look and add a touch of elegance to your kitchen. But how to install molding on top of cabinets? This guide will take you through a step-by-step process, making kitchen cabinet crown molding installation a manageable and rewarding DIY project. Whether you’re a seasoned DIYer or a beginner, we’ll cover everything you need to know about installing crown molding on cabinets.
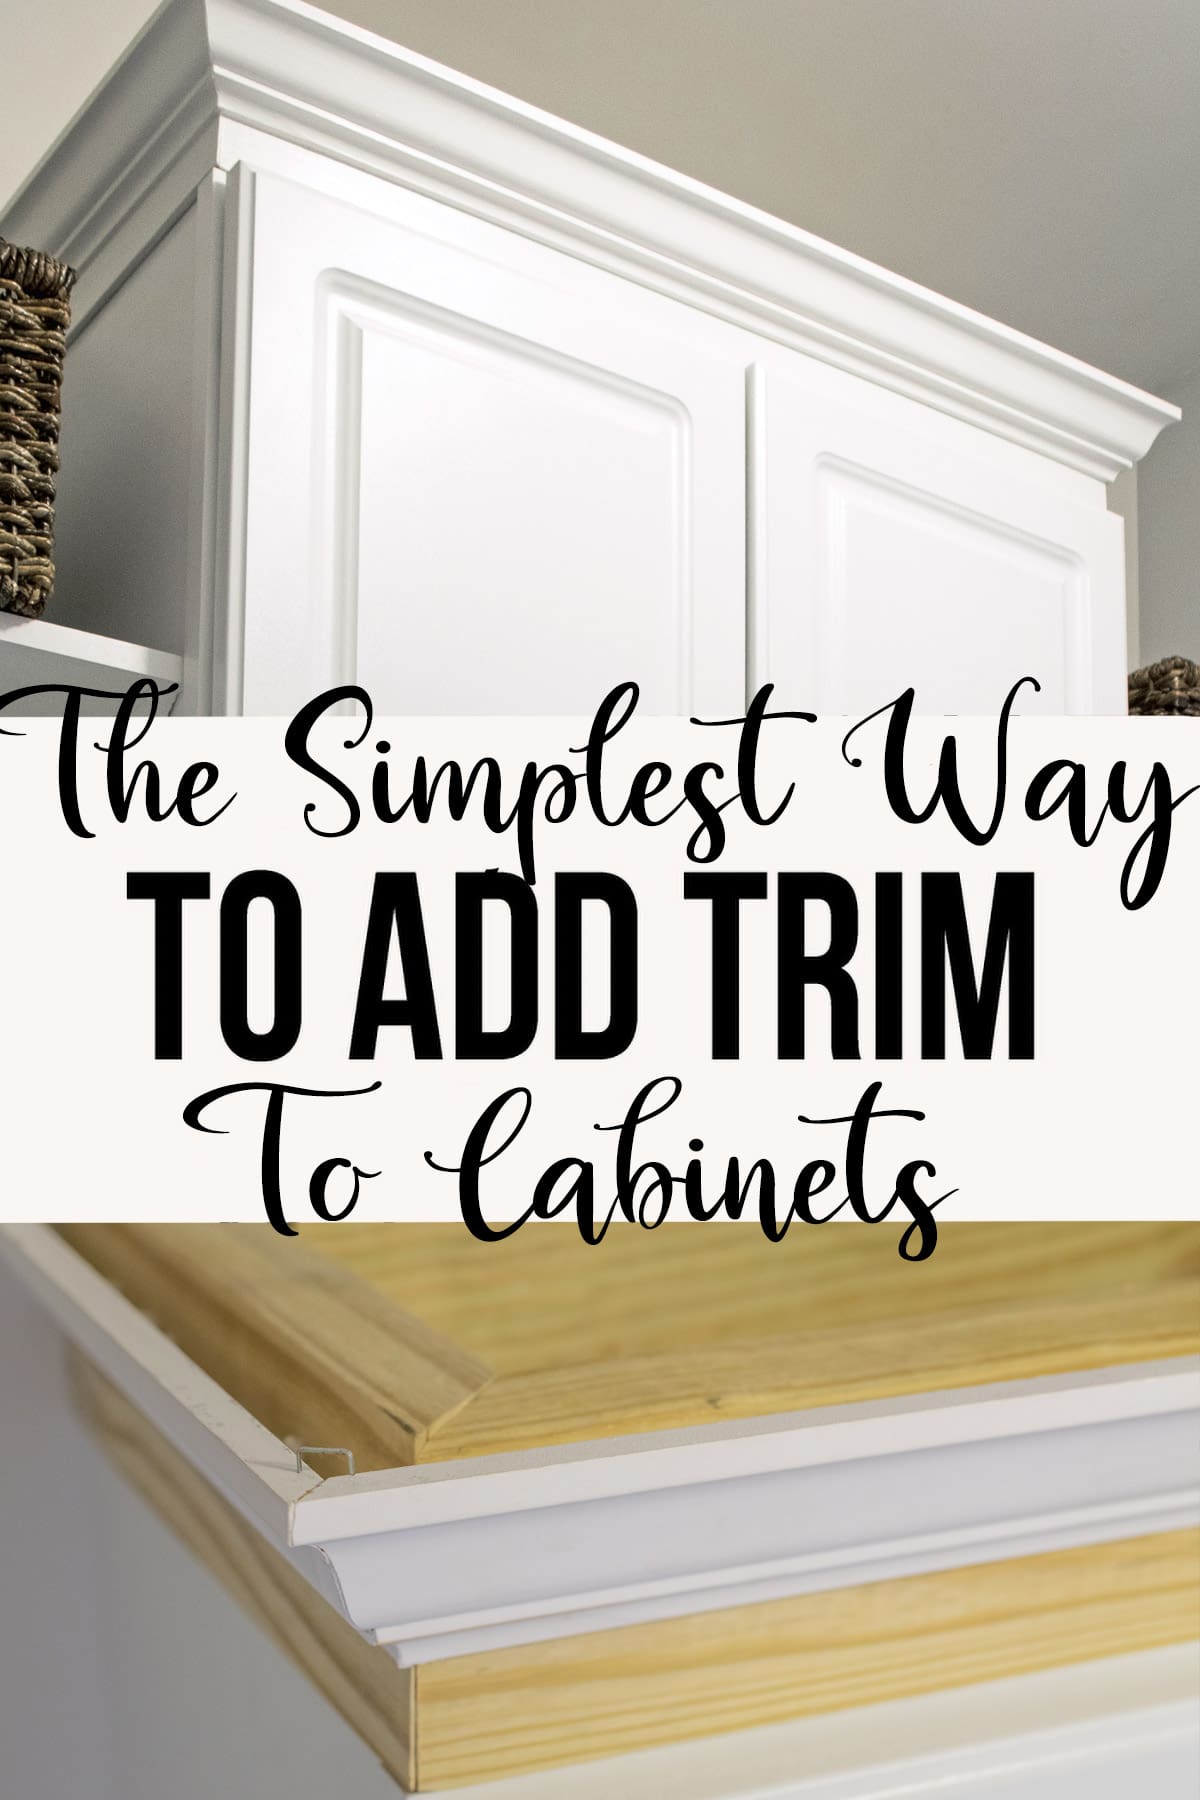
Image Source: www.cravingsomecreativity.com
Why Add Crown Molding to Kitchen Cabinets?
Before diving into the crown molding kitchen cabinet tutorial, let’s explore why this is such a popular home improvement project.
- Enhanced Aesthetics: Crown molding adds a finished, polished look to your kitchen cabinets, making them appear more custom and high-end.
- Increased Home Value: A well-executed crown molding installation can increase the overall value of your home.
- Covering Imperfections: It can hide gaps between the cabinets and the ceiling, creating a seamless appearance.
- Personalization: Crown molding comes in various styles and materials, allowing you to customize your kitchen to match your personal taste.
- Relatively Affordable: Compared to replacing cabinets, adding crown molding is a cost-effective way to upgrade your kitchen’s look.
Planning Your Crown Molding Project
Proper planning is crucial for a successful crown molding for kitchen cabinets DIY project.
Measuring and Calculating
- Measure the Cabinets: Accurately measure the total length of the cabinets where you’ll be adding trim to kitchen cabinets. Include all sides where the molding will be installed.
- Calculate Molding Needs: Add 10-15% to your measurements to account for waste and mistakes during cuts. It’s always better to have extra than to run short.
- Determine Crown Molding Cabinet Height: Decide how high you want the crown molding to extend above the cabinets. This will affect the overall look and the amount of molding you’ll need. Consider the height of your ceiling and the existing architectural details in your kitchen.
Choosing the Right Crown Molding
Selecting the right style and material is essential for achieving your desired look.
- Material Options:
- Wood: Offers a classic, elegant look and can be stained or painted. Common wood types include pine, poplar, and oak.
- MDF (Medium-Density Fiberboard): A cost-effective option that’s easy to work with and paint.
- Polyurethane: Lightweight, moisture-resistant, and ideal for kitchens with high humidity. It can also be painted.
- Style Selection: Consider the existing style of your kitchen cabinets and choose a crown molding style that complements it. Options include:
- Simple Colonial: A classic, understated style.
- Ornate Victorian: Features intricate details and carvings.
- Modern Minimalist: Clean lines and a sleek design.
Gathering the Necessary Tools and Materials
Having the right tools on hand will make the kitchen cabinet trim installation process smoother.
- Tools:
- Miter Saw: For accurate angled cuts.
- Coping Saw: For creating coped joints.
- Nail Gun: For securing the molding to the cabinets.
- Stud Finder: To locate studs in the wall for secure attachment (if needed).
- Level: To ensure the molding is straight.
- Measuring Tape: For accurate measurements.
- Pencil: For marking cuts.
- Safety Glasses: To protect your eyes.
- Ear Protection: To protect your ears when using power tools.
- Caulk Gun: For applying caulk to fill gaps.
- Wood Filler: For filling nail holes and imperfections.
- Sandpaper: For smoothing rough edges.
- Materials:
- Crown Molding: In the chosen style and material.
- Wood Glue: For added strength in joints.
- Finishing Nails: For the nail gun.
- Caulk: Paintable caulk to fill gaps.
- Paint or Stain: To match your cabinets (if needed).
- Primer: If painting the molding.
Step-by-Step Guide to Installing Crown Molding
Now, let’s move on to the actual kitchen cabinet crown molding installation.
Step 1: Preparing the Cabinets
- Clean the Cabinets: Wipe down the top of the cabinets to remove any dust, grease, or debris. This will ensure a good bond for the adhesive and nails.
- Install a Nailer Strip (If Needed): If your cabinets don’t have a solid top or a suitable surface for attaching the molding, you may need to install a nailer strip. This is a piece of wood that’s attached to the top of the cabinet to provide a secure base for the molding.
Step 2: Making the Cuts
This is the most crucial part of installing crown molding on cabinets. Accurate cuts are essential for a professional-looking finish.
- Inside Corner Cuts (Coped Joints):
- Cut one piece of molding square (90 degrees) to fit snugly into the corner.
- Cut the second piece at a 45-degree angle, as if you were creating a mitered joint.
- Use a coping saw to carefully remove the material behind the 45-degree cut, following the profile of the molding. This creates a coped joint that will fit snugly against the square-cut piece.
- Outside Corner Cuts (Mitered Joints):
- Use a miter saw to cut two pieces of molding at a 45-degree angle, ensuring that the angles create a 90-degree corner when joined.
- Test the fit of the cuts before applying glue or nails.
- Straight Cuts:
- Measure the distance between the corners and cut the molding to the exact length using a miter saw.
Table: Common Crown Molding Cut Angles
| Joint Type | Angle 1 | Angle 2 |
|---|---|---|
| Inside Corner | 90°/Cope | 45° |
| Outside Corner | 45° | 45° |
| Straight Run | 90° | 90° |
Step 3: Attaching the Crown Molding
- Apply Wood Glue: Apply a thin bead of wood glue to the back of the molding where it will contact the cabinet.
- Position the Molding: Carefully position the molding on top of the cabinets, ensuring it’s level and aligned correctly.
- Secure with Nails: Use a nail gun to drive finishing nails through the molding and into the cabinet or nailer strip. Space the nails about 6-8 inches apart.
- Check for Gaps: Inspect the joints and edges for any gaps. Use wood filler to fill any small gaps or nail holes.
Step 4: Finishing Touches
- Caulk the Seams: Apply paintable caulk along the top and bottom edges of the molding, as well as any gaps in the corners. Smooth the caulk with your finger or a damp cloth for a clean, professional look.
- Sand and Prepare for Paint/Stain: Once the wood filler and caulk are dry, lightly sand any rough spots or imperfections.
- Paint or Stain: If desired, prime and paint or stain the crown molding to match your cabinets. Apply multiple thin coats for best results, allowing each coat to dry completely before applying the next.
Cabinet Crown Molding Tips for Success
- Practice Your Cuts: Before cutting the actual molding, practice on scrap pieces to get a feel for the miter saw and coping saw.
- Use a Crown Molding Jig: A crown molding jig can help you hold the molding at the correct angle while cutting, ensuring accurate results.
- Take Your Time: Don’t rush the process. Take your time to measure, cut, and install the molding carefully.
- Ask for Help: If you’re not comfortable with any part of the project, don’t hesitate to ask a friend or family member for help.
- Consider Pre-Made Corners: For beginners, pre-made corner blocks can simplify the installation process by eliminating the need for complex miter cuts.
- Choose the Right Nailer: Ensure the nailer strip is flush with the cabinet’s edge for a seamless look.
Troubleshooting Common Issues
- Gaps in Corners: This is usually due to inaccurate cuts. Try adjusting the angles slightly or using wood filler and caulk to fill the gaps.
- Molding Not Level: Use shims to level the cabinets before installing the molding.
- Molding Pulling Away from Cabinet: Make sure you’re using enough nails and that the nails are long enough to penetrate the cabinet or nailer strip securely.
Maintaining Your Crown Molding
- Dust Regularly: Use a soft cloth or duster to remove dust and cobwebs from the molding.
- Clean with Mild Soap and Water: If the molding gets dirty, clean it with a mild soap and water solution.
- Touch Up Paint/Stain: If the paint or stain starts to fade or chip, touch it up as needed.
- Recaulk as Needed: Over time, the caulk may crack or shrink. Recaulk the seams as needed to maintain a clean, finished look.
Best Way To Install Cabinet Crown Molding: Safety First!
Before you begin any DIY project, safety should be your number one priority.
- Always wear safety glasses to protect your eyes from flying debris.
- Use ear protection when operating power tools.
- Work in a well-ventilated area when using paints, stains, or adhesives.
- Follow the manufacturer’s instructions for all tools and materials.
- If you’re working on a ladder, make sure it’s stable and secure.
Fathoming the Costs
The cost of adding trim to kitchen cabinets will vary depending on several factors, including the type of molding you choose, the size of your kitchen, and whether you hire a professional installer or do it yourself.
Table: Estimated Cost Breakdown
| Item | Cost (DIY) | Cost (Professional) |
|---|---|---|
| Crown Molding | \$50 – \$200 | \$50 – \$200 |
| Supplies (nails, glue, caulk) | \$20 – \$50 | \$20 – \$50 |
| Labor | \$0 | \$200 – \$500 |
| Total | \$70 – \$250 | \$270 – \$750 |
Note: These are just estimates. The actual cost may vary depending on your location and the specific products and services you choose.
FAQ
-
What is the best type of crown molding for kitchen cabinets? The best type depends on your style and budget. Wood offers a classic look, MDF is cost-effective, and polyurethane is moisture-resistant.
-
Can I install crown molding on cabinets myself? Yes, with the right tools and instructions, installing crown molding is a manageable DIY project.
-
What crown molding cabinet height should I choose? This depends on the height of your ceiling and the overall look you want to achieve. A general rule is to choose a molding height that’s proportionate to the size of your cabinets.
-
Who can I hire to install crown molding? You can hire a carpenter, handyman, or contractor to install crown molding.
-
How to install molding on top of cabinets that are not level? Shim the cabinets to make them level before you start installing the crown molding.
By following these steps and tips, you can successfully add crown molding to your kitchen cabinets and transform the look of your kitchen. Remember to take your time, be patient, and enjoy the process!
Hi, I’m Scott Fischer, the voice behind SliceItRight. My passion for food started in my grandmother’s kitchen, where I learned the art of slicing, dicing, and creating delicious meals. Over the years, I’ve explored everything from the perfect kitchen gadgets to mastering culinary techniques, and I’m here to share all of it with you. Whether you’re a beginner or an experienced home chef, my goal is to make cooking easier, more enjoyable, and a lot more fun. So, let’s slice it right and cook up something amazing together!