How do you clean kitchen cabinets before painting? You clean kitchen cabinets before painting by first removing hardware, then washing them with a degreasing cleaner to remove grease and grime. After washing, rinse the cabinets thoroughly and allow them to dry completely. Finally, sand the cabinets lightly to create a smooth surface for the primer and paint to adhere to.
Painting your kitchen cabinets is a cost-effective way to transform your kitchen without a full remodel. However, a fresh coat of paint won’t adhere properly if your cabinets are dirty. Thorough cleaning is an essential step in how to prep cabinets for paint, ensuring a flawless and long-lasting finish. This guide will walk you through every step of the process, from choosing the right cleaners to the final sanding, to help you achieve professional-looking results.
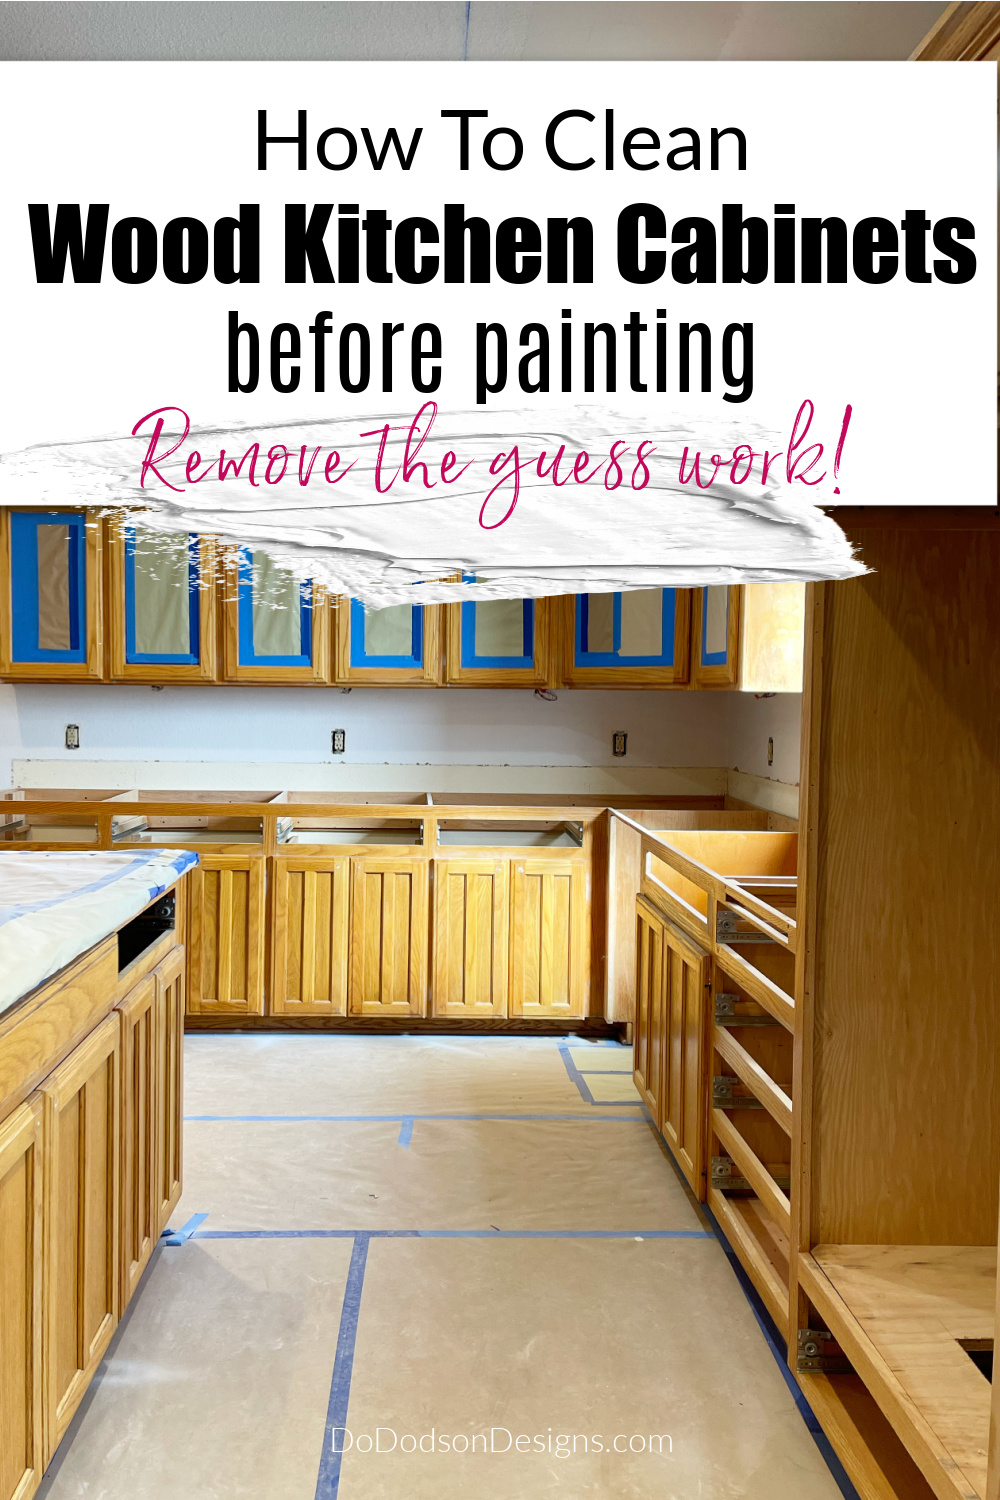
Image Source: www.dododsondesigns.com
Why Cleaning Is Crucial Before Painting
Before you even think about picking up a paintbrush, understand why cleaning your kitchen cabinets is non-negotiable:
- Adhesion: Paint struggles to stick to surfaces covered in grease, grime, or old coatings. Cleaning removes these barriers, allowing the paint to bond properly.
- Finish Quality: Dirt and debris can create bumps and imperfections under your new paint job. Cleaning provides a smooth, even surface for a professional finish.
- Prevents Contamination: Grease and oil can bleed through the paint, causing discoloration or preventing the paint from drying correctly. Degrease kitchen cabinets before painting prevents this.
- Longevity: A properly cleaned and prepared surface ensures your paint job lasts longer and resists chipping and peeling.
Assembling Your Cleaning Arsenal
Before you start cleaning, gather the necessary supplies:
- Degreasing Cleaner: Essential for breaking down grease and grime. Options include:
- Dish Soap and Warm Water: A gentle yet effective option for light cleaning.
- Commercial Degreasers: Specifically formulated for kitchen grease. Look for non-toxic and biodegradable options.
- TSP (Trisodium Phosphate): A powerful cleaner, but use with caution. Wear gloves and eye protection, and rinse thoroughly. TSP alternatives are available for a safer approach.
- Vinegar and Water Solution: A natural cleaning solution that cuts through grease and grime.
- Cleaning Tools:
- Soft Sponges: Avoid abrasive sponges that can scratch the cabinet finish.
- Microfiber Cloths: Excellent for wiping down surfaces and removing residue.
- Scrub Brush: For tackling stubborn grime in corners and crevices. An old toothbrush works well for this purpose.
- Putty Knife or Scraper: For removing dried-on food or residue.
- Protective Gear:
- Gloves: Protect your hands from harsh chemicals and grease.
- Eye Protection: Safety glasses or goggles to prevent splashes in your eyes.
- Drop Cloths: Protect your countertops and floors from spills and drips.
- Other Essentials:
- Screwdriver: For removing cabinet hardware.
- Painter’s Tape: For protecting surrounding surfaces.
- Buckets: For holding cleaning solutions and rinsing water.
- Sandpaper (120-220 grit): For creating a smooth surface and improving paint adhesion.
- Tack Cloth: For removing sanding dust.
Step-by-Step Cleaning Process
Here’s a detailed guide to cleaning your kitchen cabinets for painting:
1. Preparation is Key
- Clear the Area: Remove everything from your countertops and cover them with drop cloths.
- Remove Hardware: Take off all knobs, pulls, hinges, and other hardware. Store them in labeled bags to keep them organized.
- Protect Surroundings: Use painter’s tape to protect walls, backsplashes, and other areas around the cabinets.
- Ventilate the Area: Open windows and doors to ensure good ventilation, especially when using strong cleaners.
2. Initial Wipe Down
- Use a dry cloth or brush to remove loose dust, crumbs, and debris from the cabinet surfaces. This prevents spreading the dirt during the cleaning process.
3. Choosing Your Cleaning Solution
The best cleaner for kitchen cabinets before painting depends on the level of grime and the type of finish on your cabinets. Here’s a breakdown:
| Cleaner | Use Case | Pros | Cons |
|---|---|---|---|
| Dish Soap and Warm Water | Light cleaning, routine maintenance | Gentle, readily available, cost-effective | May not be strong enough for heavy grease or grime |
| Commercial Degreaser | Moderate to heavy grease, tough stains | Powerful cleaning action, specifically formulated for kitchen grease | Can be expensive, may contain harsh chemicals, always test in an inconspicuous area first |
| TSP (Trisodium Phosphate) | Very heavy grease, stubborn stains (use with caution) | Extremely effective, cuts through grease quickly | Harsh chemicals, requires careful handling and thorough rinsing, may damage some finishes, often requires a TSP alternative |
| Vinegar and Water Solution | Light to moderate grease, eco-friendly cleaning | Natural, non-toxic, readily available, deodorizing | May not be as effective as commercial degreasers for very heavy grease, the vinegar smell can be unpleasant for some people |
4. Washing the Cabinets
- Apply the Cleaning Solution: Dip a soft sponge or cloth into your chosen cleaning solution and wring out the excess. You don’t want the cabinets to be soaking wet.
- Work in Sections: Clean the cabinets in small sections, starting from the top and working your way down. This prevents the cleaner from drying before you can wipe it off.
- Scrub Gently: Use gentle scrubbing motions to loosen grease and grime. For stubborn areas, use a scrub brush or a putty knife (be careful not to scratch the finish). Pay special attention to areas around handles and hinges, where grease tends to accumulate.
- Rinse Thoroughly: After cleaning a section, rinse it with a clean, damp cloth. Be sure to remove all traces of the cleaning solution, as residue can interfere with paint adhesion.
- Dry Completely: Use a clean, dry microfiber cloth to wipe down the cabinets and ensure they are completely dry before proceeding to the next step. Cleaning and sanding kitchen cabinets should only happen after the cabinets have been dried.
5. Removing Stubborn Grease and Grime
For areas with heavy grease buildup, you may need to take extra measures:
- Baking Soda Paste: Mix baking soda with a little water to form a paste. Apply the paste to the greasy area, let it sit for a few minutes, and then scrub gently. Baking soda is a mild abrasive that can help lift grease without scratching the finish.
- Grease-Cutting Sprays: Use a commercial grease-cutting spray specifically designed for kitchen cabinets. Follow the manufacturer’s instructions carefully, and always test in an inconspicuous area first.
- Steam Cleaning: A steam cleaner can be an effective way to loosen grease and grime without using harsh chemicals. Use a steam cleaner with a brush attachment and follow the manufacturer’s instructions. Removing grease from cabinets for painting becomes easier with a steam cleaner.
6. Light Sanding
After cleaning, light sanding is essential to prepare kitchen cabinets for painting. Sanding does the following:
- Creates Texture: Lightly roughens the surface, providing “tooth” for the primer and paint to grip onto.
- Removes Imperfections: Smooths out any remaining imperfections or rough spots.
- Improves Adhesion: Enhances the bond between the paint and the cabinet surface.
How to Sand:
- Choose the Right Sandpaper: Use 120-220 grit sandpaper. Finer grits are better for smoothing, while coarser grits are better for removing imperfections.
- Sand Lightly: Sand the cabinets using light, even pressure. Avoid pressing too hard, as this can damage the finish.
- Sand with the Grain: Sand in the direction of the wood grain (if applicable).
- Focus on Edges and Corners: Pay special attention to edges and corners, as these areas tend to be rougher.
- Remove Sanding Dust: After sanding, use a tack cloth or a damp cloth to remove all sanding dust. Dust can interfere with paint adhesion and create a bumpy finish.
7. Final Wipe Down and Inspection
- Give the cabinets one final wipe down with a clean, damp cloth to ensure all dust and residue are removed.
- Inspect the cabinets carefully for any remaining grease, grime, or imperfections. Address any issues before proceeding to priming and painting.
Choosing the Right Cabinet Cleaning Solution
Finding the right cabinet cleaning solution for painting is crucial. While several options exist, the best choice depends on the material, finish, and level of grime on your cabinets.
| Cleaning Agent | Type | Purpose | Pros | Cons | When to Use |
|---|---|---|---|---|---|
| Dish Soap and Water | Mild Cleaner | Light degreasing and general cleaning | Gentle on finishes, readily available, cost-effective | Not effective on heavy grease or stubborn grime | For routine cleaning and cabinets with minimal grease or dirt buildup |
| White Vinegar Solution | Mild Cleaner | Degreasing, stain removal, odor neutralization | Natural, non-toxic, environmentally friendly, effective at cutting through grease and grime | Can have a strong odor, may not be as effective on very heavy grease or grime | For light to moderate grease and grime, eco-conscious cleaning, and odor removal |
| Baking Soda Paste | Mild Abrasive | Scrubbing away stubborn stains and grime | Gentle abrasive, non-toxic, readily available, can help lift stains and grease | Can be messy, requires thorough rinsing, may not be suitable for delicate finishes | For spot cleaning stubborn stains, grease, and grime, use on durable surfaces that can withstand gentle abrasion |
| Commercial Degreaser | Strong Cleaner | Heavy degreasing, removing stubborn grease and grime | Powerful cleaning action, specifically formulated to break down grease, available in various strengths | Can be harsh on finishes, may contain toxic chemicals, requires proper ventilation and safety precautions | For heavily soiled cabinets with stubborn grease and grime, use with caution and always test in an inconspicuous area first |
| TSP (TrisodiumPhosphate) | Strong Cleaner | Extremely heavy degreasing, removing tough stains and residues | Very effective at cutting through grease and grime, can remove stubborn stains and residues | Harsh on finishes, can cause damage if not used properly, requires thorough rinsing, may be restricted in some areas | For extremely heavily soiled cabinets with tough stains and residues, use with extreme caution and only when other methods are ineffective |
It’s crucial to choose a cleaner that won’t damage your cabinets’ finish. Always test the cleaner in an inconspicuous area first to ensure it doesn’t cause discoloration or damage.
What Not to Do When Cleaning Cabinets Before Painting
To prevent damage and ensure the best results, avoid these common mistakes:
- Using Abrasive Cleaners: Avoid using abrasive cleaners or scrub brushes that can scratch the cabinet finish.
- Soaking the Cabinets: Don’t allow the cabinets to become soaking wet, as this can damage the wood or cause the veneer to peel.
- Skipping the Rinse: Always rinse the cabinets thoroughly after cleaning to remove all traces of the cleaning solution.
- Forgetting to Dry: Ensure the cabinets are completely dry before sanding or painting.
- Ignoring Safety Precautions: Wear gloves and eye protection when using strong cleaners.
Tips for Specific Cabinet Types
- Wood Cabinets: Use a gentle cleaner specifically designed for wood. Avoid harsh chemicals that can damage the wood finish.
- Laminate Cabinets: Laminate cabinets are generally easier to clean. Use a mild cleaner and avoid abrasive scrubbers.
- Painted Cabinets: Be careful when cleaning painted cabinets, as some cleaners can damage the paint. Test in an inconspicuous area first.
- Glossy Cabinets: To maintain the shine, use a mild cleaner and a microfiber cloth. Avoid abrasive cleaners that can dull the finish.
Deciphering Cabinet Materials
Cabinet materials play a crucial role in determining the appropriate cleaning method and products to use before painting. Here’s a closer look at some common cabinet materials and how to handle them:
| Cabinet Material | Characteristics | Cleaning Considerations |
|---|---|---|
| Solid Wood | Durable, natural grain patterns, can be stained or painted, prone to expansion and contraction with humidity changes. | Use gentle, wood-friendly cleaners to prevent damage. Avoid excessive moisture to prevent warping or swelling. Oil-based soaps may leave a residue that interferes with paint adhesion. |
| Plywood | Constructed from layers of wood veneer, stable, less prone to warping than solid wood, often used for cabinet boxes. | Similar cleaning considerations to solid wood. Be cautious of delamination if edges are exposed and become saturated with water. |
| MDF (MediumDensity Fiberboard) | Engineered wood product made from wood fibers, smooth surface, less expensive than solid wood, prone to water damage if not sealed properly. | Avoid excessive moisture, as MDF can swell and warp when wet. Use a gentle cleaner and wipe dry immediately. Pay special attention to sealing edges before painting to prevent moisture absorption. |
| Laminate | Synthetic material applied over a substrate (like MDF or particleboard), durable, easy to clean, moisture-resistant. | Use a mild cleaner and avoid abrasive scrubbers that can scratch the surface. Be cautious of delamination if edges are exposed and become saturated with water. |
| Thermofoil | Vinyl film heat-sealed to a substrate (like MDF), seamless appearance, durable, moisture-resistant, can be prone to peeling with age or heat exposure. | Use a mild cleaner and avoid excessive heat or steam, which can cause the thermofoil to peel. Be cautious of delamination if edges are exposed and become saturated with water. |
| Metal | Durable, heat-resistant, often used in commercial kitchens. | Use a cleaner specifically designed for metal to prevent corrosion or discoloration. Avoid abrasive scrubbers that can scratch the surface. |
| Particleboard | Engineered wood product made from wood chips, less expensive than MDF, not as durable, very prone to water damage. | Avoid any moisture as particleboard can swell and crumble when wet. Use dry cleaning methods if possible, or a very lightly dampened cloth with a gentle cleaner. It’s not generally recommended to paint particleboard cabinets. |
FAQ Section
-
Can I skip cleaning if my cabinets look clean?
- No. Even if your cabinets appear clean, they likely have a thin layer of grease and grime that can affect paint adhesion. Cleaning is a crucial step for a long-lasting finish.
-
What is the best way of removing grime from cabinets before painting?
- The best way to remove grime is to use a degreasing cleaner such as dish soap and warm water, commercial degreasers, or a TSP solution. Follow the steps outlined in this guide for optimal results.
-
How soon after cleaning can I start painting?
- Wait until the cabinets are completely dry before sanding or painting. This may take several hours or even overnight, depending on the humidity and temperature.
-
Do I need to prime my cabinets after cleaning?
- Yes, priming is highly recommended. Primer helps to create a smooth, even surface for the paint to adhere to and improves the overall durability of the finish.
-
What kind of primer should I use?
- Use a high-quality bonding primer specifically designed for kitchen cabinets. Consult with your local paint store for recommendations.
Final Thoughts
Cleaning your kitchen cabinets before painting is a critical step in achieving a professional, long-lasting finish. By following this comprehensive guide, you can ensure that your cabinets are properly prepared for painting, resulting in a beautiful and durable kitchen transformation. Remember to take your time, use the right tools and products, and always prioritize safety. With a little effort and attention to detail, you can achieve stunning results that will revitalize your kitchen for years to come.
Hi, I’m Scott Fischer, the voice behind SliceItRight. My passion for food started in my grandmother’s kitchen, where I learned the art of slicing, dicing, and creating delicious meals. Over the years, I’ve explored everything from the perfect kitchen gadgets to mastering culinary techniques, and I’m here to share all of it with you. Whether you’re a beginner or an experienced home chef, my goal is to make cooking easier, more enjoyable, and a lot more fun. So, let’s slice it right and cook up something amazing together!