Do you want a kitchen island without spending a fortune? Yes, you can build a fantastic and functional kitchen island using IKEA cabinets! This guide will show you how to create an affordable kitchen island DIY project using readily available IKEA products, transforming your kitchen space. Learn about IKEA kitchen island hack and how to implement DIY kitchen island using IKEA cabinets.
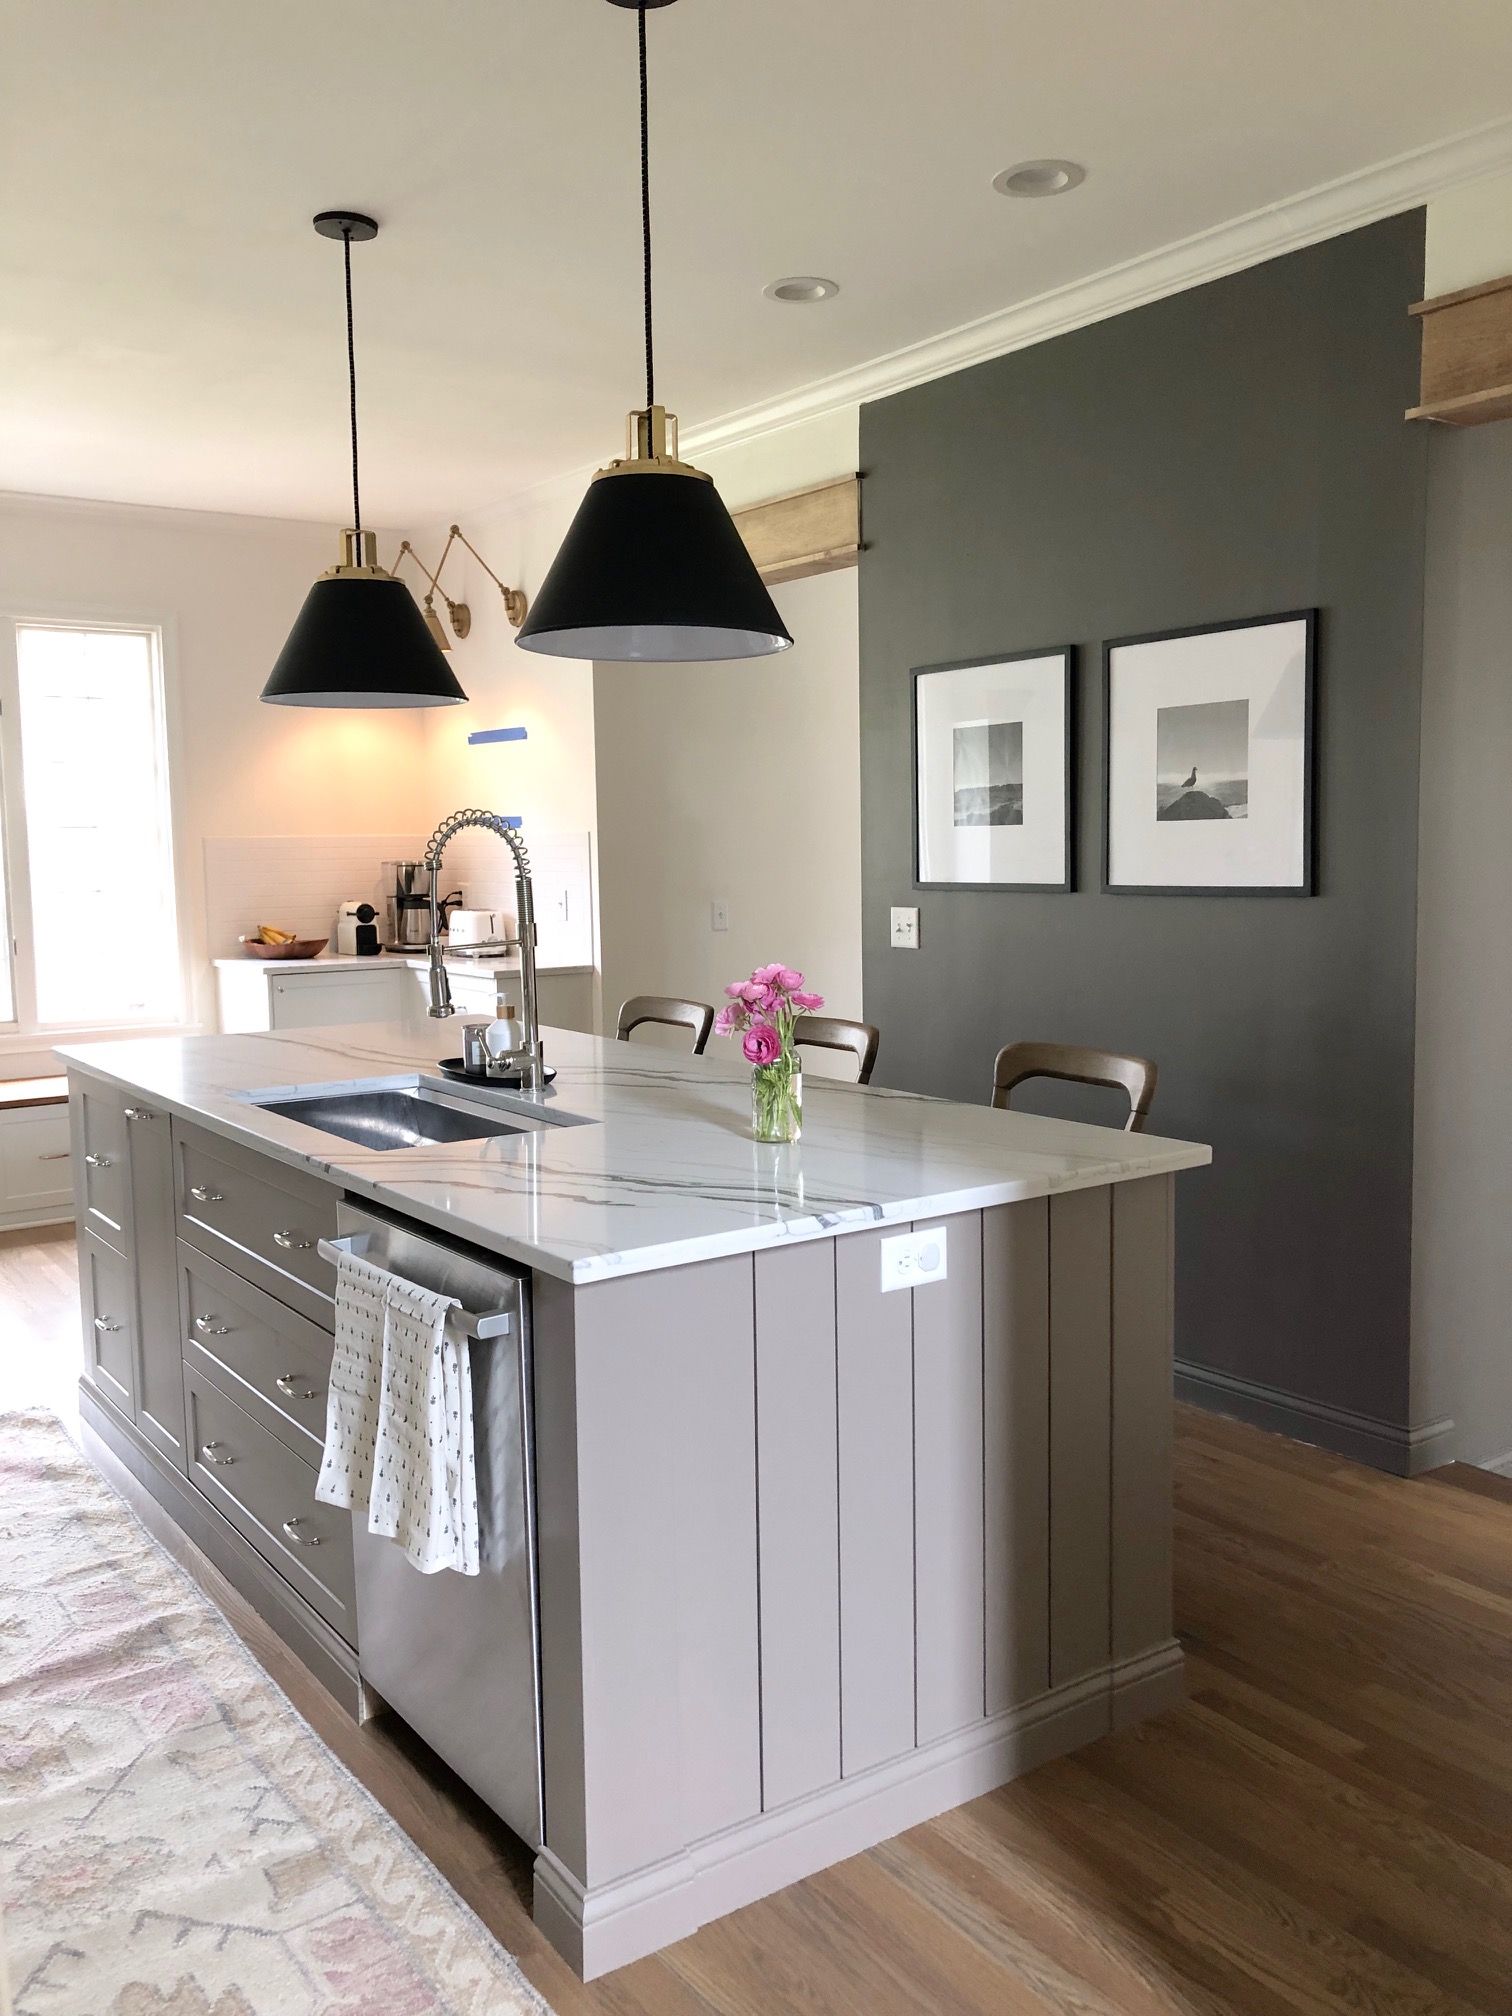
Image Source: housewithhome.com
Why Choose IKEA Cabinets for Your Kitchen Island?
IKEA cabinets offer several advantages when creating a kitchen island:
- Affordability: IKEA provides budget-friendly options compared to custom-built islands or pre-made islands from other retailers.
- Versatility: A wide range of cabinet sizes, styles, and finishes allows you to customize the island to your exact needs and preferences.
- Availability: IKEA products are easily accessible and readily available.
- Ease of Assembly: IKEA cabinets are designed for easy assembly, making this a manageable DIY project even for beginners.
- Durability: When properly assembled and installed, IKEA cabinets are sturdy and can withstand everyday use.
Is an IKEA Kitchen Island Right for You?
Before diving into the project, consider whether an IKEA kitchen island design is the right choice for your kitchen. Ask yourself these questions:
- Space: Do you have enough space in your kitchen to accommodate an island without making it feel cramped? A good rule of thumb is to have at least 42 inches of clearance between the island and other countertops or appliances.
- Needs: What do you want to use the island for? Extra counter space? Storage? A place to eat? Knowing your needs will help you choose the right cabinet configuration and features.
- Budget: While IKEA cabinets are affordable, there are still costs to consider, such as countertops, hardware, and any additional materials needed for customization.
- DIY Skills: This project requires some basic DIY skills, such as measuring, assembling cabinets, and using power tools. If you’re not comfortable with these tasks, you may want to enlist the help of a friend or hire a professional.
Planning Your IKEA Kitchen Island
Careful planning is crucial for a successful build kitchen island with IKEA cabinets.
Measuring Your Space
- Accurately measure the available space in your kitchen where you want to place the island.
- Consider traffic flow around the island. Ensure enough space for people to move comfortably.
- Mark the island’s intended location on the floor using painter’s tape to visualize the size and placement.
Choosing Your IKEA Cabinets
- SEKTION System: IKEA’s SEKTION kitchen system is the most suitable for building a kitchen island.
- Cabinet Sizes: Select cabinet sizes that fit your space and meet your storage needs. Common sizes include 24-inch, 30-inch, and 36-inch widths.
- Cabinet Types: Choose from base cabinets, drawer cabinets, and corner cabinets to create a functional layout.
- Quantity: Calculate the number of cabinets needed based on the desired island size and configuration.
Designing the Layout: Exploring IKEA Cabinet Island Plans
Think about how you want to use your island. Do you need drawers for utensils, cabinets for pots and pans, or a combination of both? Here are some popular IKEA cabinet island plans:
- Simple Rectangle: A straightforward design using a row of base cabinets.
- L-Shaped Island: Combining cabinets to create an L-shape for more counter space and storage.
- Island with Overhang: Adding an overhang to one side of the island to create a breakfast bar or seating area.
- Island with Open Shelving: Incorporating open shelving for displaying cookbooks or decorative items.
Example Cabinet Configurations:
| Cabinet Configuration | Description |
|---|---|
| 2 x 24″ Base Cabinets | Simple storage with two cabinets. |
| 1 x 30″ Drawer Cabinet | Ideal for storing utensils and smaller items. |
| 1 x 36″ Base Cabinet | Larger storage space for pots, pans, or appliances. |
| Corner Base Cabinet | Maximizes storage in a corner layout. |
| Open Shelving Unit | Adds visual interest and provides easy access to frequently used items. |
Selecting Your Countertop
The countertop is a key element of your kitchen island. IKEA offers various countertop options, but you can also source countertops from other retailers to achieve your desired look.
- IKEA Countertops:
- Laminate: Affordable and easy to maintain.
- Wood: Adds warmth and natural beauty.
- Quartz: Durable and stylish, but more expensive.
- Other Countertop Options:
- Granite: Classic and elegant, but requires sealing.
- Butcher Block: A warm and rustic choice, but needs regular oiling.
- Concrete: Modern and industrial, but can be prone to staining.
Consider the size, style, and budget when selecting your countertop. Choose a countertop that complements your cabinets and suits your lifestyle.
Choosing Hardware and Accessories
Hardware and accessories can significantly impact the look and functionality of your custom kitchen island with IKEA.
- Handles and Knobs: Choose hardware that matches your kitchen’s style and finish.
- Legs or Feet: Use adjustable legs or decorative feet to raise the island to the desired height and add stability.
- End Panels: Cover the exposed sides of the cabinets with decorative end panels for a finished look.
- Toe Kicks: Install toe kicks to create a seamless transition between the cabinets and the floor.
Materials and Tools You’ll Need
Here’s a list of the materials and tools you’ll need for your IKEA kitchen island hack project:
Materials:
- IKEA SEKTION cabinets (quantity and sizes based on your design)
- Countertop (IKEA or other retailer)
- Cabinet hardware (handles, knobs)
- Adjustable legs or decorative feet
- End panels (optional)
- Toe kicks (optional)
- Screws and fasteners
- Wood glue
- Construction adhesive
- Shims
- Paint or stain (if desired)
Tools:
- Drill
- Screwdriver
- Level
- Measuring tape
- Saw (circular saw or jigsaw)
- Clamps
- Safety glasses
- Dust mask
- Pencil
- Caulk gun
Step-by-Step IKEA Cabinet Island Tutorial
Follow these steps to build your own kitchen island using IKEA cabinets:
Step 1: Assemble the IKEA Cabinets
- Follow IKEA’s instructions to assemble the SEKTION cabinets.
- Ensure all screws are tightened and the cabinets are square.
Step 2: Position and Secure the Cabinets
- Place the assembled cabinets in the desired location on the floor.
- Use shims to level the cabinets if necessary.
- Connect the cabinets together using screws and construction adhesive.
- Clamp the cabinets together while the adhesive dries.
Step 3: Add Legs or Feet
- Attach adjustable legs or decorative feet to the bottom of the cabinets.
- Adjust the legs to ensure the island is level.
Step 4: Install the Countertop
- Apply construction adhesive to the top of the cabinets.
- Carefully position the countertop on top of the cabinets.
- Secure the countertop to the cabinets using screws from underneath.
Step 5: Attach End Panels (Optional)
- Cut the end panels to the correct size.
- Attach the end panels to the exposed sides of the cabinets using screws and construction adhesive.
Step 6: Install Toe Kicks (Optional)
- Cut the toe kicks to the correct size.
- Attach the toe kicks to the bottom of the cabinets using clips or screws.
Step 7: Install Hardware
- Install handles and knobs on the cabinet doors and drawers.
Step 8: Finishing Touches
- Caulk any gaps between the countertop and the cabinets or walls.
- Paint or stain the cabinets or end panels if desired.
- Clean the island and enjoy your new kitchen space!
Safety First!
- Always wear safety glasses and a dust mask when working with power tools.
- Follow the manufacturer’s instructions for all tools and materials.
- If you’re not comfortable with any of the steps, seek professional help.
Tips for Customizing Your IKEA Kitchen Island
Make your IKEA cabinet island tutorial stand out with these customization tips:
- Paint or Stain: Change the color of the cabinets to match your kitchen’s decor.
- Add Trim: Install decorative trim around the edges of the island for a more custom look.
- Install a Backsplash: Add a backsplash to the back of the island to protect the wall and add visual interest.
- Incorporate Appliances: Integrate a microwave, wine cooler, or dishwasher into the island design.
- Add Electrical Outlets: Install electrical outlets on the island for added convenience. This will require hiring a qualified electrician.
Cost Breakdown: Making it a Budget Kitchen Island IKEA
Here’s an estimated cost breakdown for a basic budget kitchen island IKEA project:
| Item | Estimated Cost |
|---|---|
| IKEA SEKTION Cabinets | \$200 – \$500 |
| Countertop | \$100 – \$300 |
| Hardware | \$20 – \$50 |
| Legs or Feet | \$20 – \$50 |
| End Panels (Optional) | \$50 – \$100 |
| Toe Kicks (Optional) | \$20 – \$50 |
| Materials (Screws, Glue) | \$20 – \$50 |
| Total | \$430 – \$1100 |
Note: These are estimated costs and may vary depending on the specific products you choose and the size of your island. The final price can be affected by where you sourced the materials.
Freestanding Kitchen Island IKEA: Considerations
A freestanding kitchen island IKEA is a great option if you want flexibility and don’t want to permanently attach the island to the floor. Here are some things to consider:
- Stability: Ensure the island is stable and won’t tip over. Use heavy-duty legs or feet and consider adding weight to the base of the cabinets.
- Mobility: If you want to move the island easily, use casters with locking mechanisms.
- Electrical and Plumbing: It’s more difficult to add electrical outlets or plumbing to a freestanding island.
Troubleshooting Common Problems
- Island is not level: Use shims to level the cabinets.
- Countertop doesn’t fit: Double-check your measurements and make sure the countertop is cut to the correct size.
- Cabinets are wobbly: Tighten all screws and make sure the cabinets are properly connected.
- End panels don’t align: Carefully measure and cut the end panels to the correct size.
Frequently Asked Questions (FAQ)
- Can I use other IKEA cabinet systems besides SEKTION? While possible, SEKTION is designed for kitchens and offers the most flexibility.
- How do I add electrical outlets to my island? Hire a qualified electrician to install electrical outlets safely and according to code.
- What’s the best way to clean my butcher block countertop? Clean it regularly with soap and water, and oil it every few months to prevent drying and cracking.
- How much weight can my IKEA kitchen island hold? The weight capacity depends on the cabinets and legs you choose. Check IKEA’s product information for specific weight limits.
- Where can I find inspiration for my IKEA kitchen island design? Browse IKEA’s website, Pinterest, and home decor blogs for ideas and inspiration.
Building a kitchen island with IKEA cabinets is a rewarding DIY project that can transform your kitchen space. By following these steps and tips, you can create a functional and stylish island on a budget. Enjoy your new IKEA kitchen island hack!
Hi, I’m Scott Fischer, the voice behind SliceItRight. My passion for food started in my grandmother’s kitchen, where I learned the art of slicing, dicing, and creating delicious meals. Over the years, I’ve explored everything from the perfect kitchen gadgets to mastering culinary techniques, and I’m here to share all of it with you. Whether you’re a beginner or an experienced home chef, my goal is to make cooking easier, more enjoyable, and a lot more fun. So, let’s slice it right and cook up something amazing together!