Yes, you can use chalk paint on kitchen cupboards! Chalk paint is a popular choice for giving kitchen cabinets a new look because it often requires less prep work than regular paint. However, achieving a beautiful and durable chalk paint kitchen cabinet finish involves more than just slapping on some paint. This guide will walk you through everything you need to know about painting kitchen cabinets with chalk paint, from preparation to sealing.
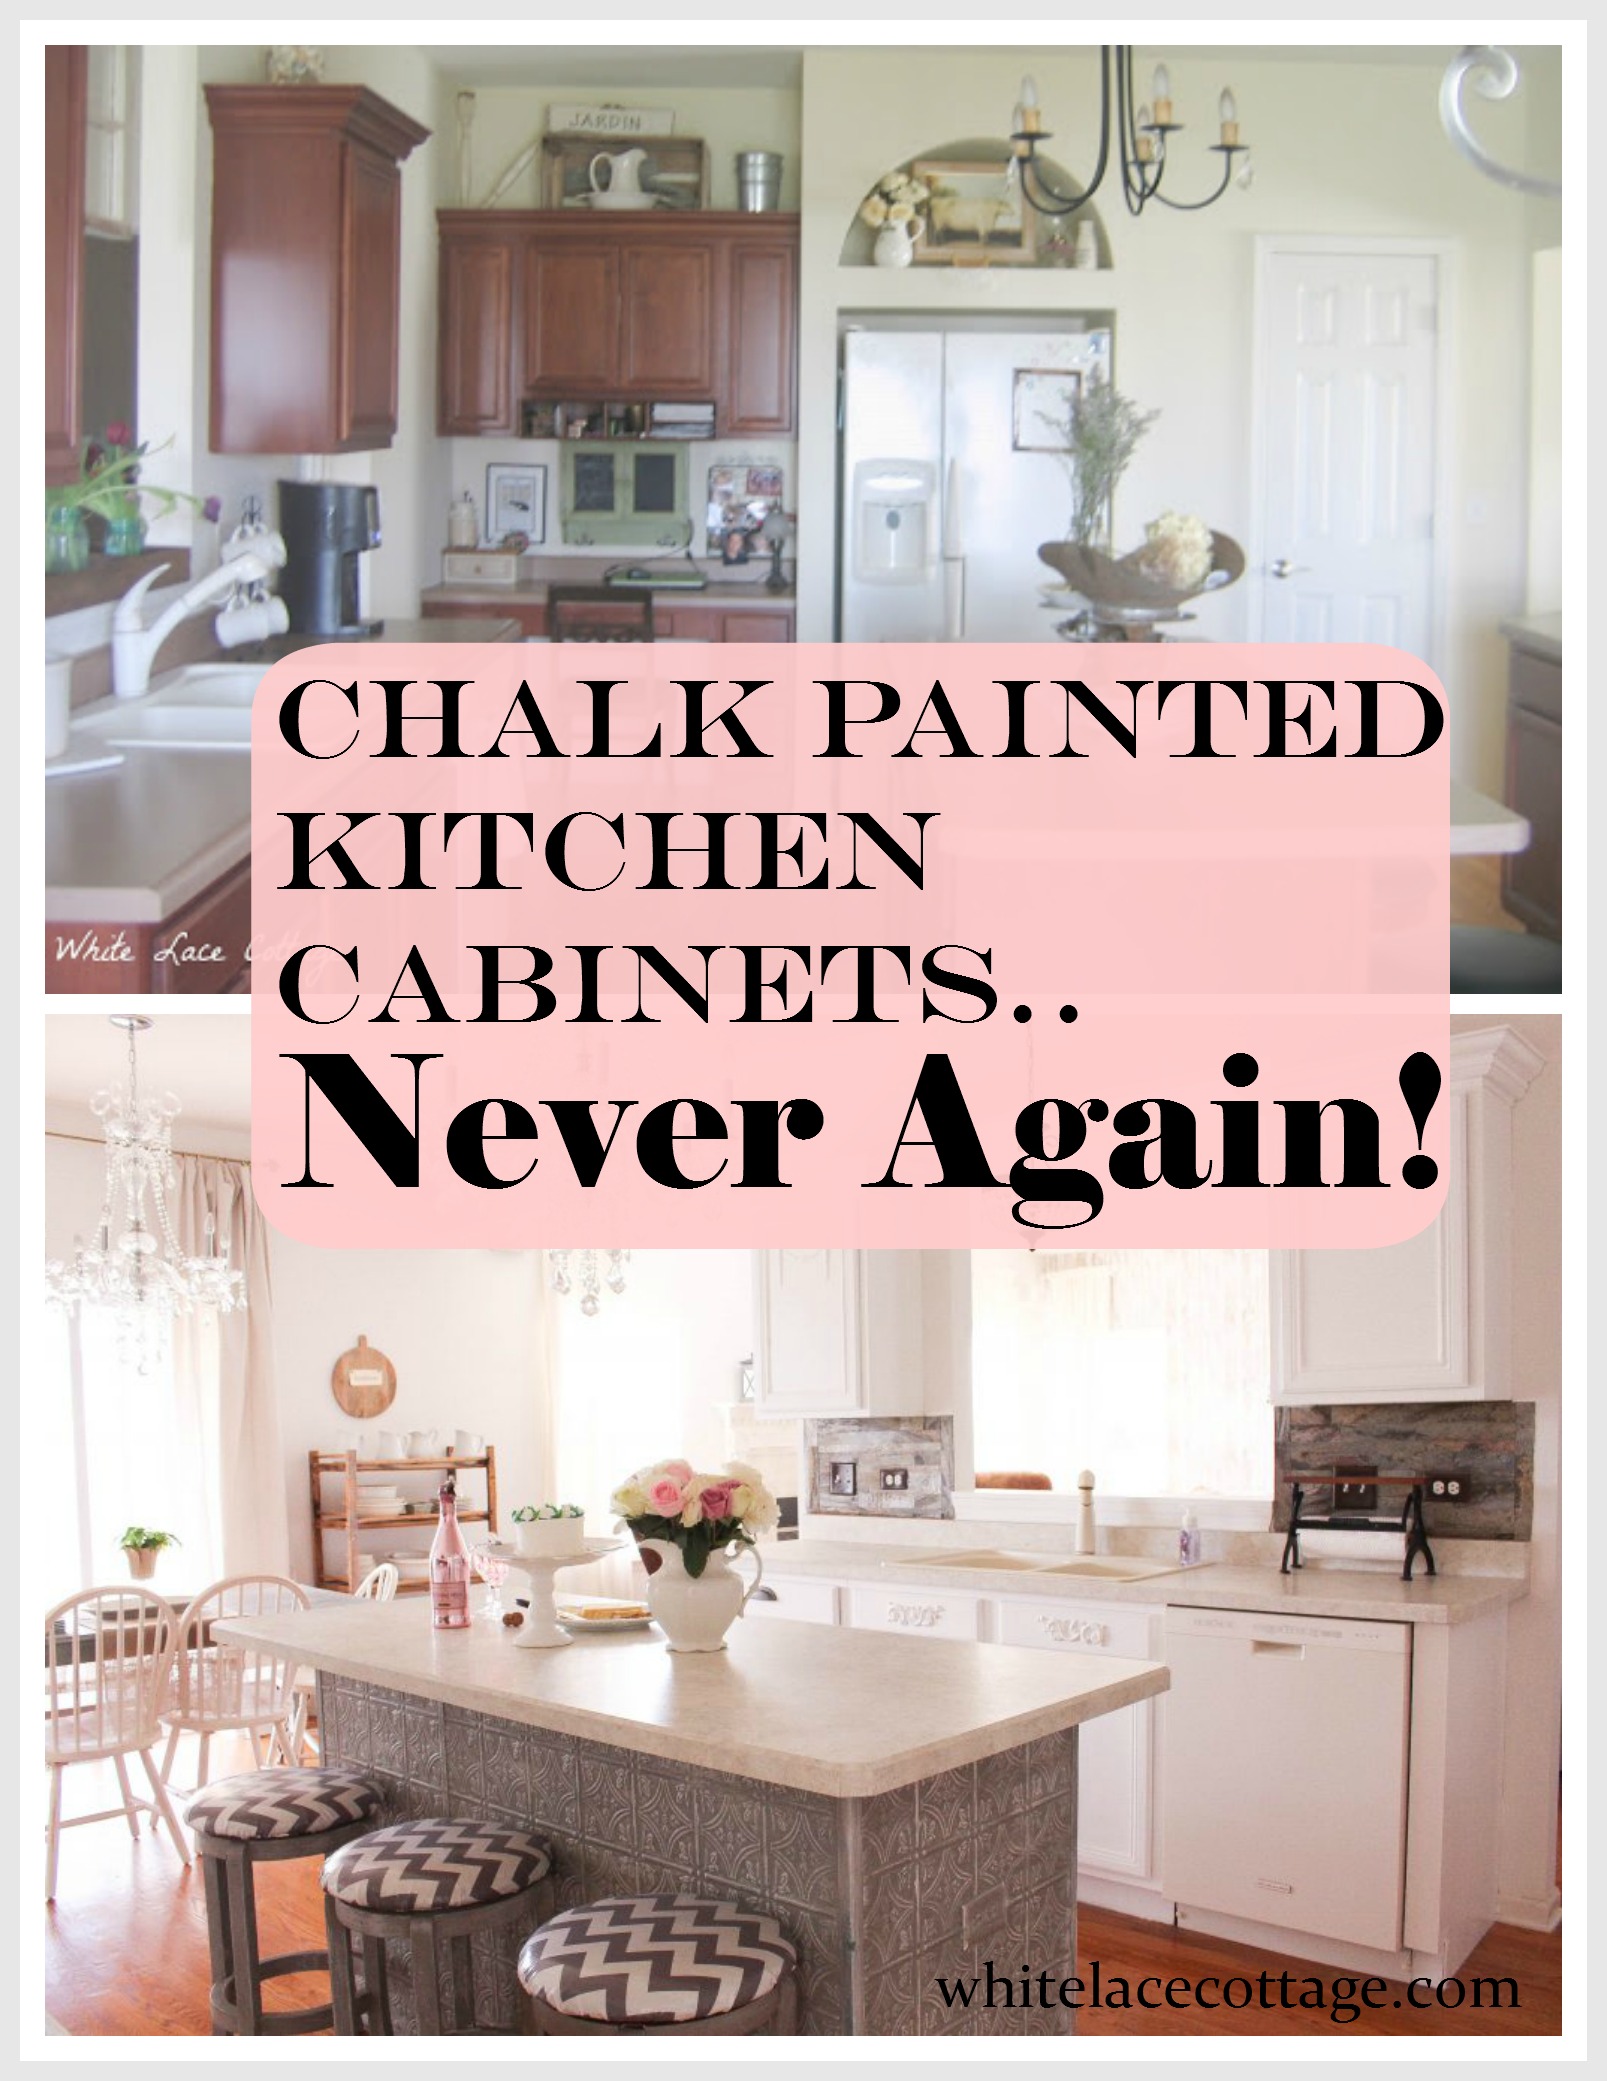
Image Source: whitelacecottage.com
Is Chalk Paint the Right Choice for Your Kitchen?
Before diving in, let’s consider whether chalk paint is the best option for your kitchen cupboard makeover. It has unique qualities that make it suitable for some projects, but not all.
Chalk Paint vs Regular Paint for Cabinets
| Feature | Chalk Paint | Regular Paint (Acrylic Latex) |
|---|---|---|
| Prep Work | Generally less sanding required; good adhesion | Sanding and priming often necessary for good adhesion |
| Finish | Matte, chalky; often distressed | Varies: Matte, Eggshell, Satin, Semi-Gloss, Gloss |
| Durability | Requires sealing for protection | More durable on its own; still benefits from topcoat |
| Application | Easy to apply; good coverage | Can be more demanding; may require multiple coats |
| Cost | Can be more expensive than some regular paints | Generally more affordable |
| Clean Up | Easy with soap and water | Easy with soap and water |
| Look | Vintage, rustic | Modern, clean |
Chalk Paint Kitchen Cabinet Pros and Cons
To help you decide, here’s a quick rundown of the chalk paint kitchen cabinets pros and cons:
Pros:
- Less Prep: Often requires minimal sanding, especially if your cabinets are already relatively smooth.
- Easy Application: Chalk paint is thick and covers well, making it easy for DIYers.
- Vintage Look: Perfect for creating a distressed or shabby chic aesthetic.
- Good Adhesion: Sticks well to many surfaces, even without priming.
- Easy to distress: Easily sanded to create a unique distressed look.
Cons:
- Requires Sealing: Must be sealed with wax, lacquer, or another sealant for durability and to protect against water and grease.
- Durability Concerns: Even with sealing, may not be as durable as cabinets painted with regular paint.
- Finish Preferences: The matte, chalky finish isn’t for everyone.
- Cost: High-quality chalk paints can be more expensive.
- Learning Curve: While application is easy, achieving a professional-looking finish may take practice.
Getting Ready: Essential Prep Steps for Chalk Painting Kitchen Cabinets
Even though chalk paint often requires less preparation, you can’t skip the prep work altogether if you want long-lasting results for your chalk paint kitchen cabinets.
1. Remove Cabinet Doors and Hardware
- Carefully remove all cabinet doors and drawers.
- Take off hinges, knobs, pulls, and any other hardware.
- Label everything! Use painter’s tape and a marker to label each door and its corresponding hardware to ensure easy reassembly.
2. Clean Thoroughly
- Use a degreasing cleaner like TSP (trisodium phosphate) or a specialized kitchen cleaner to remove grease, grime, and dirt.
- Rinse thoroughly with clean water and let dry completely.
- Grease and dirt prevent proper adhesion, leading to chipping and peeling.
3. Lightly Sand (If Necessary)
- Assess your cabinets. If they’re already smooth, you might be able to skip sanding.
- If they’re glossy or have a lot of texture, lightly sand with 220-grit sandpaper to create a better surface for the paint to grip.
- Focus on areas that are chipped or have imperfections.
- Wipe away sanding dust with a tack cloth.
4. Prime (Optional, But Recommended)
- While not always required, priming can improve adhesion and prevent bleed-through (where stains or tannins from the wood show through the paint).
- Use a stain-blocking primer if you’re painting over dark wood or a surface with stains.
- Apply a thin, even coat of primer and let it dry completely according to the manufacturer’s instructions.
5. Protect Your Workspace
- Lay down drop cloths to protect your floors and countertops.
- Use painter’s tape to mask off any areas you don’t want to paint, such as walls or backsplashes.
How to Chalk Paint Kitchen Cupboards: A Step-by-Step Guide
Now that you’ve prepped your cabinets, it’s time to start painting kitchen cabinets with chalk paint.
1. Choose the Right Chalk Paint
Selecting the best chalk paint for cabinets depends on your budget, color preferences, and desired finish. Some popular brands include:
- Annie Sloan Chalk Paint
- Rust-Oleum Chalked Ultra Matte Paint
- FolkArt Home Decor Chalk Paint
Consider trying a small sample of different brands to see which one you like best.
2. Apply the First Coat
- Stir the chalk paint thoroughly.
- Use a high-quality brush or a foam roller to apply a thin, even coat of paint.
- Work in the direction of the wood grain.
- Don’t worry if the first coat looks a bit patchy; chalk paint is very forgiving.
3. Let It Dry
- Allow the first coat to dry completely according to the manufacturer’s instructions (usually 1-2 hours).
- Drying time is crucial for proper adhesion and a smooth finish.
4. Apply the Second Coat
- Apply a second thin, even coat of chalk paint.
- Again, work in the direction of the wood grain.
- For full coverage, sometimes a third coat is required.
5. Distress (Optional)
- If you want a distressed look, use sandpaper (120-220 grit) to gently sand away paint from edges, corners, and raised details.
- Control the amount of distressing to achieve your desired effect.
- Remember to wipe away any sanding dust.
6. Seal the Chalk Paint
Sealing chalk paint on kitchen cabinets is essential for protecting the finish and making it durable. There are several options:
- Wax: Provides a soft, matte finish and adds depth. Apply with a cloth or brush, let it sit for a few minutes, and then buff with a clean cloth. Requires regular reapplication.
- Lacquer: Offers a more durable and water-resistant finish. Apply with a brush or sprayer. Available in various sheens (matte, satin, gloss).
- Polyurethane: Provides a very durable, water-resistant finish. Apply with a brush or sprayer. Choose a water-based polyurethane to prevent yellowing.
- Water-Based Topcoat: Many brands offer a topcoat specifically designed for use with their chalk paint.
Choosing the best sealant depends on your desired look and the level of protection you need. For chalk painted kitchen cabinets durability, lacquer or polyurethane are generally the best choices.
Sealing: Step by Step
- Apply the sealant in thin, even coats.
- Let each coat dry completely before applying the next.
- Follow the manufacturer’s instructions for drying times and the number of coats needed.
- For wax, buff after it has dried completely.
Achieving the Perfect Chalk Paint Kitchen Cabinet Finish
Getting a professional-looking finish with chalk paint on kitchen cabinets requires attention to detail and a few tricks of the trade.
Brushing Techniques
- Use a good-quality brush: Invest in a brush designed for smooth finishes.
- Load the brush properly: Don’t overload the brush with paint.
- Apply even pressure: Use consistent pressure to avoid brushstrokes.
- Work in sections: Focus on small areas at a time.
- “Tip off” the paint: After applying the paint, lightly drag the brush across the surface to smooth out any brushstrokes.
Rolling Techniques
- Use a foam roller: A foam roller will give you the smoothest finish.
- Don’t press too hard: Let the roller do the work.
- Overlap your strokes: Overlap each stroke slightly to avoid streaks.
- Roll in the direction of the grain: This will help to create a uniform finish.
Spraying Techniques
- Thin the paint: Chalk paint can be thick, so you may need to thin it slightly for spraying.
- Use a HVLP sprayer: These sprayers are designed for fine finishes.
- Apply thin coats: Multiple thin coats are better than one thick coat.
- Overlap your strokes: Overlap each stroke slightly to avoid streaks.
- Maintain a consistent distance: Keep the sprayer the same distance from the surface for even coverage.
Dealing with Brushstrokes
- Sand between coats: Lightly sand between coats to remove any brushstrokes or imperfections.
- Use a leveling agent: Add a leveling agent to your paint to help it flow out and eliminate brushstrokes.
- Consider spraying: Spraying will give you the smoothest, most brushstroke-free finish.
Maintaining Your Chalk Painted Kitchen Cabinets
Maintaining chalk painted kitchen cabinets is similar to maintaining cabinets painted with other types of paint.
- Clean regularly: Wipe down your cabinets with a damp cloth and mild soap to remove dirt and grease.
- Avoid harsh chemicals: Don’t use abrasive cleaners or chemicals that could damage the finish.
- Touch up as needed: Over time, you may need to touch up any chips or scratches. Lightly sand the area, apply a small amount of chalk paint, and then reseal.
- Rewax (if applicable): If you used wax as a sealant, you’ll need to reapply it every 6-12 months, or as needed, to maintain the finish.
Frequently Asked Questions (FAQ)
- How durable are chalk painted kitchen cabinets? The chalk painted kitchen cabinets durability depends on the sealant used. Wax is less durable than lacquer or polyurethane.
- What is the best way to seal chalk paint on kitchen cabinets? For the best durability, use lacquer or water-based polyurethane.
- Can I use chalk paint without sanding? In most cases, yes! However, light sanding may be needed for glossy or textured surfaces.
- How many coats of chalk paint do I need? Usually, two coats are sufficient. But depending on color and the existing surface, a third coat may be needed.
- Can I use chalk paint on laminate cabinets? Yes, but proper prep is essential. Clean thoroughly, lightly sand, and use a good primer designed for slick surfaces.
- Does chalk paint chip easily? If not properly sealed, yes. Sealing is crucial for protecting the paint and preventing chipping.
- Is chalk paint more expensive than regular paint? Usually, yes. However, the reduced prep time can sometimes offset the higher cost of the paint itself.
- What if my cabinets have a lot of grease buildup? Use a strong degreaser and scrub thoroughly before painting. Consider using a grease-blocking primer.
- How long does it take for chalk paint to fully cure? While it may feel dry to the touch relatively quickly, allow several days (or even a week) for the paint and sealant to fully cure and harden.
By following these tips and techniques, you can successfully transform your kitchen with chalk paint kitchen cabinets and create a beautiful and unique space that reflects your personal style. Good luck with your chalk paint for kitchen cupboard makeover!
Hi, I’m Scott Fischer, the voice behind SliceItRight. My passion for food started in my grandmother’s kitchen, where I learned the art of slicing, dicing, and creating delicious meals. Over the years, I’ve explored everything from the perfect kitchen gadgets to mastering culinary techniques, and I’m here to share all of it with you. Whether you’re a beginner or an experienced home chef, my goal is to make cooking easier, more enjoyable, and a lot more fun. So, let’s slice it right and cook up something amazing together!